
Related Manuals for Planet XT-925A


Summary of Contents for Planet XT-925A
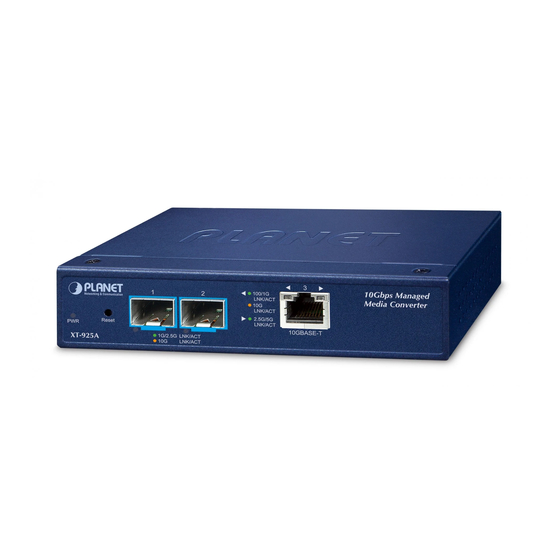
- Page 1 10GBASE-T to 10GBASE-X SFP+ Managed Media Converter XT-900 Series Quick Installation Guide...
-
Page 2: Table Of Contents
Table of Contents 1. Package Contents ................. 3 2. Requirements ..................4 3. Starting Web Management ..............5 3.1 Logging in to the Managed Media Converter ........5 3.2 Saving Configuration via Web ............7 4. Restoring Default Configuration ............. 8 5. Power Information ................9 6. -
Page 3: Package Contents
1. Package Contents Thank you for purchasing PLANET 10GBASE-T to 10GBASE-X SFP+ Managed Media Converter, XT-900 Series. In this guide, the term “Managed Media Converter” refers specifically to XT-905A, XT-915A, and XT-925A models. To begin, open the box of the Managed Media Converter and carefully unpack its contents. The box should contain the following items:... -
Page 4: Requirements
2. Requirements Managed Media Converter provides remote interface management purposes. To further manage the device, you will need the following products. z Workstations running Windows 7/8/10/11, macOS 10.12 or later, Linux Kernel 2.6.18 or later, or other modern operating systems are compatible with TCP/IP Protocols. -
Page 5: Starting Web Management
192.168.0.100, then the manager PC should be set to an IP address of 192.168.0.x (where x is a number between 1 and 254, except 100), and the default subnet mask is 255.255.255.0. PLANET Managed Media Converter PC / Workstation with... - Page 6 After entering the username and password, the main web screen will appear, as in Figure 2, once logged in. Figure 2. Web Main Screen of Managed Media Converter (Use XT-925A as a representative) The menu at the top of the web page provides access to all the commands and statistics offered by the Managed Media Converter. Each menu contains sub-menu items, as shown in Figure 4 below.
-
Page 7: Saving Configuration Via Web
For security reason, please change and memorize the new password after the first setup. 3.2 Saving Configuration via Web Save all applied changes and set the current configuration as the startup configuration after finishing the configuration. The system will automatically load the startup-configuration file upon reboot. 1. Click the Save icon on the top Menu bar. 2. -
Page 8: Restoring Default Configuration
4. Restoring Default Configuration If the IP address has been changed or the admin password has been forgotten – To reset the IP address to the default IP Address “192.168.0.100” or to reset the login password to default value, press the hardware-based reset button on the front panel for about 10 seconds. -
Page 9: Power Information
5. Power Information The power jack of the Managed Media Converter measures 2.1mm in diameter, and comes with DC 12V power input. It conforms to the bundled AC-DC adapter. Should you have the issue of making the power connection, please contact your local sales representative. -
Page 10: Customer Support
Thank you for purchasing PLANET products. Before contacting PLANET support team, please browse our online FAQ resource and User’s Manual on the PLANET website to see if they can solve your issue. If you require further support information, please contact the PLANET support team.
Need help?
Do you have a question about the XT-925A and is the answer not in the manual?
Questions and answers