
Related Manuals for Daikin FTXP-N9


Summarization of Contents
1 About the documentation
1.1 About this document
Provides information about the document, target audience, and documentation set.
1.2 Meaning of warnings and symbols
Explains the meaning of danger, warning, and caution symbols used in the manual.
2 User safety instructions
2.1 General
Provides general safety warnings and precautions for operating the appliance.
2.2 Instructions for safe operation
Details instructions for safe operation, including handling refrigerant and avoiding hazards.
3 About the system
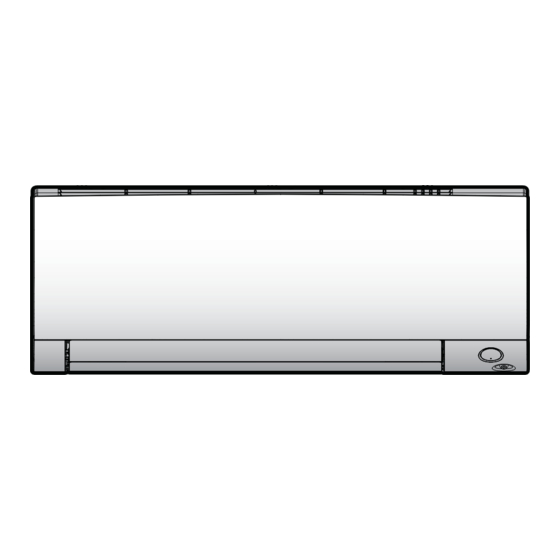
3.1 Indoor unit
Describes the indoor unit, including its components and safety precautions.
3.1.1 Indoor unit display
Details the indoor unit display components and the ON/OFF button functionality.
3.2 About the user interface
Explains the wireless remote control as the primary user interface and factors affecting its use.
3.2.1 Components: Wireless remote control
Details the components of the wireless remote control, including buttons and the LCD display.
3.2.2 Status: Wireless remote control LCD
Explains the various icons and their meanings displayed on the wireless remote control LCD.
3.2.3 To operate the wireless remote control
Provides instructions on how to operate the wireless remote control and the expected results.
4 Before operation
4.1 Overview: Before operation
Outlines the typical workflow for preparing the unit before operation.
4.2 To insert the batteries
Step-by-step guide on how to insert batteries into the wireless remote control.
4.3 To mount the wireless remote control holder
Instructions on how to mount the wireless remote control holder on the wall.
4.4 To turn on the power supply
Instructions on how to turn on the power supply to start the unit.
5 Operation
5.1 Operation range
Specifies the recommended temperature and humidity ranges for safe and effective operation.
5.2 When to use which feature
A guide to selecting features based on basic and advanced operation needs.
5.3 Operation mode and temperature setpoint
Explains how to adjust operation modes and set the desired temperature.
5.3.1 To start/stop operation mode and to set the temperature
Step-by-step guide to start/stop operation and set the temperature for different modes.
5.4 Airflow rate
Details how to adjust the airflow rate and its different levels.
5.5 Airflow direction
Explains how to adjust the airflow direction using flaps and louvers.
5.5.1 To adjust vertical airflow direction
Instructions on how to adjust the vertical airflow direction for swing or fixed position.
5.5.2 To adjust horizontal airflow direction
Instructions on how to adjust the horizontal airflow direction for swing or fixed position.
5.5.3 To use 3D airflow direction
Guide to using the 3D airflow direction feature for combined flap and louver movement.
5.6 Comfort airflow operation
Explains the Comfort airflow operation for comfortable wind direction.
5.6.1 To start/stop Comfort airflow operation
Steps to start and stop the Comfort airflow operation, including flap position.
5.7 Powerful operation
Describes how to use Powerful operation to maximize cooling/heating effect.
5.7.1 To start/stop Powerful operation
Instructions on how to start and stop the Powerful operation mode.
5.8 Econo operation
Explains Econo operation for efficient power consumption and energy saving.
5.8.1 To start/stop Econo operation
Steps to start and stop Econo operation and the expected results on the LCD.
5.9 OFF/ON timer operation
Information on using OFF and ON timer functions for automatic switching.
5.9.1 To start/stop OFF timer operation
Detailed steps to set, change, and cancel the OFF timer.
5.9.2 To start/stop ON timer operation
Detailed steps to set, change, and cancel the ON timer.
5.9.3 To combine OFF timer and ON timer
Instructions on how to combine OFF and ON timers for sequential operation.
5.10 Wireless LAN connection
Information on requirements for connecting the unit to a wireless LAN.
5.10.1 Precautions when using the wireless LAN
Safety precautions and potential interference issues when using wireless LAN.
5.10.2 To install the ONECTA app
Step-by-step guide to download and install the ONECTA application.
5.10.3 To set the wireless connection
Options for connecting the wireless adapter to a smart device or home network.
To connect the wireless LAN to your home network
Connects the unit to a home network using WPS or SSID/KEY.
To reset the connection setting to the factory default
Resets the wireless connection settings to factory defaults for troubleshooting.
To turn off the wireless LAN connection
Disables the wireless LAN connection function on the unit.
7 Maintenance and service
7.1 Overview: Maintenance and service
Information about yearly maintenance and refrigerant details.
7.2 To clean the indoor unit and wireless remote control
Instructions for cleaning the indoor unit and the wireless remote control safely.
7.3 To clean the front panel
Guide on how to clean the front panel of the indoor unit.
7.4 About the air filters
Explains the importance of air filters and the consequences of using dirty filters.
7.5 To open the front panel
Steps to open the front panel to access the air filters.
7.6 To clean the air filters
Detailed instructions on removing and cleaning the air filters.
7.7 To clean the titanium apatite deodorising filter and the silver particle filter (Ag-ion filter)
Instructions for cleaning the special filters, including frequency and method.
7.8 To replace the titanium apatite deodorising filter and the silver particle filter (Ag-ion filter)
Guidance on replacing the special filters, including their lifespan.
7.9 To close the front panel
Steps to close the front panel after cleaning or filter replacement.
7.10 To take following items into account before a long idle period
Recommendations for preparing the unit for a long period of non-use.
8 Troubleshooting
8.1 Symptoms that are NOT system malfunctions
Lists common sounds and phenomena that are not actual system malfunctions.
8.2 Solving problems based on error codes
Guide to checking error codes displayed on the wireless remote control for fault diagnosis.
8.3 Troubleshooting for wireless LAN connection
Provides solutions for common problems related to wireless LAN connectivity.
Need help?
Do you have a question about the FTXP-N9 and is the answer not in the manual?
Questions and answers