Advertisement
Advertisement

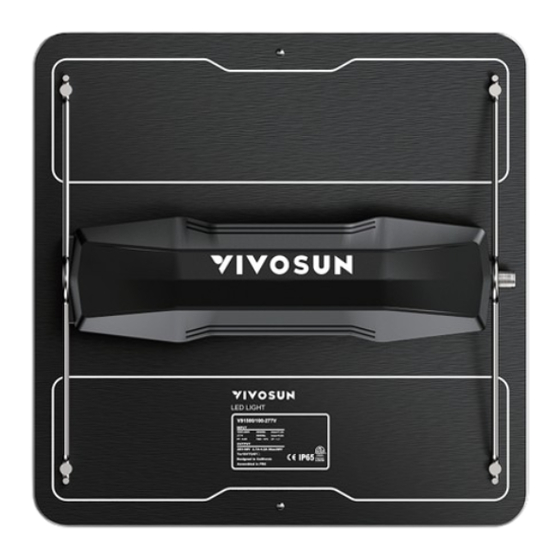
Summary of Contents for Vivosun VS4000 LED 400W
- Page 1 VS LED Grow Light USER MANUAL...
- Page 3 PRODUCTS INCLUDED IN THIS MANUAL: Product Model VS1000 LED 100W VS1000 LED-100NJ VS1500 LED 150W VS1500 LED-150 VS2000 LED 200W VS2000 LED-200J VS3000 LED 300W VS3000 LED-300 VS4000 LED 400W VS4000 LED-400J VS1000E LED 100W VS1000E VS1000E...
-
Page 4: Table Of Contents
CONTENTS Safety Information Product Contents Key Features Specificaitons Application Installation Warranty Information... -
Page 5: Safety Information
SAFETY INFORMATION Please read the following information carefully before using. Failure to observe these safety instructions may result in serious injury and will release VIVOSUN of all liability and void all product warranties. Handling: Set up the light in an operating environment that allows for adequate air circulation. -
Page 6: Product Contents
PRODUCT CONTENTS VS1000/VS1500/VS2000/VS3000/VS4000 LED Grow Light Rope Hanger Grow Room Glasses x 1pc x 2pcs x 1pc Power Cord RJ11 Network Cable RJ11 3-Way x 1pc x 2pcs Cable Splitter x 1pc... - Page 7 PRODUCT CONTENTS VS1000E LED Grow Light Rope Hanger Wire Ropes x 1pc x 2pcs x 2pcs...
-
Page 8: Key Features
KEY FEATURES SAMSUNG LED DIODES HIGH EFFICACY DIMMING CONTROL Powered by Samsung High-quality diodes and 0-100% light dimming for high-efficiency diodes for power supply mean high different growing stages horticulture at perfect spectrum. PPE, up to 2.7 umol/J. (except VS1000E). FULL SPECTRUM &... -
Page 9: Specificaitons
SPECIFICATIONS VS1000 VS1500 VS2000 VS3000 VS4000 VS1000E Samsung LED Source Samsung LM301D LM281B+ pro Full spectrum: 380 – 780nm; rich 660nm and 730nm Spectrum Input Voltage 120-277V Frequency 50-60Hz >0.9 Power Factor Input Power 100W 150W 200W 300W 400W 100W Dimensions(L) 11.8"/30cm 14.2"/36cm... - Page 10 SPECIFICATIONS SPECTRUM Wave length (nm)
-
Page 11: Application
APPLICATION SUGGESTED HANGING DISTANCE & SUGGESTED LIGHTING TIME Distance Stage Time Inch (In.) Centimeter (cm.) Germination 24-30 61-76 18 Hours ON Seeding 24-30 61-76 16 Hours ON 18-24 46-61 18 Hours ON Flower 12-18 30-46 12 Hours ON Note: This suggestion is for reference only, and can be freely adjusted according to the actual situation. -
Page 12: Installation
INSTALLATION INSTALLATION OPTIONS (VS1000/VS1500/VS2000/VS3000/VS4000) 1. Pass the rope hangers through the LED's hooks, and then fix the other end of rope hangers to the ceiling. 2.Remove the hooks from the LEDs, then fit them onto the ceiling bracket before installing them back onto the LED. - Page 13 INSTALLATION INSTALLATION OPTIONS (VS1000E) 1. Pass the rope hangers through the LED's hooks, and then fix the other end of rope hangers to the ceiling.
- Page 14 INSTALLATION CONNECTING MULTIPLE LIGHTS Controlled Light Main Control Light Controlled Light Choose a light as the master Light (A) and use the RJ11 cables and cable splitter to connect other lights (B, C) as the controlled Lights as showed above. Turn the dimming knob to the "EXT" on the controlled light (B, C) and they will be controlled by the master light (A).
-
Page 15: Warranty Information
WARRANTY INFORMATION 1. We offer a 5-year warranty against manufacturing defects for all of our products from the date of purchase. If you need warranty assistance, please contact us as soon as possible. 2. The warranty does not cover damage due to high moisture levels, water damage, power surges, improper hanging/mounting, improper use, dust build-up, or users' unauthorized modifications.


Need help?
Do you have a question about the VS4000 LED 400W and is the answer not in the manual?
Questions and answers