Table of Contents
Advertisement
Advertisement
Table of Contents

Related Manuals for Emotiva BasX TA1


Summarization of Contents
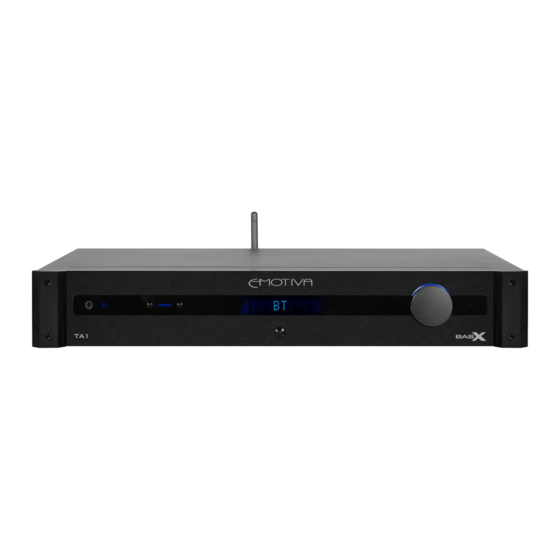
BasX PT1 and BasX TA1 Front Panel
Headphone Jack
Connects high-quality headphones to the unit.
Input Buttons
Used to select audio input sources.
Power / Standby Button
Toggles the unit between On and Standby modes.
Volume Knob
Controls the unit's volume level.
Standby LED
Indicates the unit's standby status.
BasX PT1 Rear Panel
Phono Input Ground Lug
Ground connection for turntables to prevent hum.
Phono Input Gain Selector
Sets gain for MM or MC phono cartridges.
Analog Inputs
Connect turntable or line-level analog sources.
Summed Subwoofer Output
Connects subwoofer with 90 Hz low-pass filter.
Crossover Outputs
Provides signal through 90 Hz high-pass filter.
Main Outputs (Full Range)
Full range stereo output for power amplifiers.
FM Antenna Input
Connects an FM antenna for tuner reception.
Digital Audio Inputs
Connect digital sources like Coax, Optical, USB.
Bluetooth Antenna Connector
Connects the included Bluetooth antenna.
Trigger Output
Outputs a 12VDC signal to trigger other devices.
Power Cord Receptacle
Port for the power cable.
AC Power Switch
Turns the unit's main AC power on or off.
BasX TA1 Rear Panel
Phono Input Ground Lug
Ground connection for turntables to prevent hum.
Phono Input Gain Selector
Sets gain for MM or MC phono cartridges.
Analog Inputs
Connect turntable or line-level analog sources.
Summed Subwoofer Output
Connects subwoofer with 90 Hz low-pass filter.
Crossover Outputs
Provides signal through 90 Hz high-pass filter.
Main Outputs (Line Level)
Line level outputs, full range or high-pass.
High-Pass / Full Range Crossover Switch
Controls signal to main outputs and internal amplifiers.
FM Antenna Input
Connects an FM antenna for tuner reception.
Digital Audio Inputs
Connect digital sources like Coax, Optical, USB.
Bluetooth Antenna Connector
Connects the included Bluetooth antenna.
Trigger Output
Outputs a 12VDC signal to trigger other devices.
Power Cord Receptacle
Port for the power cable.
AC Power Switch
Turns the unit's main AC power on or off.
BasX PT1 and BasX TA1 Remote Control
Transmit LED
Indicates when a remote button is pressed.
Power Button
Toggles the unit between Standby and On modes.
Navigation Ring / Buttons
Switches inputs, adjusts volume, navigates menus.
Menu Button
Toggles the Setup Menu on and off.
Mute Button
Mutes or unmutes audio output.
Enter Button
Used for menu navigation.
Input Select Buttons
Selects Digital, Analog, or FM Tuner inputs.
Dim Button
Sets display brightness.
BasX PT1 and BasX TA1 Display and Menu System
VFD Display
Large, bright VFD display shows status and settings.
Setup Menu System
Configure system options, tuner presets, and trims.
Connections
Connecting an amplifier and speakers to your BasX PT1
Connect PT1 main outputs to power amplifier inputs.
Connecting an amplifier and subwoofer to your BasX PT1
Connect PT1 crossover outputs to amp and subwoofer.
Connecting speakers to your BasX TA1
Connect TA1 speaker outputs to speakers.
Connecting speakers and a subwoofer to your BasX TA1
Connect TA1 speaker/crossover outputs to speakers and subwoofer.
Care and Maintenance
Periodic Maintenance
Unit requires no periodic maintenance or calibration.
Cleaning your PT1 or TA1
Instructions for cleaning the unit with a soft rag.
Specifications For Both PT1 and TA1
Line Level Analog Performance
Details performance metrics for line level analog inputs.
Phono Input Analog Performance
Details performance metrics for phono analog inputs.
Digital Performance
Details performance metrics for digital audio inputs.
Amplifier Performance (TA1 only)
Details performance metrics for the TA1 amplifier.
Power Requirements
Details voltage and frequency requirements.
Dimensions (both)
Provides physical dimensions of the unit.
Weight
Provides the weight of the unit.
Emotiva Audio Corporation Three-Year Limited Warranty
What does this warranty cover?
Details what defects and conditions are covered by the warranty.
How long does this coverage last?
Specifies the duration of the warranty period.
What will Emotiva do?
Describes Emotiva's actions for warranty claims (repair/replace/refund).
What is not covered by this warranty?
Lists exclusions from warranty coverage.
How do you get service?
Explains the process for making a warranty claim.
Accessories
Speaker Cables and Interconnects
Recommendations for audio cables for optimal performance.
Need help?
Do you have a question about the BasX TA1 and is the answer not in the manual?
Questions and answers