Sign In
Upload
Download
Table of Contents
Contents
Add to my manuals
Delete from my manuals
Share
URL of this page:
HTML Link:
Bookmark this page
Add
Manual will be automatically added to "My Manuals"
Print this page
×
Bookmark added
×
Added to my manuals
Manuals
Brands
Emotiva Manuals
Amplifier
BasX PT1
User manual
Emotiva BasX PT1 User Manual
Stereo preamp / dac / tuner, stereo integrated amp / dac / tuner
Hide thumbs
1
2
3
4
Table Of Contents
5
6
7
8
9
10
11
12
13
14
15
16
17
18
19
20
21
22
23
24
25
26
27
28
29
30
31
32
33
34
35
36
37
38
39
40
page
of
40
Go
/
40
Contents
Table of Contents
Bookmarks
Table of Contents
Table of Contents
Important Safety Precautions and Explanation of Symbols
Basx PT1 and Basx TA1
Introduction
About this Manual
Features
Unpacking
Quick Start
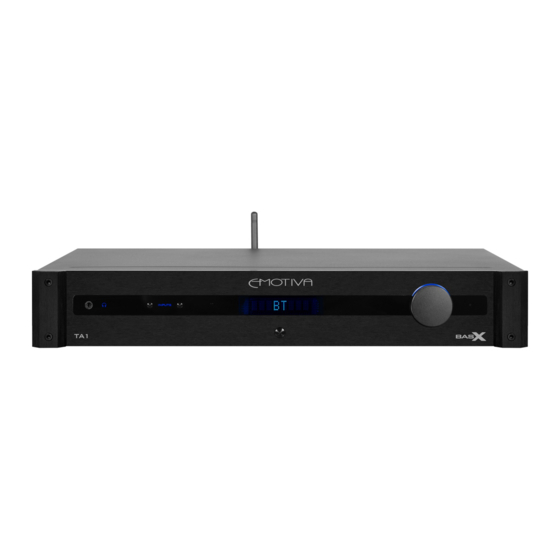
Basx PT1 and Basx TA1 Front Panel
Basx PT1 Rear Panel
Basx TA1 Rear Panel
Basx PT1 and Basx TA1 Remote Control
Basx PT1 and Basx TA1 Display and Menu System
Basic Controls and Operation
The Basx PT1 and TA1 Menu
Connections
Care and Maintenance
Specifications for both PT1 and TA1
Emotiva Audio Corporation Three-Year Limited Warranty
Accessories
Notes
Advertisement
Quick Links
1
Features
2
Quick Start
3
Basx Pt1 Rear Panel
4
Basx Ta1 Rear Panel
5
Basx Pt1 and Basx Ta1 Display and Menu System
6
Basic Controls and Operation
7
Connections
8
Specifications for both Pt1 and Ta1
Download this manual
Table of
Contents
Previous
Page
Next
Page
1
2
3
4
5
Advertisement
Table of Contents
Need help?
Do you have a question about the BasX PT1 and is the answer not in the manual?
Ask a question
Questions and answers
Related Manuals for Emotiva BasX PT1
Amplifier Emotiva pmn User Manual
Professional 2 channel av amplifier (16 pages)
Amplifier Emotiva BASX PT-100 User Manual
(32 pages)
Amplifier Emotiva Stealth PA-1 User Manual
Balanced class-d monoblock power amplifier (24 pages)
Amplifier Emotiva Plus Series User Manual
(32 pages)
Amplifier Emotiva basX A-100 User Manual
Stereo flex amplifier (28 pages)
Amplifier Emotiva BasX A-800 User Manual
Multi-zone power amplifer (28 pages)
Amplifier Emotiva BasX A-400Z User Manual
Zone distribution amplifier (24 pages)
Amplifier Emotiva basX A-500 User Manual
(28 pages)
Amplifier Emotiva basX A-300 User Manual
(28 pages)
Amplifier Emotiva RPA-1 User Manual
Emotiva power amplifier user's guide (28 pages)
Amplifier Emotiva LPA-1 User Manual
Professional 7 channel power amplifier (26 pages)
Amplifier Emotiva IPS-1 User Manual
Professional multi-channel audio amplifier (32 pages)
Amplifier Emotiva USP-1 Operation Manual
Ultra seres stereo preamplifier (26 pages)
Amplifier Emotiva miniX A-100 User Manual
Stereo flex amp (24 pages)
Amplifier Emotiva XPA-1 User Manual
Power amplifier (21 pages)
Amplifier Emotiva XDA-1 Operating Manual
(22 pages)
This manual is also suitable for:
Basx ta1
Table of Contents
Save PDF
Print
Rename the bookmark
Delete bookmark?
Delete from my manuals?
Login
Sign In
OR
Sign in with Facebook
Sign in with Google
Upload manual
Upload from disk
Upload from URL


Need help?
Do you have a question about the BasX PT1 and is the answer not in the manual?
Questions and answers