Motorola MBP30 User Manual
User guide
Hide thumbs
Also See for MBP30:
- Quick manual (2 pages) ,
- User manual (28 pages) ,
- User manual (28 pages)

Related Manuals for Motorola MBP30


Summary of Contents for Motorola MBP30
- Page 1 USER’S GUIDE MBP30 BABY MONITOR USER’S GUIDE The features described in this user’s guide are subject to modifications without prior notice.
- Page 2 Welcome... to your new Motorola Baby Monitor! Thank you for purchasing the MBP30. Now you can see and hear your baby sleeping in the other room or you can monitor your older children in their playroom. Please retain your original dated sales receipt for your records.
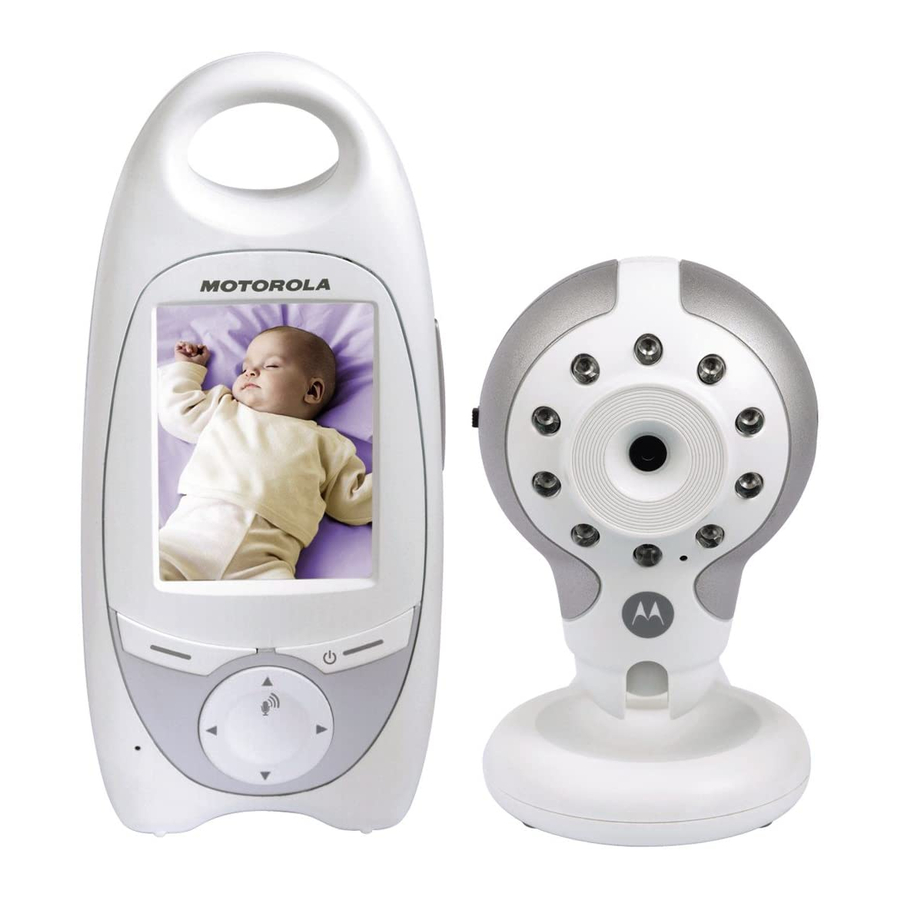
- Page 3 Overview of your Parent unit Display Power adapter connector Menu key ( Belt clip Left / Vol - key Speaker Microphone Battery cover screw Down key Battery cover Right / Vol + key Up/Talk key Power/Channel*/Enter key *This function is only available for multi-pack version with more than one camera. Parent unit menu icons Adjust brightness level of the LCD Turn the night vision on or off...
-
Page 4: Overview Of Baby Unit
Overview of your Baby unit Power LED On/Off switch Infrared LEDs Speaker Light sensor Microphone Camera lens Important guidelines for installing your Baby Monitor • To use your video monitor baby and parent unit together, you must be able to establish a radio link between them, and the range will be affected by environmental conditions. -
Page 5: Table Of Contents
Getting started ................7 Baby unit power supply ..............7 Parent unit battery installation ............8 Parent unit power supply............9 Registration ................10 Using the Baby Monitor MBP30 ..........11 Setting up .................11 Selecting a camera channel (for multi-pack only) ....12 Pairing camera channels............12 Night vision................12 Talk function ................12... -
Page 6: Safety Instructions
1. Safety Instructions WARNING This baby monitor is compliant with all relevant standards regarding electromagnetic fields and is, when handled as described in the User’s Guide, safe to use. Therefore, always read the instructions in this User’s Guide carefully before using the device. •... -
Page 7: Getting Started
2. Getting started Baby unit power supply Connect the small plug of the power adapter to the baby unit and the other end to the mains socket (230V/50Hz). NOTE Only use the enclosed power adapter (5V DC / 500mA). Switch the unit to and a green light will display. -
Page 8: Parent Unit Battery Installation
Parent unit battery installation screw Black Turn the belt clip so that it is in the hanging position. Loosen the screw in a counterclockwise direction using a small screwdriver. Remove the battery cover. Insert the wire tab of the rechargeable battery pack into the contact slot as shown above and fit the battery pack into the compartment. -
Page 9: Parent Unit Power Supply
Parent unit power supply IMPORTANT Installing the rechargeable battery pack and charging it fully before use is recommended. This will allow the unit to operate on battery in the event of a power failure. Connect the small plug of the power adapter to the parent unit and the other end to the mains socket (230V/50Hz) NOTE Only use the enclosed power adapter (5V DC / 1000mA). -
Page 10: Registration
Registration The baby monitor is already pre-registered upon your purchase. You do not need to register it again unless the baby unit loses its link with the parent unit. Up to 4 baby units can be registered to one parent unit. If you have more than one baby unit, please check that you have selected the correct channel at the Parent unit for that baby unit before you attempt to register it again. -
Page 11: Using The Baby Monitor Mbp30
3. Using the Baby Monitor MBP30 Setting up • Place the baby unit in a convenient location (e.g. on a table) and point the camera lens towards the area you want to monitor. • Adjust the baby unit until you are satisfied with the image in the parent unit. -
Page 12: Selecting A Camera Channel (For Multi-Pack Only)
The parent unit also provides a visual indication of the sound level detected at the baby unit, regardless of the volume setting. Up to five arrows (>>>>>) are turned on across the bottom of the display, with more arrows indicating a louder sound. Using the Baby Monitor MBP30... -
Page 13: Mbp30 Parent Unit Menu Options
4. MBP30 Parent Unit Menu Options Brightness This option lets you change the brightness of the LCD. Press to enter menu mode. Press until is selected on the LCD screen. Press to adjust the LCD brightness level. The LCD brightness will be adjusted accordingly. -
Page 14: Voice Activation
NOTE The LCD screen on the parent unit will be switched back on when the sound level of the baby reaches the VOX threshold or when any key on the parent unit is pressed. MBP30 Parent Unit Menu Options... -
Page 15: Disposal Of The Device (Environment)
Dispose of the battery pack in an environmentally-friendly manner according to your local regulations. 6. Cleaning Clean the MBP30 with a slightly damp cloth or with an anti-static cloth. Never use cleaning agents or abrasive solvents. Cleaning and care • Do not clean any part of the product with thinners or other solvents and chemicals –- this may cause permanent damage to the product... -
Page 16: Help
7. Help Display No display • Try recharging or replacing the battery pack. • Reset the units. Disconnect the battery pack of the parent unit and unplug both the units’ electrical power, then plug them back in. • Is the unit turned on? Press and release on the parent unit to turn it on. -
Page 17: General Information
This limited warranty is a consumer’s exclusive remedy, and only applies as follows to new Motorola branded Products and Accessories manufactured by Binatone Electronics International LTD., and purchased by consumers in Europe, which are accompanied by... - Page 18 REFUND AS PROVIDED UNDER THIS EXPRESS LIMITED WARRANTY IS THE EXCLUSIVE REMEDY OF THE CONSUMER, AND IS PROVIDED IN LIEU OF ALL WARRANTIES AND MOTOROLA AND BINATONE ELECTRONICS INTERNATIONAL LTD. MAKES NO OTHER WARRANTIES OR CONDITIONS, EXPRESS OF IMPLIED. IN NO EVENT SHALL MOTOROLA OR BINATONE ELECTRONICS INTERNATIONAL LTD.
- Page 19 OTHER FINANCIAL LOSS ARISING OUT OF OR IN CONNECTION WITH THE ABILITY OR INABILITY TO USE THE PRODUCTS OR ACCESSORIES AND BINATONE ELECTRONICS INTERNATIONAL LTD. SHALL UNDER NO CIRCUMSTANCES BE LIABLE FOR ANY CLAIMS OR DEMANDS MADE BY ANY THIRD PARTY OR MADE BY YOU ON BEHALF OF ANY THIRD PARTY TO THE FULL EXTENT THESE DAMAGES OR CLAIMS MAY BE DISCLAIMED BY LAW.
- Page 20 Accessories for commercial purposes or subjecting the Product or Accessory to abnormal usage or conditions; or (e) other acts or omissions which are not the fault or neglect of Motorola or Binatone Electronics International LTD., are excluded from coverage. Use of Non-Motorola branded Products and Accessories. Defects...
- Page 21 How to Obtain Warranty Service or Other Information? To obtain service or information, please call: +49 (0) 1805 938 802 in Europe You will receive instructions on how to ship the Products or Accessories, the shipment of which shall be at your own risk and expense, to a BINATONE ELECTRONICS INTERNATIONAL LTD.
-
Page 22: Technical Specifications
Technical Specifications Baby unit Frequency 2.4GHz to 2.4835GHz Maximum range Extended range up to 450 feet* *Based on unobstructed line of sight. Actual range will vary depending on surroundings. Image sensor Colour CMOS Lens f 2.5mm, F 2.8 IR LED 9 pcs Power DC 5V, 500mA (Model: Kings, KSS05-050-0500G) -
Page 23: Wall Mounting Instructions
9. Wall mounting instructions Use the template below to mark the wall in the correct places to drill holes for wall-mounting screws (not supplied). headscrew head screw 60.00mm (Tolerence 1.0mm) 9.5mm headscrew head screw Wall mounting instructions... - Page 25 Insert 4mm head screws (not supplied) into the holes and tighten the screws. Then, align your baby unit with the screws and push it down. Point the camera lens towards the area you want to monitor. Adjust the baby unit until you are satisfied with the image in the parent unit.
- Page 26 Motorola...
- Page 27 Binatone Electronics International LTD., official licensee this product. MOTOROLA and the Stylized M Logo, and other Motorola trademarks and trade dress are owned by Motorola, Inc. and are used under license from Motorola, Inc. MOTOROLA and the Stylized M Logo are registered in the US Patent &...
Need help?
Do you have a question about the MBP30 and is the answer not in the manual?
Questions and answers