Table of Contents
Advertisement
Quick Links
Thank you for purchasing this Panasonic product.
■ This manual is common to all the models regardless of suffixes of the Model No.
z for Taiwan
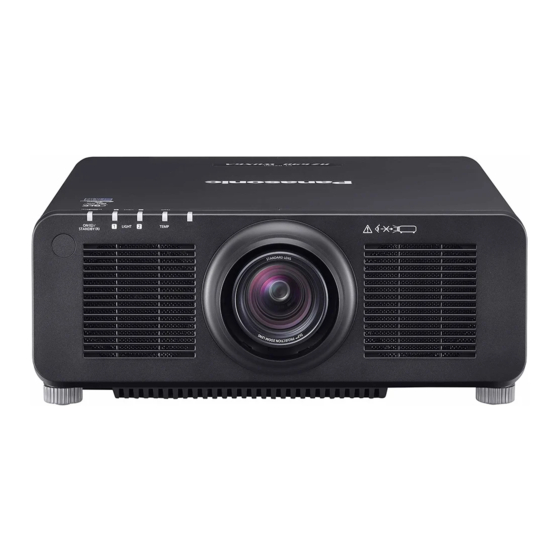
B: Black model, the standard zoom lens supplied
z for India
BD: Black model, the standard zoom lens supplied
z for Korea
B: Black model, the standard zoom lens supplied
z for other countries or regions
B: Black model, the standard zoom lens supplied
W: White model, the standard zoom lens supplied
■ Before operating this product, please read the instructions carefully and save this manual
for future use.
■ Before using this product, be sure to read "Read this first!" ( x pages 5 to 17).
Operating Instructions
DLP™ Projector
Model No.
Functional Manual
Commercial Use
PT-RZ990
PT-RZ890
PT-RZ790
PT-RZ690
LBD: Black model, the lens sold separately
W: White model, the standard zoom lens supplied
LB: Black model, the lens sold separately
LW: White model, the lens sold separately
ENGLISH
DPQP1335ZA/X1
Advertisement
Table of Contents

Related Manuals for Panasonic PT-RZ790


Summarization of Contents
Chapter 1 Preparation
Precautions for Use
Guidelines and warnings for safe and proper operation and installation.
Cautions When Transporting
Steps to safely move the projector and protect it from damage during transport.
Cautions When Installing
Warnings and advice on selecting suitable locations and methods for projector installation.
Security
Measures to protect the projector and personal information from unauthorized access.
DIGITAL LINK
Explanation of Panasonic's technology for transmitting signals over twisted-pair cables.
Application Software Supported by the Projector
Overview of software applications supported for projector management and control.
Accessories
List of items included with the projector and important notes on their use.
Optional Accessories
Details on optional accessories available for enhancing projector functionality.
About Your Projector
Information about the projector's remote control and body, including button functions.
Preparing the Remote Control
Instructions for inserting batteries and connecting the remote control for operation.
Connecting the Remote Control to the Projector with a Cable
How to connect the remote control to the projector using a cable for wired operation.
Chapter 2 Getting Started
Setting Up
Guidance on selecting appropriate power outlets and configuring installation modes.
Parts for Installation (Optional)
Details on optional parts required for ceiling mounting or other installations.
Projected Image and Throw Distance
Information on how to install the projector based on desired image size and projection distance.
Adjusting Adjustable Feet
How to use the adjustable feet to level the projector and correct image tilt.
Removing/Attaching the Projection Lens
Step-by-step guide on how to safely remove and attach the projector's projection lens.
Connecting
Instructions and examples for connecting external devices like AV equipment and computers.
Chapter 3 Basic Operations
Switching On/Off the Projector
Detailed steps for connecting power, turning the projector on, and switching it off safely.
When the Initial Setting Screen is Displayed
Initial setup procedures for language, operation, and administrator account settings.
Making Adjustments and Selections
Steps for adjusting focus, zoom, lens shift, and other image parameters.
Switching Off the Projector
Instructions on how to properly power down the projector from its operating state.
Projecting
Guidance on selecting input signals and adjusting the projected image for optimal display.
Adjusting the Focus, Zoom, and Lens Shift
How to fine-tune the projection lens for clear focus, appropriate image size, and correct positioning.
Operating with the Remote Control
Instructions for using various functions of the remote control, including shutter and OSD.
Chapter 4 Settings
Menu Navigation
How to access and navigate through the projector's on-screen menu system.
Main Menu
Overview of the primary menu categories for projector settings and adjustments.
[PICTURE] Menu
Settings for adjusting picture quality, including mode, contrast, brightness, and color.
[POSITION] Menu
Options for adjusting image position, aspect ratio, zoom, and geometric corrections.
[ADVANCED MENU] Menu
Advanced picture enhancement settings like Digital Cinema Reality and Blanking.
[DISPLAY OPTION] Menu
Settings related to color matching, screen settings, input signals, and on-screen display.
[PROJECTOR SETUP] Menu
Configuration options for projector ID, projection method, lens settings, and operation modes.
[TEST PATTERN] Menu
How to display and use built-in test patterns for image adjustment and verification.
[SIGNAL LIST] Menu
Managing registered signals, renaming, deleting, and protecting them.
[SECURITY] Menu
Settings for password protection, controlling device operations, and display settings.
[NETWORK] menu
Configuration for network connections, Ethernet type, Digital Link, and wired LAN settings.
Chapter 5 Operations
Network Connection
How to connect the projector to a computer or network for various control functions.
Web Control Function
Accessing and controlling projector settings and status via a web browser.
Updating the Firmware
Step-by-step guide on how to update the projector's firmware via a network connection.
Chapter 6 Maintenance
Light Source/Temperature Indicators
Understanding indicator lights and taking corrective actions for light source or temperature issues.
Maintenance
Guidelines for cleaning the projector's outer case and lens front surface.
Troubleshooting
Common problems and their solutions, with cross-references to relevant pages for details.
[SELF TEST] Indications
Interpreting error and warning codes displayed during the projector's self-test.
Chapter 7 Appendix
Technical Information
Details on PJLink commands, Art-Net function, and control commands via LAN.
Specifications
Technical data, dimensions, and compatible signal formats for the projector.
Precautions for Attaching the Ceiling Mount Bracket
Important safety guidelines and specifications for installing the projector with a ceiling mount.
Need help?
Do you have a question about the PT-RZ790 and is the answer not in the manual?
Questions and answers