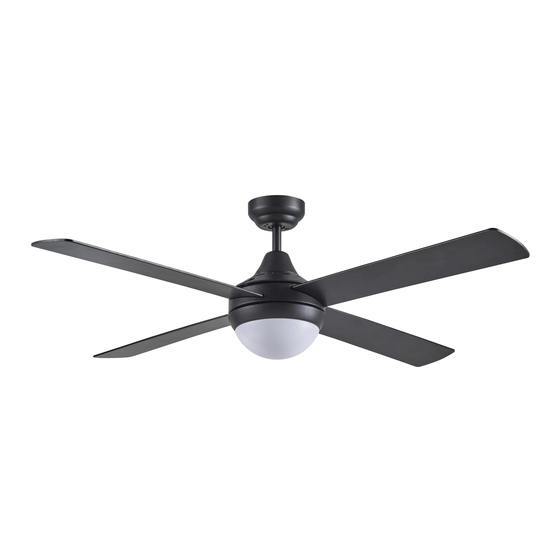
Summarization of Contents
IMPORTANT SAFEGUARDS AND SAFETY
General Installation Requirements
Fans must follow S.A.A. standards and be installed by a licensed electrician as per wiring rules.
Earthing, Mounting & Controller Guidelines
Ensure fan/light is earthed, bracket is secure, and only use Martec approved controllers.
Controller Use & Blade Handling
Use only approved controllers; do not mix or use damaged fan blades.
Assembly Instructions
Hanger Bracket Installation
Secure hanger bracket to ceiling beam using provided screws and press in ball seat rubber cover.
Attaching Fan to Hanger Bracket
Place fan into hanger bracket, aligning Ball Joint Slot with the hanger bracket.
Canopy Attachment
Attach canopy to hanger bracket by pushing upwards and twisting clockwise, securing with screws.
Blade and Seasonal Operation
Blade Installation Procedure
Insert blades through canopy slots, secure with screws, and replace cover plate.
Blade Handling Warning
Avoid bending fan blades during installation; this affects performance and is not covered by warranty.
Safety Before Direction Change
Ensure fan is OFF and blades are stationary before changing direction.
Seasonal Direction Settings
Set reverse switch to FORWARD (anticlockwise) for warm, REVERSE (clockwise) for cool seasons.
Light Kit and Cover Installation
PC Shade Installation/Removal
Align and spin PC shade clockwise to install, anti-clockwise to remove.
Metal Cover Installation/Removal
Align and spin metal cover clockwise to install, anti-clockwise to remove.
Colour Temperature Selection
Turn off light switch, then flick LED plate switch to select 3000K, 4000K, or 5000K.
3-Step Dimming Function
Use normal on/off switch to achieve 3-step dimming (100%, 50%, 15%).
Warranty Statement
Warranty Scope and Transfer
3-year 'In Home' + 3-year motor warranty applies to Australian purchases; not transferable.
Motor Replacement Warranty Process
Arrange electrician to uninstall motor and return to place of purchase for warranty.
Accessory Warranty Limitations
3-year warranty excludes accessories like remote kits, light fittings, and globes.
Component Warranty & Approved Products
Remote/wall controllers & light fittings have 1-year warranty; use only Martec approved products.
Finish & Outdoor Use Limitations
Warranty excludes finish changes and outdoor use; outdoor use voids warranty.
Regular Maintenance & Noise Issues
Tighten threaded components regularly; noises from loose parts are not covered.
Claim Limitations & Service Costs
Claims limited to replacement cost; customer liable for non-fault issues and out-of-network service.
Warranty Void Conditions
Warranty void if not installed by qualified electrician or if product is tampered with/abused.
Commercial Use & Speed Variations
90-day warranty for commercial use; minor speed variations are not covered.
Liability for Consequential Damage
No liability for consequential damage to property or external influences like noise/wobbling.
Warranty Amendments & High Installation Costs
Martec may amend warranty; customer covers costs for high ceiling installation access.
Warranty Claim Form
Customer and Warranty Details
Fields for customer contact, purchase date, product description, store, and fault description.
Acknowledgement of Warranty Terms
Customer acknowledges reading and agreeing to warranty statement, terms, and limitations.
Financial Liability for Non-Fault Issues
Customer liable for charges if faults are not manufacturing defects or for failed warranty claims.


Need help?
Do you have a question about the FSL1243 and is the answer not in the manual?
Questions and answers