Table of Contents
Advertisement
Quick Links
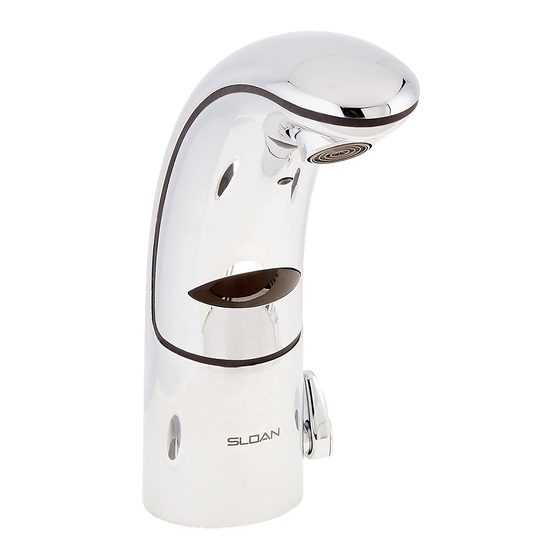
INSTALLATION INSTRUCTIONS FOR OPTIMA I.Q.
ELECTRONIC SENSOR ACTIVATED LAVATORY FAUCETS
EAF-100 Series
Adapter Powered, Sensor
Activated, Lavatory Faucets
EAF-150 Series
Battery Powered, Sensor
Activated, Lavatory Faucets
Sloan Valve Company warrants its Optima EAF-100 and EAF-150 Series Electronic Hand Washing Faucets to be made of first class materials, free from defects of material or workmanship under normal use and to perform the service for which
they are intended in a thoroughly reliable and efficient manner when properly installed and serviced, for a period of three years from date of purchase. During this period, Sloan Valve Company will, at its option, repair or replace any part or parts
which prove to be thus defective if returned to Sloan Valve Company, at customer's cost, and this shall be the sole remedy available under this warranty. No claims will be allowed for labor, transportation or other incidental costs. This warranty
extends only to persons or organizations who purchase Sloan Valve Company's products directly from Sloan Valve Company for purpose of resale. This warranty does not cover the life of the battery.
THERE ARE NO WARRANTIES WHICH EXTEND BEYOND THE DESCRIPTION ON THE FACE HEREOF. IN NO EVENT IS SLOAN VALVE COMPANY RESPONSIBLE FOR ANY CONSEQUENTIAL DAMAGES OF ANY MEASURE WHATSOEVER.
PRIOR TO INSTALLATION
Prior to installing the Sloan Optima EAF-100/150 Series Faucets, install the
items listed below. Also, refer to rough-in illustrations.
• Lavatory/sink
• Drain line
• Hot and cold water supply lines or pre-tempered water supply line.
Trim Plates
When the EAF Faucet is installed on a sink that has three (3) hole punchings, a
Trim Plate should be used. Trim Plates must be specified and ordered
separately.
ETF-607-A Trim Plate for 4" (102 mm) Centerset Sink
ETF-608-A Trim Plate for 8" (203 mm) Centerset Sink
TOOLS REQUIRED FOR INSTALLATION
• 13 mm open end wrench for male end of flex hose
• 13 mm open end wrench or nut driver for faucet retainer nut
FAUCET ROUGH-IN
MODELS EAF-100/150
1.5 gpm (5.7 Lpm) Max. Flow Aerator
Faucets with Single Line Water Supply
SPOUT
O-RING
GASKET
RETAINER
NUT
13" (330 mm)
TEMPERED
LONG FLEX HOSE
SUPPLY
If a connection to separate hot
and cold water supplies is desired,
then a Bak-Chek
supplied) must be used prior to
connecting to the faucet.
MODELS EAF-100/150-ISM
MODELS EAF-100/150-ISM-DPU-IC
1.5 gpm (5.7 Lpm) Max. Flow Aerator
Faucets with Hot and Cold Water Supply
SPOUT
1-3/16" (30 mm)
MIN. DIA. HOLE
REQUIRED ‡
O-RING
1-1/2" (38 mm)
GASKET
MAX. DECK
RETAINER
THICKNESS ‡
NUT
HOT
®
tee fitting (not
SUPPLY
LIMITED WARRANTY
Important:
• ALL PLUMBING SHOULD BE INSTALLED IN ACCORDANCE WITH APPLICABLE
CODES AND REGULATIONS.
• FLUSH ALL WATER LINES PRIOR TO MAKING CONNECTIONS.
• KEEP THREAD SEALANT OUT OF YOUR WATERWAY TO PREVENT
COMPONENT PART DAMAGE! DO NOT USE ANY SEALANT ON
COMPRESSION FITTINGS.
• 5/8" open end wrench for female end of flex hose (US)
• 3/4" open end wrench for female end of flex hose (International)
MIXING VALVE (Can Be
Set and Removed)
1-3/16" (30 mm)
MIN. DIA. HOLE
REQUIRED ‡
1-1/2" (38 mm)
MAX. DECK
THICKNESS ‡
13" (330 mm)
COLD
LONG FLEX
SUPPLY
HOSES
FAUCET VARIATIONS
-ISM
Integral Spout Mixer
-IC
-Click Feature
-DPU
Drain Pop Up
-P
Plug-in Transformer/Adapter
(EAF-100 Series)
-LT
Less Transformer/Adapter
(EAF-100 Series)
POP UP — MODELS EAF-100/150-ISM-DPU-IC
ONLY
5-9/16"
(142 mm)
24º
6-7/8"
(175 mm)
2-3/8
2-3/8
2-3/4
(60 mm)
‡ When installing the Faucet on a three (3) hole
sink, make sure that the center hole is large
enough to accommodate the Faucet shank. A 1-
3/16" (30 mm) minimum diameter hole is
required. NOTE: A 1-7/32" (31 mm) Diameter
hole is required if the deck is greater than 1/2"
(13 mm) thick.
Code No. 0816542
Rev. 3 (02/11)
(60 mm)
(70 mm)
Advertisement
Table of Contents

Related Manuals for Sloan OPTIMA I.Q. EAF-150-IC


Summarization of Contents
Optima I.Q. Electronic Sensor Activated Lavatory Faucets Installation
Faucet Variations
Lists different models and features like ISM, IC, DPU, P, and LT.
Limited Warranty
Details the warranty period and terms for Optima EAF-100/150 Series Faucets.
Prior to Installation
Lists essential items to install and important plumbing considerations before faucet installation.
Tools Required for Installation
Specifies the necessary tools for installing the faucet, including wrenches.
Faucet Rough-In Diagrams
Provides diagrams and dimensions for EAF-100/150 and EAF-100/150-ISM models.
Install Faucet
Instructions on installing the faucet into the sink deck or lavatory, including trim plate use.
Secure Faucet Retainer and Nut
Guides on sliding the gasket over the flex hose and securing it with the retainer and nut.
Install Strainer and Connect Supply
Instructions for installing the strainer, connecting the flex hose, and opening supply stops.
Electrical Connections and Sensor Prep
Details electrical connection for EAF-100 models and removing the sensor label from all models.
Activate Faucet and Check Leaks
How to activate the faucet, its run time, and checking for leaks after installation.
Set and Fix Faucet Temperature
Instructions on adjusting the temperature lever and optionally fixing the temperature setting.
Hot Limit Stop Adjustment
Detailed steps for adjusting the hot water limit stop on the faucet.
Faucet Operation
Explains how the sensor activates the solenoid valve and water flow based on hand presence.
Care and Cleaning
Provides guidelines on cleaning faucet finishes using mild soap and water, avoiding chemicals.
Battery Replacement
Step-by-step guide for replacing the battery in EAF-150 models, including LED indicators.
Additional Features Overview
Introduces extra features like the i.q.-Click feature and its modes.
i.q.-Click Feature and Settings
Explains the i.q.-Click button functionality for Continuous Run, Temporary Off, and Auto Set.
12/24 Line Purge Feature
Describes the automatic line purge feature that operates every 12 or 24 hours.
Sensor Range Adjustment
Instructions on adjusting the sensor detection range, including basic and -IC option adjustments.
Troubleshooting Guide
Lists common problems with faucets and their causes and solutions.
Parts List
Provides a detailed list of faucet components with item numbers and descriptions.
Sloan Deck Mounted Soap Dispenser Installation
Touchfree Counter Mounted System Installation
Guide for installing the ESD-Series touchfree counter mounted soap dispenser.
Soap Dispenser Prior to Installation
Steps to take before installing a new soap dispenser, including hole verification and drilling.
Ordering Replacement Soap Cartridges
Contact information and procedure for ordering replacement soap cartridges.
Soap Dispenser Limited Warranty
Details the warranty terms for Sloan Valve Company's soap dispensers.
Installing the Touchfree Counter Mounted System
Step-by-step instructions for mounting the dispenser assembly, motor support, and battery box.
Soap Refill Bottle Installation and Removal
Instructions for installing and removing refill bottles, including testing the system.
Soap Replacement Ordering
Details on how to order replacement soap cartridges from GOJO Industries.
Cleaning the Counter Mounted System
Guidelines for cleaning the soap dispenser spout using mild soap and water.
Soap Dispenser Parts Breakdown
A detailed breakdown of parts for the Sloan deck mounted soap dispenser with item numbers.
Need help?
Do you have a question about the OPTIMA I.Q. EAF-150-IC and is the answer not in the manual?
Questions and answers