Table of Contents
Advertisement
50TC*D/E units for installation in the United States contain use of Carrier's Staged Air Volume (SAV™) 2-speed
indoor fan control system. This complies with the U.S. Department of Energy (DOE) efficiency standard of 2018.
50TC*D/E units for installation outside the United States may or may not contain Carrier's Staged Air Volume
(SAV) 2-speed indoor fan control system as they are not required to comply with the U.S. Department of
Energy (DOE) 2018 mandatory efficiency standard.
50TC*M units for installation inside or outside the United States do not contain use of Carrier's Staged Air
Volume (SAV) 2-speed indoor fan motor control system as they comply with the U.S. Department of Energy
(DOE) 2018 mandatory efficiency standard without their use.
For specific details on operation of the Carrier SAV 2-speed indoor fan system, refer to the Variable Frequency
Drive (VFD) Factory-Installed Option 2-Speed Motor Control Installation, Setup, and Troubleshooting manual.
CONTENTS
SAFETY CONSIDERATIONS . . . . . . . . . . . . . . . . . . . . 1
GENERAL . . . . . . . . . . . . . . . . . . . . . . . . . . . . . . . . . . . 2
Rated Indoor Airflow (cfm) . . . . . . . . . . . . . . . . . . . . . 2
Pre-Installation . . . . . . . . . . . . . . . . . . . . . . . . . . . . . . . 2
INSTALLATION. . . . . . . . . . . . . . . . . . . . . . . . . . . . . . 15
Jobsite Survey . . . . . . . . . . . . . . . . . . . . . . . . . . . . . . 15
Step 1 - Plan for Unit Location . . . . . . . . . . . . . . . . 15
Step 3 - Inspect Unit . . . . . . . . . . . . . . . . . . . . . . . . 16
Step 4 - Provide Unit Support . . . . . . . . . . . . . . . . . 16
Step 5 - Field Fabricate Ductwork . . . . . . . . . . . . . 20
Step 6 - Rig and Place Unit . . . . . . . . . . . . . . . . . . . 20
Ductwork (when required). . . . . . . . . . . . . . . . . . . 21
Step 8 - Install Outside Air Hood . . . . . . . . . . . . . . 22
Step 10 - Make Electrical Connections . . . . . . . . . 38
Electric Heaters . . . . . . . . . . . . . . . . . . . . . . . . . . . . . 48
Humidi-MiZer® System Control Connections . . . . . 51
Manufacturer reserves the right to discontinue, or change at any time, specifications or designs without notice and without incurring obligations.
Catalog No. 04-53500214-01
Installation Instructions
Printed in U.S.A.
Form 50TC-7-16-01SI
Single Package Rooftop Cooling Only
with Puron
®
EconoMi$er® X (Factory-Installed Option). . . . . . . .55
• CO2 SENSOR WIRING
PremierLink™ Controller (Factory Option) . . . . . . .68
Smoke Detectors. . . . . . . . . . . . . . . . . . . . . . . . . . . . .80
Step 11 - Adjust Factory-Installed Options . . . . . .81
Step 12 - Install Accessories . . . . . . . . . . . . . . . . . .81
Step 13 - Check Belt Tension . . . . . . . . . . . . . . . . .81
Pre-Start and Start-Up . . . . . . . . . . . . . . . . . . . . . . . .82
START-UP CHECKLIST . . . . . . . . . . . . . . . . . . . . .CL-1
SAFETY CONSIDERATIONS
Installation and servicing of air-conditioning equipment can be
hazardous due to system pressure and electrical components.
Only trained and qualified service personnel should install, re-
pair, or service air-conditioning equipment.
Untrained personnel can perform basic maintenance functions
of cleaning coils and filters and replacing filters. All other op-
erations should be performed by trained service personnel.
Pg 1
8-19
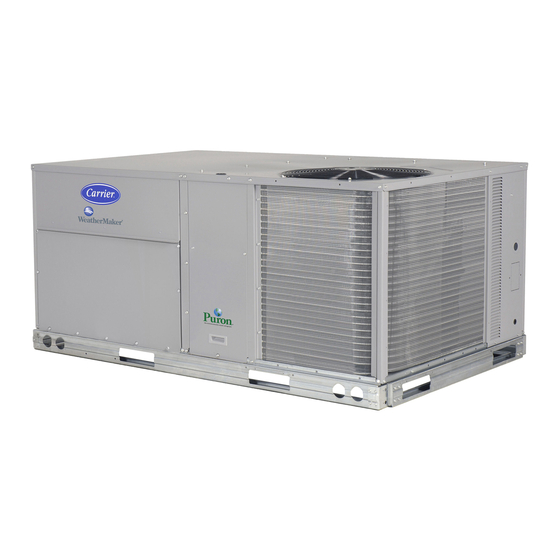
WeatherMaker
50TC07-16
(R-410A) Refrigerant
Replaces: 50TC-7-01SI, 50TC-8-16-02SI
®
Advertisement
Table of Contents

Related Manuals for Carrier 50TC D14 Series


Summarization of Contents
GENERAL
Pre-Installation
Checks to complete before starting unit installation.
INSTALLATION
Jobsite Survey
Assess site conditions and clearances for unit placement.
Step 1 Plan for Unit Location
Select unit location considering safety and performance.
Step 2 Plan for Sequence of Unit Installation
Determine the order of installation steps for different mounting types.
INSTALLATION
Step 3 Inspect Unit
Check unit for damage and verify power requirements.
Step 4 Provide Unit Support
Install roof curb or slab for unit support.
INSTALLATION
Step 5 Field Fabricate Ductwork
Fabricate supply and return ductwork to unit specifications.
Step 6 Rig and Place Unit
Procedures for lifting, moving, and placing the unit.
INSTALLATION
Step 7 Convert to Horizontal and Connect Ductwork
Convert unit for horizontal ducting and connect ductwork.
INSTALLATION
Step 8 Install Outside Air Hood
Install the outside air hood assembly for economizer units.
INSTALLATION
Step 9 Install External Condensate Trap and Line
Install condensate trap and piping for drainage.
Make Electrical Connections
Units with Factory-Installed Disconnect
Installation of the non-fused disconnect switch.
Make Electrical Connections
Field Wiring for 50TC 07-14 UNITS
Field wiring compliance with NEC and local codes for 07-14 units.
Power Supply and Voltage Considerations
Field power supply connections and voltage requirements.
Convenience Outlets
Wiring and installation of convenience outlets.
Field Control Wiring
Thermostat Installation
Installing the thermostat and connecting control wires.
50TC 16 UNIT ELECTRICAL CONNECTIONS
Field Power Supply
Field power supply routing and connection for 50TC 16.
EconoMi$er® X System
PRODUCT DESCRIPTION
General description of the EconoMi$er X system.
SYSTEM COMPONENTS
Key components of the EconoMi$er X system.
Economizer Module
Details on the W7220 economizer module controller.
User Interface and Setup
System operation, setup, and interface overview.
Economizer Module Wiring Details
INPUTS AND SENSORS
Requirements for various input sensors and their wiring.
CO2 Sensor and Interface Overview
KEYPAD Navigation
Explanation of the navigation buttons for system control.
MENU STRUCTURE
STATUS and SETPOINTS
Menus for viewing operational status and adjusting setpoints.
ADVANCED SETUP and CHECKOUT
Advanced configuration options and system tests.
ALARMS
Menu for viewing and clearing system alarms.
TROUBLESHOOTING
Alarms Management
How alarm messages are displayed and cleared.
PremierLink Controller Operation
Information on operating units with PremierLink controller.
RTU Open Controller Operation
Information on operating units with RTU Open controller.
Need help?
Do you have a question about the 50TC D14 Series and is the answer not in the manual?
Questions and answers