Table of Contents
Advertisement
Quick Links
Download this manual
See also:
Use and Care Manual
Installation Instructions
Distinctive
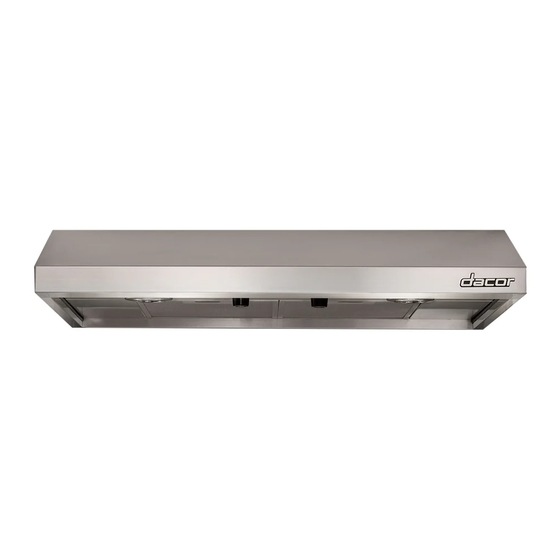
Wall Mount Range Hood
™
Model DH3006S
®
Approved for use with All dAcor
rAnges And cooktops.
tested in AccordAnce with the lAtest edition of Ansi/ul 507
stAndArd for electric fAns And cAn/csA-c22.2 no. 113 stAndArd
for fAns And ventilAtors.
Part No. 105811 Rev. B
Advertisement
Table of Contents

Subscribe to Our Youtube Channel
Summary of Contents for Dacor DH3006
- Page 1 Wall Mount Range Hood ™ Model DH3006S ® Approved for use with All dAcor rAnges And cooktops. tested in AccordAnce with the lAtest edition of Ansi/ul 507 stAndArd for electric fAns And cAn/csA-c22.2 no. 113 stAndArd for fAns And ventilAtors.
-
Page 2: Table Of Contents
It is located inside the hood behind the filters on the back side of the chas- sis. Remove the filters to view it. All specifications subject to change without notice. dacor assumes no liability for changes to specifications. © 2012 Dacor, all rights reserved. -
Page 3: Important Safety Instructions
Hazards or unsafe practices that could result in severe • Always contact the Dacor Customer Service Team personal injury or death. about problems and conditions that you don’t under- stand. cAution Hazards or unsafe practices that could result in minor personal injury or property damage. -
Page 4: General Safety Precautions
• The customer should not install, repair or replace any part of the range hood unless specifically recommended in the literature accompanying it. A qualified service technician should perform all other service. Contact the nearest Dacor authorized service representative at (800) 793-0093, or at www.dacor.com for examination, repair or adjustment. -
Page 5: Product Specifications
Product Specifications Specifications and Dimensions Number of fan speeds Infinite 11 7/8 ” (30.2 cm) Mesh type, dishwasher safe 29 7/8” Filters (Optional baffle type available, (75.9 cm) order part number AHBF2) Exhaust 8-inch 120 Vac, 60 Hz., 2 Amp. Max. Total Connected Load 6”... -
Page 6: Planning The Installation
Planning the Installation wArning Observe all governing codes and ordinances during planning and installation. Contact your local building department for further information. Cabinet Layout importAnt See the diagram for minimum installed distance from wArning the hood to the cooktop surface. The minimum specified distance may be higher for the particular range or To reduce the risk of personal injury caused by reaching cooktop in use. -
Page 7: Planning The Ductwork
Planning the Installation Planning the Ductwork Calculating the Maximum Duct Run Length The maximum straight duct length for the hood is deter- mined by the type of duct used. See the chart below. wArning duct siZe mAXimum duct run • To prevent combustion by-products, smoke or odors from entering the home and to improve efficiency, tape 8”... -
Page 8: Installation Instructions
Hood assembly with filters • Light replacement tool • Literature • Dacor Stainless Steel Cleaner Mounting Location Preparation • For maximum stability, the hood must be attached at the top and the back. • Determine the number, size and type of fasteners/... -
Page 9: Electrical Service Installation
Installation Instructions Electrical Service Installation Duct Cutout Install a junction box in the vicinity of the hood electrical 1. Using a pencil, draw the vertical center line for the access holes according to local codes. Install it above the range hood on the surface above the hood mounting hood. -
Page 10: Hanging The Range Hood
Installation Instructions Hanging the Range Hood Ductwork Installation wArning wArning Hanging the range hood requires two people. Do not During duct installation, make sure there are no attempt to lift the hood without assistance. obstructions that keep the damper flaps on the top of the hood from opening. - Page 11 Installation Instructions 3. Connect the hood wiring to an electrical junction box on a dedicated circuit. See page 4 for specifications. Connect it according to one of the wiring diagrams below. To house circuit breaker panel or fuse box Wire nut, 3 places WHITE WHITE...
-
Page 12: Verifying Proper Operation
• Repeat the above test. • If the hood still does not work, contact Dacor Distinctive Service at (877) 337-3226. Do not attempt to repair the appliance yourself. If you need service, be sure to have the model and serial numbers available when you call. -
Page 13: Installation Checklist
• Proper installation is the responsibility of the home- owner. The importance of proper installation of your Dacor range hood cannot be overemphasized. □ Is the hood properly attached to the wall according to the instructions on page 8? □... -
Page 14: Wiring Diagram
Wiring Diagram NEUTRAL LINE GROUND LAMP DIMMER HALOGEN LIGHTS (2) FAN MOTOR FAN SWITCH... - Page 16 Dacor ● 14425 Clark Avenue, City of Industry, CA 91745 ● Phone: (800) 793-0093 ● Fax: (626) 403-3130 ● www.dacor.com...


Need help?
Do you have a question about the DH3006 and is the answer not in the manual?
Questions and answers