
Related Manuals for Blaupunkt TravelPilot E2


Summary of Contents for Blaupunkt TravelPilot E2
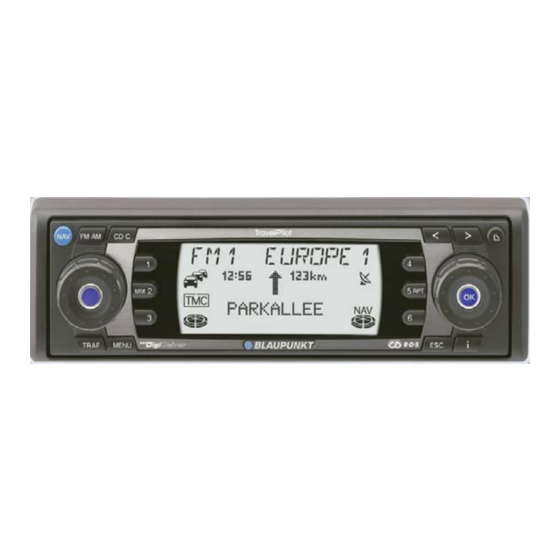
- Page 1 TravelPilot Navigation Radio/CD TravelPilot E1/E2 Installation instructions www.blaupunkt.com...
-
Page 2: Installation Instructions
If these instructions are not suitable for 1. Electrical connection your particular installation, please con- 1.1 Electrical connection to the tact your Blaupunkt dealer, your vehi- Safety notices vehicle-specific plugs cle manufacturer or our telephone hot- Please observe the following safety line. -
Page 3: Antenna Installation
Caution! Before inserting the Travel- For vehicles that do not have a DIN antenna installation instructions. Pilot completely, you must first level out compartment: Blaupunkt supplies the gyro (see Fig. 6). You must take the following into ac- vehicle-specific installation kits (for... -
Page 4: Sensor Test
Slide the device 1/3 of its length into Note: The clipped in stirrups can only Caution! We do not accept liability for the installation compartment. be detached after the TravelPilot has incorrect connections and their conse- been pulled out. quences. Undo the gyroscope screw. - Page 5 GPS antenna 7 607 621 … Reversing light signal Speedometer signal Radio antenna Fig. 1 Fig. 3 4 Ohm 4 ohms 4 Ohm 4 ohms 4 ohms 4 Ohm 4 Ohm 4 ohms Fig. 2...
- Page 6 Fig. 4 Fig. 4a 90° O.K. 90° Fig. 5 Fig. 6 8 601 910 003...
- Page 7 7 10 13 16 19 9 12 15 18 — Gala/speedometer Loudspeaker RR+ 8 11 14 17 20 — Telephone mute (active low) Loudspeaker RR- — Reversing light signal Loudspeaker RF+ — Continuous positive (terminal 30) 4 Loudspeaker RF- — —...
- Page 8 Control cable (power antenna +) The control cable is the switched positive output for ex- ternal components, e.g. electric antenna (maximum load < 150 mA). Caution! You must not connect the control cable to termi- nal 15 (positive switched) or terminal 30 (continuous posi- Relais tive).
- Page 9 01-2185 11111 Spain 902-120234 916-467952 Sweden 08-7501500 08-7501810 Switzerland (CH) 01-8471644 01-8471650 Czech. Rep. (CZ) 02-6130 0441 02-6130 0514 Hungary 01-333 9575 01-324 8756 Poland (PL) 0800-118922 022-8771260 Turkey (TR) 0212-335 06 00 0212-346 00 40 Blaupunkt GmbH Printed in Germany...
- Page 10 TravelPilot E1/E2 An overview! Short press: Navigation Radio/CD: Search downwards / Skip to the previ- Long press: Traffic jam and route options ous track Navigation: Delete characters Short press: Radio mode, wavebands FM, MW and LW Radio/CD: Search upwards / Skip to the next track FM ·...
Need help?
Do you have a question about the TravelPilot E2 and is the answer not in the manual?
Questions and answers