
Subscribe to Our Youtube Channel
Related Manuals for Intel PRO1000 - MT Dual Port Server Adapter


Summary of Contents for Intel PRO1000 - MT Dual Port Server Adapter
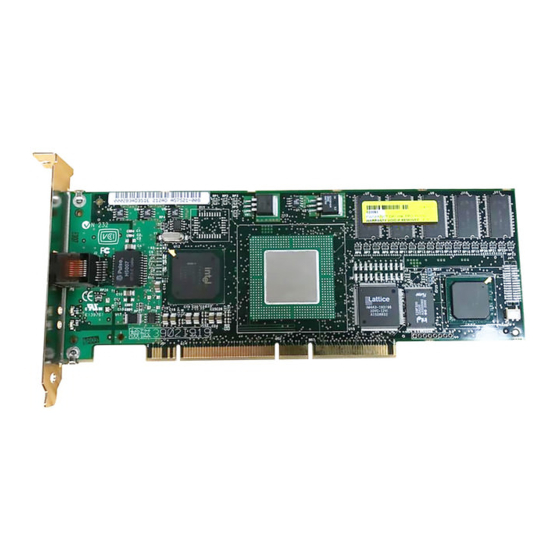
- Page 1 Intel PRO/1000 T ® IP Storage Adapter Bringing Gigabit Ethernet to Network Storage Quick Installation Guide...
-
Page 2: Additional Information
Nor does Intel make any commitment to update the information contained herein. * Other names and brands may be claimed as the property of others. Intel is a trademark or registered trademark of Intel Corporation or its subsidiaries in the United States and other countries. -
Page 3: Table Of Contents
Adapter Specifications ..........21 Intel Automated Customer Support ........22 How to Use This Guide ®... -
Page 4: Getting Started
Getting Started ® To get started using the Intel PRO/1000 T IP Storage Adapter: Insert the adapter. Install the driver and software. Configure the software. Connect to a target. System Requirements ® Before you can install the Intel PRO/1000 T IP Storage Adapter, your system must meet the following configuration requirements: •... -
Page 5: Inserting The Adapter
You can insert a maximum of three adapters into your system to connect to ® multiple targets and increase throughput performance. To insert the Intel PRO/1000 T IP Storage Adapter into your computer, follow these steps: If your computer is not a Hot Plug system, turn it off and unplug it before you remove the cover. - Page 6 1000BASE-T or 100BASE-TX Connections To attach the Intel® PRO/1000 T IP Storage Adapter to a 1000BASE-T or 100BASE-TX network, you must use a Category 5, twisted-pair cable (four twisted-pair wiring). If you plan to run the adapter at 1000 Mbps, it must be connected to a compatible 1000BASE-TX switch.
-
Page 7: Installing The Software
If you have uninstalled the driver and want to reinstall it, you must restart your computer before following the ® installation steps below. Once you have installed the Intel PRO/1000 T IP Storage Adapter in your computer, connected the cable, plugged in the power cord, and powered on your computer, the Found New Hardware window will appear on your screen. - Page 8 Select “Search for a suitable driver for my device” and click Next. Specify the location of the is10002K.inf file, which is in the Drivers directory on the Intel CD, insert the CD and click Next. This file supports Windows* 2000 and XP.
- Page 9 Once the wizard locates the driver, click Next to install it. NOTE: There may be a 5-20 second delay while the driver is being installed. Click Finish.
- Page 10 When the Found New Hardware Wizard appears again, click Next. Select “Search for a suitable driver for my device” and click Next.
- Page 11 Specify the location of the nodev.inf file, which is in the Drivers directory on the Intel CD, and click Next. 10. Once the wizard locates the driver, click Next to install it.
- Page 12 If you have uninstalled the driver and want to reinstall it, you must restart your computer before following the ® installation steps below. Once you have installed an Intel PRO/1000 T IP Storage Adapter in your computer, connected the cable, plugged in the power cord, and powered on your computer, the Found New Hardware window will appear on your screen.
- Page 13 In the Found New Hardware Wizard window, select Install the Software Automatically and click Next. When the Hardware Installation window appears, click Continue Anyway.
- Page 14 Wait for the installation process to complete. NOTE: There may be a 5-20 second delay while the driver is being installed. When the Found New Hardware Wizard window appears, click Finish.
-
Page 15: Configuring The Software
Otherwise, PROSet indicates that both adapters are connected to the same target and multiple connections to the same target can occur. NOTE: The Intel PRO/1000 T IP Storage Adapter allows you to connect to a maximum of eight iSCSI targets at a time. Linux RedHat* Linux Version 7.2 configuration information is located in the... - Page 16 OK to apply, save and exit the configuration tool, or Cancel to cancel the changes you made since the last time you clicked Apply. ® From the Control Panel, double-click Intel PROSet for IP Storage. NOTE:When using PROSet for the first time, you must accept the...
- Page 17 ® The Intel PROSet for IP Storage window contains five configuration tabs. The left side of the window displays the component tree, which is an expanded view of all the connected storage components (adapters, targets, and routers). If you have more than one adapter installed, each adapter is indicated in the tree and numbered as (0), (1), (2), etc.
- Page 18 Identify the Adapter. Click the Network Settings tab to enable or disable DHCP, enter SAN IP settings (gateway is optional if the target and initiator are in the same subnet) and create a separate initiator name for each adapter. When you are done, click Apply to continue to the next tab.
- Page 19 (router). Enter the new target's IP address and port. If you want to enable CHAP security, see the Intel PRO/1000 T IP Storage Adapter User Configuration Guide for details.
-
Page 20: Basic Troubleshooting
Check the Troubleshooting section of the User Configuration Guide for more information. If an issue continues or is not addressed here, ® see the Late-breaking News document on the Intel PRO/1000 T IP Storage Adapter CD or check out the Intel support Web site at http://support.intel.com. -
Page 21: Adapter Specifications
External Memory: 32 MB ECC SDRAM; 4 MB Flash IEEE Support: 802.2, 802.3z, and 802.3ab Data transfer mode: Bus-master DMA Controller or processor: Intel® XScale™ 80200 Typical power consumption: 7.8 - 8 Watts Data path width: 32-bit and 64-bit PCI... -
Page 22: Intel Automated Customer Support
For more information about adapter configuration or other topics, see the online User Configuration Guide. To view the guide, insert the Intel CD in your drive and wait for the Autorun to display. Click the User Configuration Guide button to view the guide. Note that a web browser is required to view the guide.
Need help?
Do you have a question about the PRO1000 - MT Dual Port Server Adapter and is the answer not in the manual?
Questions and answers