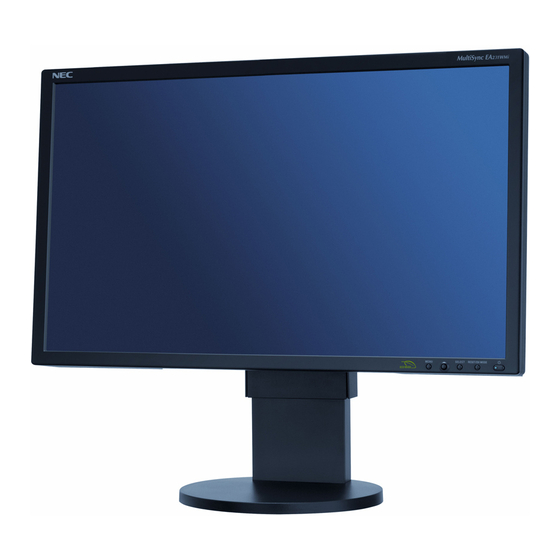
NEC MultiSync EA231WMi User Manual
User manual
Hide thumbs
Also See for MultiSync EA231WMi:
- Specifications (2 pages) ,
- Technical specifications (2 pages) ,
- Product dimensions (1 page)
Table of Contents
Advertisement
Advertisement
Table of Contents

Subscribe to Our Youtube Channel
Related Manuals for NEC MultiSync EA231WMi


Summary of Contents for NEC MultiSync EA231WMi
- Page 1 MultiSync EA231WMi User’s Manual...
-
Page 2: Table Of Contents
Index Warning, Caution ......................... English-1 Registration Information ....................... English-1 Recommended use ........................English-3 Contents ............................English-5 Quick Start ........................... English-6 Controls ............................English-11 Specifications ..........................English-14 Features ............................. English-15 Troubleshooting ......................... English-16 Using the Auto Brightness function .................... English-17 TCO Displays 5.0 ........................English-18 Manufacturer’s Recycling and Energy Information .............. -
Page 3: Registration Information
Voltage 120* 100* *When operating the MultiSync EA231WMi monitor with its AC 125-240V power supply, use a power supply cord that matches the power supply voltage of the AC power outlet being used. NOTE: This product can only be serviced in the country where it was purchased. -
Page 4: Canadian Department Of Communications Compliance Statement
C-UL: Bears the C-UL Mark and is in compliance with Canadian Safety Regulations according to CAN/CSA C22.2 No. 60950-1. FCC Information Use the attached specified cables with the MultiSync EA231WMi (L238N4) color monitor so as not to interfere with radio and television reception. -
Page 5: Recommended Use
NOTE: As with all personal display devices, NEC DISPLAY SOLUTIONS recommends displaying moving images and using a moving screen saver at regular intervals whenever the screen is idle or turning off the monitor when not in use. - Page 6 CORRECT PLACEMENT AND ADJUSTMENT OF THE MONITOR CAN REDUCE EYE, SHOULDER AND NECK FATIGUE. CHECK THE FOLLOWING WHEN YOU POSITION THE MONITOR: • For optimum performance, allow 20 minutes for warm-up. • Adjust the monitor height so that the top of the screen is at or slightly below eye level. Your eyes should look slightly downward when viewing the middle of the screen.
-
Page 7: Contents
Contents Your new NEC MultiSync LCD monitor box* should contain the following: • MultiSync LCD monitor with tilt/swivel/pivot/height adjust stand • Power Cord • Cable cover • Video Signal Cable (15-pin mini D-SUB male to 15-pin mini D-SUB male) •... -
Page 8: Quick Start
Quick Start To attach the MultiSync LCD monitor to your system, follow these instructions: 1. Turn off the power to your computer. 2. For the PC or MAC with DVI digital output: Connect the DVI signal cable to the connector of the display card in your system (Figure A.1). - Page 9 5. To keep the cables neatly organized, place them into the cable management system that is built into the stand. Place the Power cord and DVI cables into the specific hooks, as indicated in Figure C.2/Figure C.3. Place the D-Sub and the USB cables into the specific hooks, as indicated in Figure C.2/Figure C.3. 6.
-
Page 10: Raise And Lower Monitor Screen
8. Connect the power cord to the power outlet (Figure E.1). NOTE: Please refer to Caution section of this manual for proper selection of AC power cord. 9. Turn on the monitor with the front power button and the computer (Figure E.1). 10. -
Page 11: Screen Rotation
Screen Rotation Before rotating, the screen must be raised to the highest level to avoid knocking the screen on the desk or pinching with your fingers. To raise the screen, with one hand, grip the top of the display by the handle using the other hand to grip the bottom. Lift up to the highest position (Figure RL.1). -
Page 12: Flexible Arm Installation
8. Reverse this process to re-attach stand. NOTE: Use only VESA-compatible alternative mounting method. Handle with care when removing stand. NOTE: Match “TOP SIDE” mark on stand to top side of the monitor head when re-attaching stand. “TOP SIDE” mark Hole of “... -
Page 13: Controls
Controls OSD (On-Screen Display) control buttons on the front of the monitor function as follows: To access OSD menu, press any of the control buttons (MENU, Left, Right, Down, Up). To change signal input, press the SELECT button. To change ECO MODE, press the RESET/ECO MODE button. NOTE: OSD must be closed in order to change signal input. -
Page 14: Auto Brightness
AUTO BRIGHTNESS OFF: No function. 1: Adjusts the brightness automatically, by detecting the brightness level of your environment and adjusting the monitor with the best BRIGHTNESS setting* 2: Adjusts the brightness automatically for the best BRIGHTNESS setting based on the white display area. The environmental brightness sensor (Ambibright sensor) has no function. -
Page 15: Menu Tools
OFF TIMER: Monitor will automatically power-down when the end user has selected a predetermined amount of time. Before powering off, a message will appear on the screen asking the user if they want to delay the turn off time by 60 minutes. -
Page 16: Specifications
1280 x 1024* @ 60 Hz to 75 Hz 1400 x 1050* @ 60 Hz 1440 x 900* @ 60 Hz 1920 x 1080 @ 60 Hz......NEC DISPLAY SOLUTIONS cites recommended. Active Landscape: Horiz.: 510 mm/20.0 inches Display Area Vert.: 287 mm/11.3 inches... -
Page 17: Features
Carbon conversion factor - conversion factor is based on OECD publication of global CO2 emissions 2008 Edition). This monitor has a manufacturing carbon footprint of approximately 30.4 kg. Note: The manufacturing and operating carbon footprints are calculated by a unique algorithm developed exclusively by NEC for its monitors. -
Page 18: Troubleshooting
NOTE: As with all personal display devices, NEC DISPLAY SOLUTIONS recommends displaying moving images and using a moving screen saver at regular intervals whenever the screen is idle or turning off the monitor when not in use. -
Page 19: Using The Auto Brightness Function
Using the Auto Brightness function The brightness of the LCD screen can be set to increase or decrease depending on the amount of ambient light within the room. If the room is bright, the monitor becomes correspondingly bright. If the room is dim, then the monitor will dim accordingly. -
Page 20: Tco Displays 5.0
TCO Displays 5.0 Congratulations! This display is designed for both you and the planet! The display you have just purchased carries the TCO Certified label. This ensures that your display is designed, manufactured and tested according to some of the strictest quality and environmental requirements in the world. -
Page 21: Manufacturer's Recycling And Energy Information
Manufacturer’s Recycling and Energy Information NEC DISPLAY SOLUTIONS is strongly committed to environmental protection and sees recycling as one of the company’s top priorities in trying to minimize the burden placed on the environment. We are engaged in developing environmentally- friendly products, and always strive to help define and comply with the latest independent standards from agencies such as ISO (International Organisation for Standardization) and TCO (Swedish Trades Union).
Need help?
Do you have a question about the MultiSync EA231WMi and is the answer not in the manual?
Questions and answers