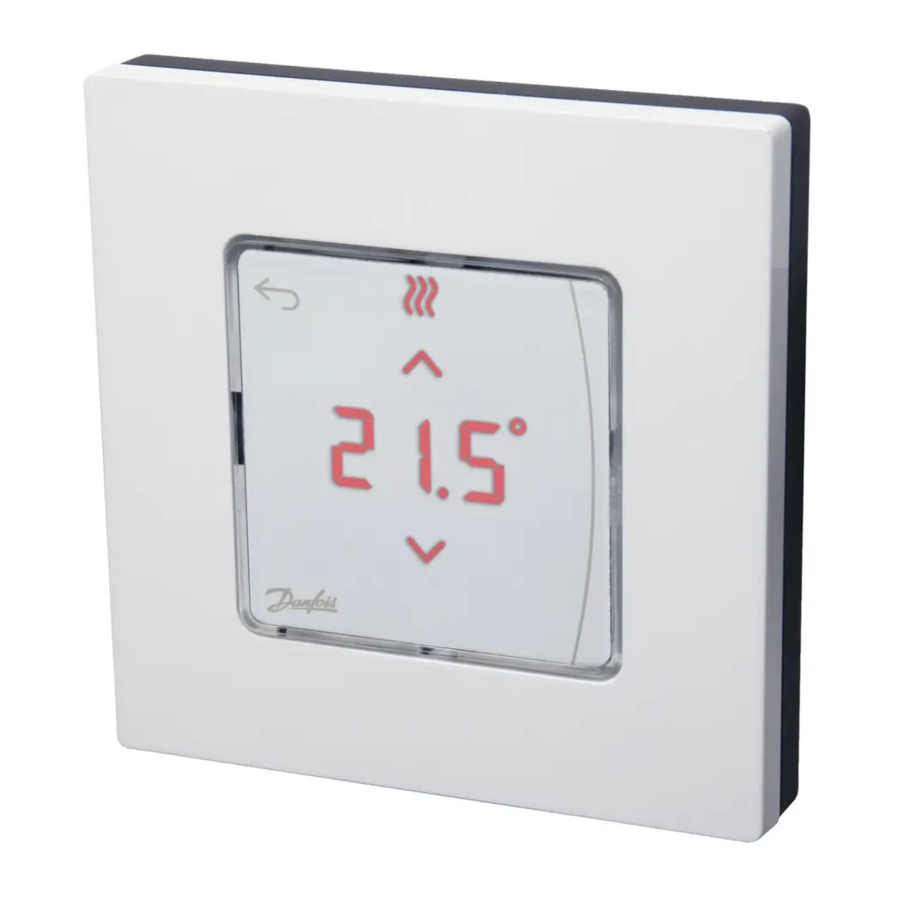
Danfoss Icon Manual
- Installation manual (164 pages) ,
- Application manual (12 pages) ,
- User manual (2 pages)
Advertisement
Installation
![]() (fig. 1)
(fig. 1)
![]()
Adding a Danfoss Icon™ Room Thermostat to a Danfoss Link™ system is done from the Danfoss Link™ CC. For further information, please see separate Danfoss Link™ CC installation guide.
To include the thermostat in the Link™ system follow the instructions on Link™ CC screen and when prompted, touch the Icon screen to put it into inclusion mode. When in inclusion mode the thermostat screen will show a moving pattern as shown below (fig. 2).

When included successfully the thermostat will show a tickmark ![]() .
.
Press tickmark to exit inclusion mode.
Wake up the thermostat
Touch the screen - the actual room temperature is displayed (fig. A).

Set the temperature
Wake up the thermostat. Touch  or
or  to set the temperature (temperature flashes to indicate setting in progress). Touch
  to confirm the new setting.
Pausing/ turning off heating
Wake up the thermostat. Press and hold ![]() until display says "6°C" then press
until display says "6°C" then press ![]() and display will say "OFF". Press
and display will say "OFF". Press ![]() to confirm. To go back to previous setpoint, wake thermostat and touch
to confirm. To go back to previous setpoint, wake thermostat and touch ![]() and confirm with
and confirm with ![]() .
.
Opening the menu
Wake up the thermostat. Touch and hold  to open the menu (fig. B).
Toggle the menu with  or
or  , confirm with
 ![]() . Touch
. Touch ![]() to go backwards in the menu.
to go backwards in the menu.

Menus
 : Perform Link Test of connection with Master Controller. Returns result as 0-100% (80% or higher is a very strong connection).
 : Info / version number, can be used to identify product.
Note! Range limitation, tamper proofing and floor sensor settings are done from the Danfoss Link™ CC.
Resetting
![]() (fig. C)
(fig. C)
![]()
Exchanging batteries
(fig. D)
When the batteries are almost empty, the thermostat will display "BAT LO" when activated. To exchange the batteries, release the thermostat from the wall plate by sliding it upwards, and replace the batteries with two quality AA 1,5V batteries.
![]()


Documents / ResourcesDownload manual
Here you can download full pdf version of manual, it may contain additional safety instructions, warranty information, FCC rules, etc.
Advertisement


Need help?
Do you have a question about the Icon and is the answer not in the manual?
Questions and answers