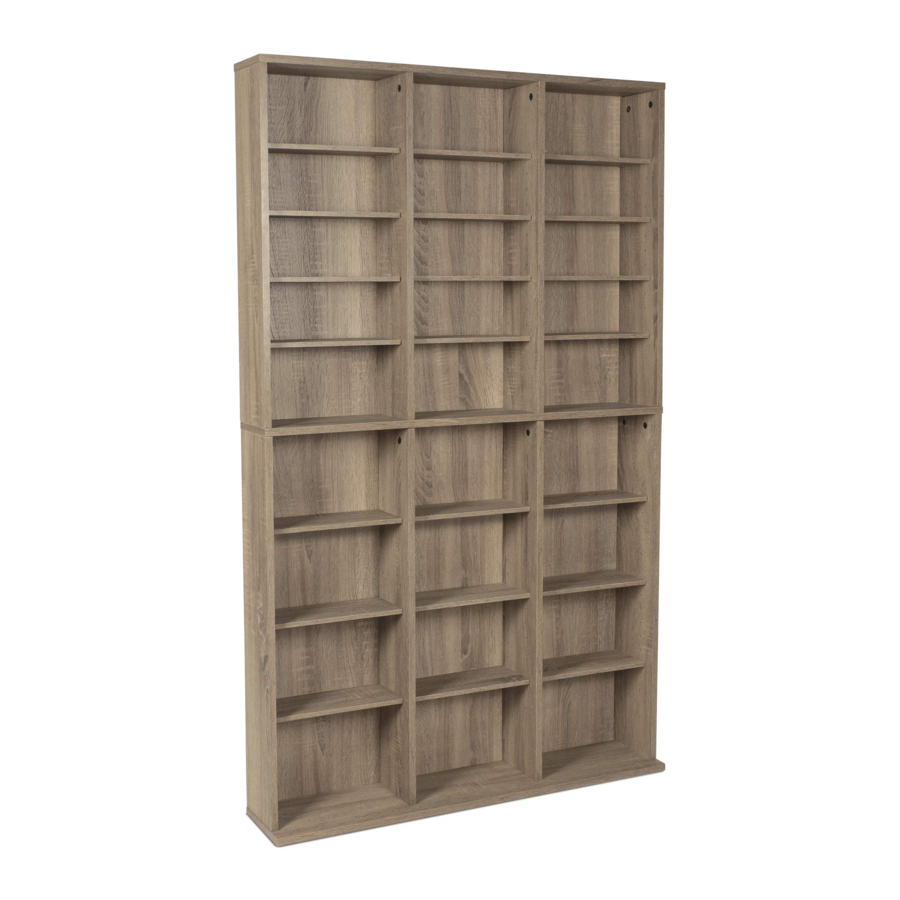
Atlantic Oskar 756 Manual
- Manual (10 pages) ,
- Assembly instructions manual (10 pages)
Advertisement

Assembly Tips
Become familiar with the instructions and all parts.
Make sure that all parts are in the box and in good condition.
Assemble the product on the open flat carton or a rug to protect the product and your floor.
Some heavy products need a second person to assist in the assembly. Use of power tools is not recommended.
Care Instructions:
Use electrostatic dust cloths to clean furniture. Do not set hot or cold containers directly on the furniture surface.
Never let children climb on furniture or play with furniture. Do not place a weight heavier than the recommended load rating on the furniture surface. Use care when moving furniture. Furniture can tip over if moved improperly. Improper handling can result in cuts and lacerations. Do not install on sloping surface.
Parts List

Tools Needed (not included)

Assembly Overview

- Insert cam locks (P) into eight panels (A, B, C, D, E and F) with the arrows pointing toward the screw openings as shown in figure 1-A.
![]()
![Atlantic - Oskar 756 - Assembly Overview - STEP 2 Assembly Overview - STEP 2]()
![Atlantic - Oskar 756 - Assembly Overview - STEP 3 Assembly Overview - STEP 3]()
- Use a Phillips screwdriver to insert two cam bolts into plastic inserts in panels (G & H). Insert four wooden dowels each into panels (G & H).
![]()
![Atlantic - Oskar 756 - Assembly Overview - STEP 4 Assembly Overview - STEP 4]()
- Using a Phillips screwdriver, attach panels (C, D, F and F) to panel (H) using eight screws (R). Next, press panel (G) over cam screws and dowels until it is flush with panels (C, D, F and F). Turn cam locks in panels (C, D, F and F) clockwise to lock them in place.
![]()
![Atlantic - Oskar 756 - Assembly Overview - STEP 5 Assembly Overview - STEP 5]()
- Make sure unfinished panel edges are exposed. Carefully position back panel (K) so the top edge is flush with top panel (G) and the sides are flush with side panels (C and D). Use a hammer and nails (Q) to attach panel (K) using the provided holes.
![]()
![Atlantic - Oskar 756 - Assembly Overview - STEP 6 Assembly Overview - STEP 6]()
- Press panel (A) over cam bolts and dowel until each it is flush with panel (H). Turn cam locks in panel (A) clockwise to lock it in place. Repeat for panels (E, E and B). Using a Phillips screwdriver, attach panel (I) to panels (A, E, E and B) using eight screws (R).
![]()
![Atlantic - Oskar 756 - Assembly Overview - STEP 7 Assembly Overview - STEP 7]()
- Carefully position back panel (L) so the top edge is flush with back panel (K) and the sides are flush with side panels (A and B). Use a hammer and nails (Q) to attach panel (L) using the provided holes.
![]()
![Atlantic - Oskar 756 - Assembly Overview - STEP 8 Assembly Overview - STEP 8]()
- Stand cabinet upright and insert four pins (O) for each shelf at desired heights. Place shelves (J) on pins (O).
![]()
![Atlantic - Oskar 756 - Assembly Overview - STEP 9 Assembly Overview - STEP 9]()
-
- WOOD STUD MOUNTING
Use Phillips screwdriver to attach mounting bracket [B] with wood screw [C] into the predrilled hole on the top of the cabinet. Repeat for other side of cabinet. Using a stud finder, locate a wood stud. Position the cabinet so one of the brackets mounts into a stud, marking the hole position with a pencil. Drill a hole 1.5" deep with a 1/8" drill bit. Use Phillips screwdriver to attach bracket [B] with screw [D] into the drilled hole. Repeat for other bracket [B].
![]()
Drywall
![Atlantic - Oskar 756 - Assembly Overview - STEP 10 Assembly Overview - STEP 10]()
- MASONRY MOUNTING
Use Phillips screwdriver to attach mounting bracket [B] with wood screw [C] into the predrilled hole on the top of the cabinet. Repeat for other side of cabinet. Marking the hole position with a pencil. Drill a hole 1.5" deep with a 3/16" drill bit. Pound wall anchor [A] into the masonry with a hammer. Use Phillips screwdriver to attach bracket [B] with screw [D] into the drilled hole. Repeat for other bracket [B].
![]()
Masonry
![]()
- WOOD STUD MOUNTING
Customer Service: 800-747-2660
Documents / ResourcesDownload manual
Here you can download full pdf version of manual, it may contain additional safety instructions, warranty information, FCC rules, etc.
Advertisement


Need help?
Do you have a question about the Oskar 756 and is the answer not in the manual?
Questions and answers