
Related Manuals for Atlantic Oskar 756


Summary of Contents for Atlantic Oskar 756
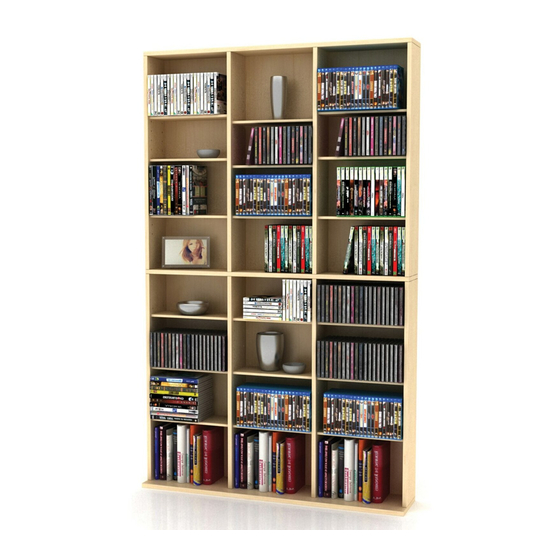
- Page 1 Oskar 756 Media Cabinet Item#: 38435713, 38435712, 38436268 Customer Service: 800-747-2660 Ver. 01 9/21/20...
-
Page 2: Assembly Tips
Assembly Tips: Become familiar with the instructions and all parts. Make sure that all parts are in the box and in good condition. Assemble the product on the open flat carton or a rug to protect the product and your floor. Some heavy products need a second person to assist in the assembly. - Page 3 Parts List/ Lista de Piezas Item Item Components Components Artículo Componentes Artículo Componentes Cant. Cant. Tools Needed (not included) Herramanientas requeridas (no incluidas) Drill and Drill Bit Phillips Screwdriver Pencil Taladro eléctrico Destornillador Phillips Lápiz y broca 3mm ( 1/8”) Ø...
- Page 4 Assembly Overview/Resumen de la Asamblea...
- Page 5 Insert cam locks (P) into eight panels (A, B, C, D, E and F) with the arrows pointing toward the screw openings as shown in figure 1-A. Inserte las cerraduras de leva (P) en ocho paneles (A, B, C, D, E y F) con las flechas apuntando hacia las aberturas de los tornillos como que se muestra en la figura 1-A.
- Page 6 Using a Phillips screwdriver, attach panels (C, D, F and F) to panel (H) using eight screws (R). Next, press panel (G) over cam screws and dowels until it is flush with panels (C, D, F and F). Turn cam locks in panels (C, D, F and F) clockwise to lock them in place.
- Page 7 Press panel (A) over cam bolts and dowel until each it is flush with panel (H). Turn cam locks in panel (A) clockwise to lock it in place. Repeat for panels (E, E and B). Using a Phillips screwdriver, attach panel (I) to panels (A, E, E and B) using eight screws (R).
- Page 8 Ponga el armario en posición vertical e inserte Stand cabinet upright and insert four pins cuatro clavijas (O) para cada estante a las (O) for each shelf at desired heights. Place alturas deseadas. Colocar estanterías (J) sobre shelves (J) on pins (O). alfileres (O).
- Page 9 Drywall Panel de yeso [B] x2 [C] x2 [D] x2 WOOD STUD MOUNTING MONTAJE de MADERA Use Phillips screwdriver to attach mounting bracket [B] with wood screw [C] into the predrilled hole on the top of the cabinet. Repeat for other side of cabinet. Using a stud finder, locate a wood stud.
-
Page 10: Product Warranty
Product Warranty Thank you for your Atlantic Inc. purchase. This Limited Warranty covers any defects in material or workmanship for purchases made in the U.S.A. and Canada, and excludes claims from conditions, malfunctions or damage not resulting from defects in material or workmanship. The warranty duration is one year.
Need help?
Do you have a question about the Oskar 756 and is the answer not in the manual?
Questions and answers