Advertisement
Table of Contents
Contents
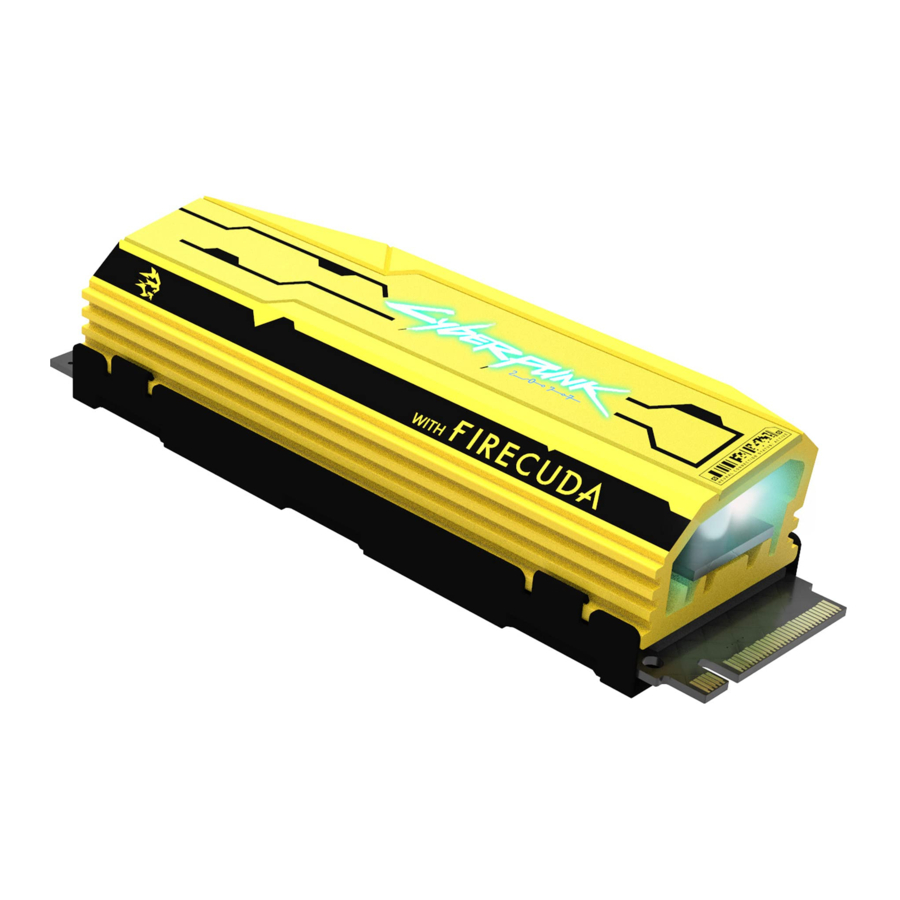
Seagate FireCuda 520 Manual
Introduction
System requirements
- M.2 (M key) slot, PCIe® G4 ×4 interface (backwards compatible with PCIe G3 interface)
- Windows® 10
- For RGB LED functionality: Motherboard with 5V addressable header
Parts
- FireCuda 520 SSD with heatsink
- Optional 5V addressable RGB connector cable to power and control RGB LED lights


Precautions
- Unpack the SSD.
- Inspect the SSD for any damages.
- For the safety of your SSD, please take the necessary precautions to avoid electrostatic discharge. Power down and power drain your computer according to the instructions provided in the computer product documentation.
- Back up the data from the existing storage device.

Electrostatic discharge (ESD) can damage the SSD. Make sure that you install the SSD at an ESD-safe workstation. Ground yourself to protect the device from any static electricity present in your body.
Recommendations
- Intended for desktop PCs.
- FireCuda 520 SSD's heatsink is pre-installed and should not be removed as it can damage the SSD.
- With the heatsink, the product exceeds standard M.2 dimensions. Dimensions of the FireCuda 520 Cyberpunk 2077 Limited Edition are 80.15mm (L) x 22.9mm (W) x 18.25mm (H). Verify that your system provides enough space for installation.
- M.2 connectors H3.2 and above are recommended for an SSD with a heatsink.
- For optimal performance, provide sufficient airflow and cooling.
Before installation

Make certain your computer's BIOS is up to date before installing FireCuda 520 SSD. See your computer or motherboard documentation for information on how to access the BIOS.
- Most motherboards have more than one M.2 slot available for SSD drives. Before installing FireCuda 520 SSD:
- Determine the appropriate M.2 slot on your motherboard for FireCuda 520 SSD. If another SSD drive is already installed in the slot, you'll need to remove it during the installation.
- Decide whether you want to install your computer operating system on FireCuda 520 SSD and use it as your primary drive. See your computer or motherboard documentation for details on how to boot from an M.2 SSD.
- If you need to transfer files from another drive to FireCuda 520 SSD, consider how you will move your data or clone your drive before starting the installation.
Required tools
Screwdriver and M.2 screws (not included) to fasten FireCuda 520 SSD.
Installation
Install FireCuda 520 SSD
- Before installing FireCuda 520 SSD, power down your computer and unplug any cables attached to it.
- Open the case or cabinet.
- If an existing SSD drive is installed in the M.2 PCIe slot you intend to use for FireCuda 520 SSD, you'll need to remove it.
- Power on your computer.
- Access the BIOS setup while the computer is booting. Ensure that a PCIe device is set in the BIOS boot sequence or boot priority list.
- Power down the computer and locate the M.2 PCIe slot on your motherboard.

![warning]() Note—Some motherboards have a pad installed in the M.2_PAD space by default. This pad can be removed to ensure a better fit for FireCuda SSD.
Note—Some motherboards have a pad installed in the M.2_PAD space by default. This pad can be removed to ensure a better fit for FireCuda SSD.

- Check to make sure that the notch on FireCuda SSD is correctly aligned with the divider in the slot. Gently push FireCuda SSD into the slot until it's firmly seated.

- Hold down FireCuda SSD while you fasten the mounting screw. Make sure the SSD is secured in place.


Optional RGB LED connection
- Attach the 5V addressable RGB cable to the connector under the heatsink.

- Connect the other end of the cable to the 5V addressable header on the motherboard. The power pin (marked with a triangle and identified by the red cable) must be connected to the 5V pin 1. Refer to your motherboard documentation for detailed instructions on how to connect RGB capable components to your motherboard. Incorrect connection can damage the RGB connector on the heatsink as well as the computer's LED function.


- Close the case or cabinet and reassemble your computer.
- Power on your computer.
- Install the computer operating system on FireCuda SSD if you want to use it as the primary drive.
RGB Color and Pa ern Control
Refer to the manufacturer of your motherboard for details on the software used to control RGB colors and patterns
Documents / ResourcesDownload manual
Here you can download full pdf version of manual, it may contain additional safety instructions, warranty information, FCC rules, etc.
Advertisement


Need help?
Do you have a question about the FireCuda 520 and is the answer not in the manual?
Questions and answers