Little Tikes Cook 'N Grow BBQ Grill, 633904 Manual
- Assembly instructions manual (16 pages)
Advertisement
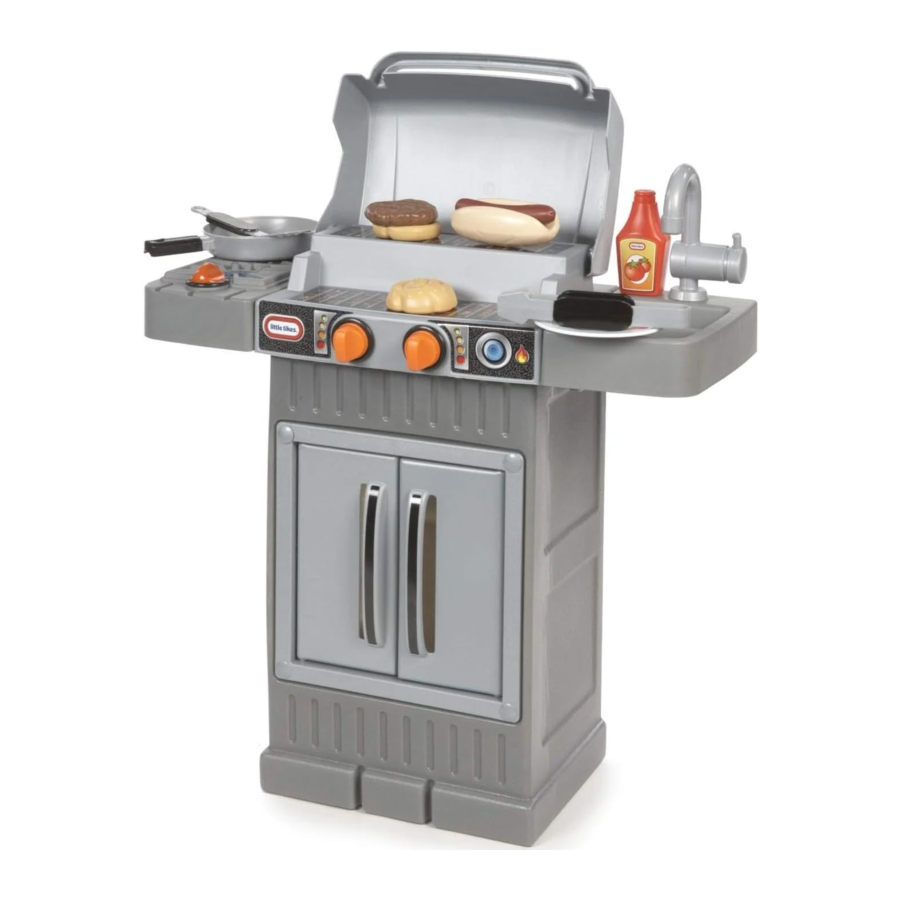
Accessories

A Few Things Before You Start!
BEFORE you begin assembly, make sure you have all the parts listed below.
 Some packages of hardware may have extra pieces.
Questions? We're here to help.
Little Tikes customer service team at 1-800-321-0183.


Locate your decal sheet.

Ready...let's start with decals!
Decals must be applied to a clean, dry surface. Wipe clean with a dry rag before application. Remove air from under decals by applying pressure to the decals starting from the center, and work towards edges.
NOTE: If decals bubble, prick with a pin to remove the air.

Turn it on

PUSH in (2) knobs (part J) into the countertop (part D); snap into place.
One more knob

PUSH in grill knob (part K) onto the burner (part F); snap into place.
Grill and SINK it!

Snap the burner (part F) into the countertop. Snap the sink (part G) into the countertop.
Ready for the faucet

Insert faucet (part H) into the sink/countertop and secure by attaching the faucet fastener (part I) under the sink/countertop from the underside of the unit.
Frame it!

Push each fastener into the door frame (part B). Then firmly push each fastener into the holes on the grill base (part A).
2 ways to assemble!

Cook 'N Grow™ BBQ Grill GROWS WITH YOUR CHILD!
STAGE #1
Attach the grill lid (part E) onto the countertop.
Then slide the countertop into the grill base (part A).
Finally, pop the 2 doors (part C) onto the grill base.

STAGE #2
When converting from STAGE 1 to STAGE 2:
Remove the countertop from the grill base (part A).
Remove the doors and turn the grill base into the tall position.


Really important information you should know
- Read through all the instructions first.
- Clear a flat surface to lay out all the materials so everything is close at hand.
- You will need a Phillips head screwdriver, hammer and safety glasses (not included) to assemble the Cook 'N Grow™ BBQ Grill.
- When installing screws, be sure screws are tightened snugly, but do NOT OVERTIGHTEN.
- Be sure to locate your decals and set aside. Decals are easier to apply when the part is laying flat, so you may want to apply the decals before assembly.
- The parts are listed below - each part is identified with a letter in RED for easy reference.
- Illustrations are for reference only. Styles may vary from actual contents.
- If you have any questions, we're here to help. Give our customer service team a call at 1-800- 321-0183.

- Adult Assembly Required
- Keep these instructions as it contains important information.
- Prior to assembly, this package contains small parts: hardware which is a choking hazard and may contain sharp edges and sharp points. Keep away from children until assembled.
- This product is intended for indoor family use only.
- This product is intended for use by children ages overe 18 months and up.
- Do not allow children to sit, stand, play or climb on the top surface. Failure to do so may cause the product to become unstable.
- Protect your eyes. Always wear safety glasses when using power tools.
- Thoroughly wash accessories before contact with food or beverage.
- To better clean the product use a cloth with mild soap and water or skin, hand or face wipes.
Documents / ResourcesDownload manual
Here you can download full pdf version of manual, it may contain additional safety instructions, warranty information, FCC rules, etc.
Advertisement


Need help?
Do you have a question about the Cook 'N Grow BBQ Grill and is the answer not in the manual?
Questions and answers