Advertisement
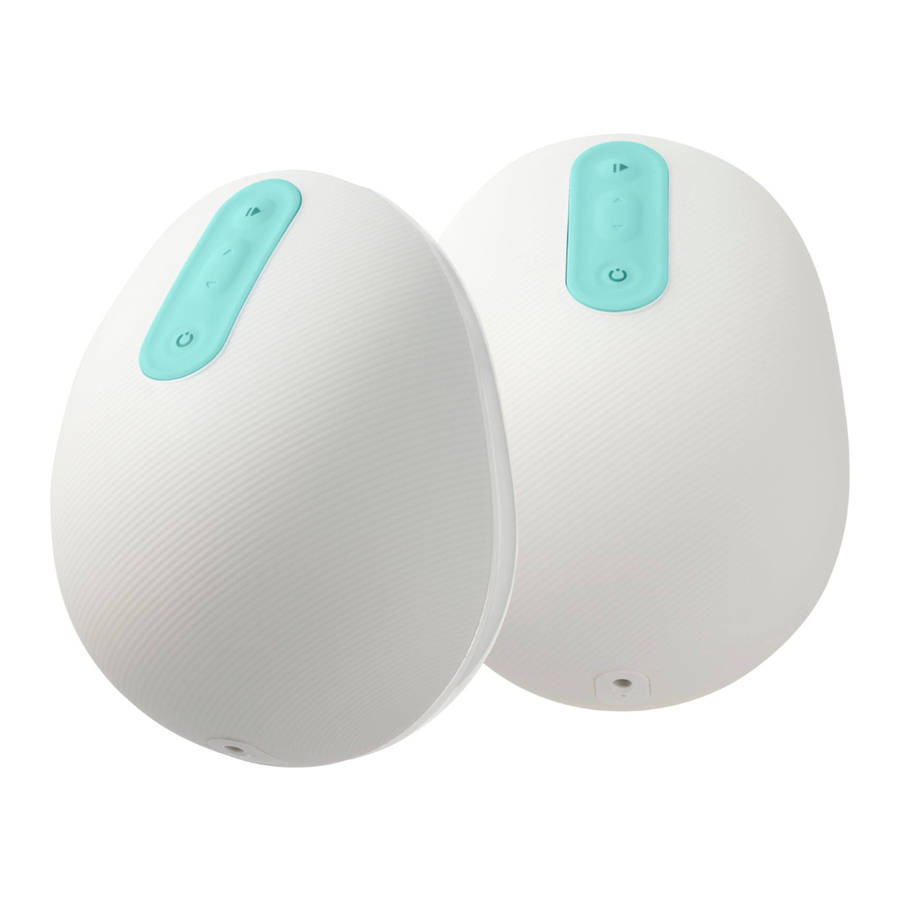
- 1 Meet your milk container
- 2 Set dial to 1 to pump...
- 3 ...and 2 when you're done!
- 4 Sterilize for first-time use
- 5 Get ready to pump
- 6 Assemble container & insert
- 7 Align and attach pump
- 8 Pumping tips (stay dry!)
- 9 Finished pumping? set dial to 2...
- 10 Then flip to finish
- 11 Time to transfer!
- 12 Keep your milk container clean
- 13 Milk container alerts & lights
- 14 Documents / Resources
Meet your milk container
Your Milk Container comes assembled, but has two parts - the Insert and Container.
Insert

Container

Set dial to 1 to pump...
Rotate Dial so only the 1 is visible (and the 2 is hidden under Cap).
- Set Dial to 1 (Pump position) at the start of your session

- This keeps the air vent open when you pump

TIP: The air vent is open while you pump.
See tips to avoid leaks.
...and 2 when you're done!
Rotate Dial so only the 2 is visible (and the 1 is hidden under Cap).

- Set Dial to 2 (Flip to Finish position) when you're finished pumping
- This closes the air vent for Flip to Finish
- NOTE: If Dial is in the wrong position during Flip to Finish, milk will leak from the air vent
Sterilize for first-time use
- Disassemble Milk Container
- Rotate blue locking ring to unlocked position
![]()
- Push hard on Insert tunnel (use both thumbs!) until it pops out
![]()
- Separate Container and Insert
![]()
- Peel back Cap
![]()
- Rotate blue locking ring to unlocked position


- Boil Container and Insert for ten minutes to sterilize before you use it (just for the first time!). Place on a clean surface to air dry.
DO NOT put Container or Insert in a microwave or microwave sterilizer bag.
Get ready to pump
Just 4 parts - and you're ready to pump!

Assemble container & insert
- Place Insert into Container (tab facing up)
![]()
- Press firmly to seal to Container
![]()
- Rotate to locked position
![]()
- Make sure Cap is closed
![]()


- Connect Flextube™ tip to Insert spout. Push tip all the way down!
![]()
- Push Flextube™ collar in so it sits firmly against Cap
![]()
- Rotate Dial so only the 1 is visible (and the 2 is under Cap)
![]()


Align and attach pump
- Center your nipple in the Insert tunnel.
![]()
- Turn Pump on and bring straight on to Milk Container with your other hand to connect. Press Play to initiate latch.
![]()


For more on alignment, pumping, and breaking latch, visit:
willowpump.com for Willow Wearable Breast Pump Instructions for Use
Pumping tips (stay dry!)

- The air vent (on the top of the Milk Container) is open while you pump.
- To prevent drips, avoid bending too far forward or back while you pump so milk doesn't leak from the air vent.
- To pump in any position, pump with our spill-proof Milk Bags.
 Watch videos in app or at willowpump.com
Finished pumping? set dial to 2...
- Pause Pump, then rotate Dial to 2 (Flip to Finish position) to close air vent - or milk will leak!
![]()
- Break latch and remove Pump
![]()
- Rotate so Cap faces you
![]()


TIP: Rotate Dial to 2 (Flip to Finish position) before you remove Willow from your bra to avoid spills.
Then flip to finish
- TILT until pump starts to gulp
![]()
- HOLD until milk disappears from tunnel
![]()
- FLIP all the way over and wait until gulps stop (a total of 8 gulps)
![]()


 Watch videos in app or at willowpump.com
Time to transfer!
- Flip Pump over so Milk Container faces up
![]()
- Separate Milk Container from Pump
![]()
- Pour any remaining milk out of tunnel or Flextube™
![]()


TIP: Squeeze Flextube™ to get milk remaining out of Tunnel and Flextube™
- Rotate Dial to position 1 before opening Cap
![]()
- Open Cap
![]()
- Pour from pour spout on top - keep Flextube™ assembled.
![]()


TIP: To avoid splashing when opening Cap, first rotate Dial to position 1, then open Cap
Keep your milk container clean
After each use, disassemble, then wash your Container and Insert in the dishwasher (top rack only) or follow the instructions below!
- Separate Flextube™ from Milk Container to clean, then follow instructions to disassemble into parts.
- Rinse immediately under running water for at least 1 minute.
- Soak in warm, soapy water for a minimum of 5 minutes (use mild dishwashing soap, and agitate while they soak).
- Use the Large Cleaning Brush from your Willow Pump Kit to clean (wash for at least 60 seconds, minimum 30 seconds of brushing). Use the Small Cleaning Brush to clean the Insert spout.
- Rinse with hot water for at least 50 seconds.
- Place parts on clean paper towels or a drying rack to air dry.

Do not remove Dial, locking ring, or interior valve to clean. For cleaning instructions for your Flextube™ and Pump, visit:
willowpump.com for Willow Wearable Breast Pump Instructions for Use

See any signs of milk after cleaning? Repeat the steps above.
Milk container alerts & lights
Willow's lights tell you what's going on with your Milk Container. Here's what they mean.

 | White Solid: Your Container is full. Flip to Finish transfer to a bottle or bag, then press Pump/Pause to continue pumping. |
 | Orange Blinking Solid: Assembly error. Separate Container and Pump. Check that Flextube™ is firmly attached. When attaching Pump, bring straight on to Container, not at an angle. |
For more information on Willow's lights, visit:
willowpump.com for Willow Wearable Breast Pump Instructions for Use

1-888-WILLOW-3 care@willowpump.com
willowpump.com/help
Documents / Resources
References

Download manual
Here you can download full pdf version of manual, it may contain additional safety instructions, warranty information, FCC rules, etc.
Advertisement


Need help?
Do you have a question about the Wearable Breast Pump and is the answer not in the manual?
Questions and answers