Needit PARK LITE Manual
- User manual (80 pages) ,
- Manual (5 pages) ,
- User manual (42 pages)
Advertisement
Before installation
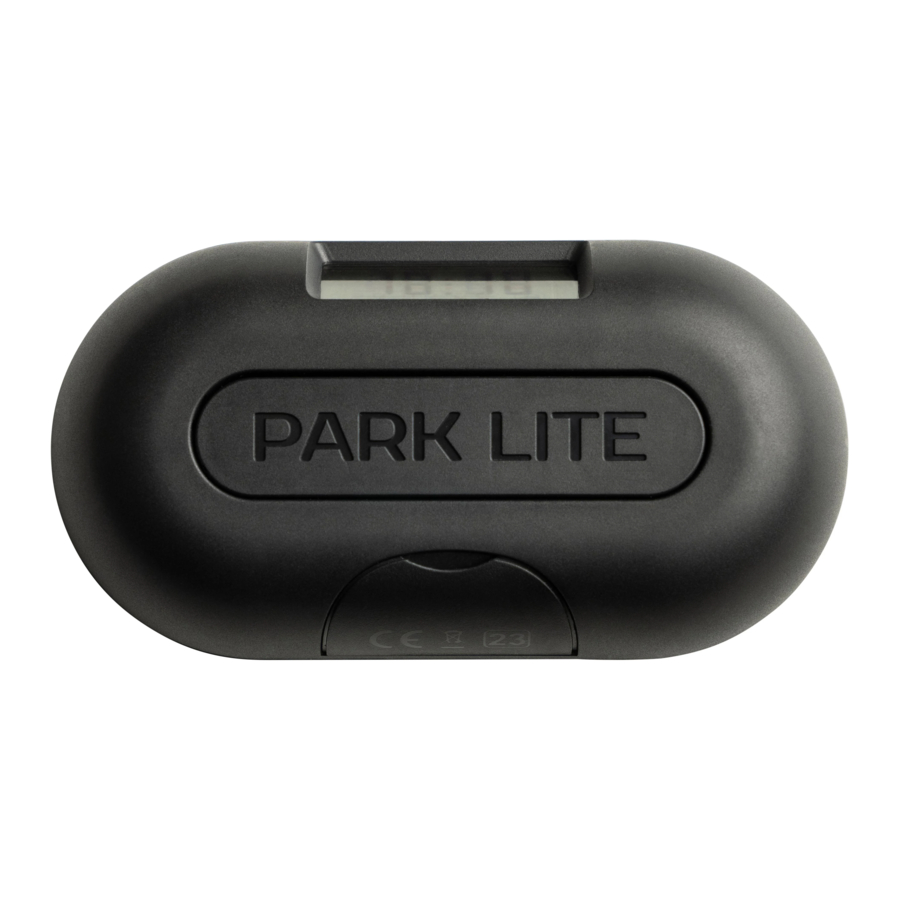
Congratulations on your new PARK LITE Solar with an integrated speaker. With PARK LITE Solar in the car, you don't have to remember setting the parking disc and hence avoid hefty parking fines.
The electronics in PARK LITE Solar register the car's movements and automatically set the parking disk at the correct parking time and only end the parking mode when the car starts moving again.
Before using PARK LITE Solar, we recommend that you read the entire manual thoroughly. To ensure correct installation of PARK LITE Solar, the instructions below should be followed:
- Activate the battery
Remove the plastic strip carefully and press the battery back into place if it comes loose. If the battery falls out, insert it again with the + upwards (same side as the one written in the battery compartment). If the battery is placed correctly, the "hours" flashes on the display. (It may take some time for the display to flash). - Set the digital clock

(The clock in PARK LITE Solar automatically adjusts to both summer and winter time, but the function may be deactivated manually if necessary, see C:)
Activate setting mode by pressing and holding button![]() until "hours" start flashing.
until "hours" start flashing.
When "timer" is flashing, press button![]() repeatedly until the timer is adjusted correctly.
repeatedly until the timer is adjusted correctly.
Press button![]() once after which "minutes" flashes on the display.
once after which "minutes" flashes on the display.
Adjust the minutes with button![]() .
.
Set the year, month, and date as above (in that order).
Choose how the parking start time should be handled.

2:PE The parking time is set to the nearest half hour. If you park at 13:07, the display will show 13:30. This is a requirement, e.g., in Finland, Sweden, Germany, and Switzerland.
0:PE The parking time is set to the exact hour and minute. If you park at 13:07, the display will show 13:07. This is a requirement, e.g., in Estonia and Norway.
1:PE The parking time is set to the nearest quarter hour. If you park at 13:07, the display will show 13:15. This is a requirement, e.g., in Denmark and Austria.
When all settings are implemented, only (:) will flash.
When you have adjusted the above information, no numbers in the display should flash. Note, however, that the two dots (:) between the hours and minutes flash continuously.
If one of the numbers is flashing, press button  repeatedly until none of the numbers are flashing. If you find that you have adjusted PARK LITE Solar incorrectly, you can always start over by pressing and holding button until the "hours" digit flashes.
We recommend that you check the clock settings regularly, especially when switching between summer and winter time.
- Activation/deactivation of summer time/winter time.
The digital clock is by default set to switch automatically between summer and winter time. However, if you are in a country where there are no shifting seasons, you may disable the feature by following the steps below:
Activate the setting mode by pressing both button and  until "hours" and "minutes" show "oN:Su".
Slowly release button.
Press and hold button until the display shows "oF:Su".
The display automatically returns to operating mode.
Your PARK LITE Solar is now ready for installation on the inside of your car's windscreen. Remember that it is only permitted to have one parking disc in the car, and it is always the driver's responsibility that the parking disc is set correctly.
Installation of PARK LITE Solar
Find the best place on the inside of the windscreen's lower right corner (legal requirement), where the two adhesive pads touch the glass. Make sure you have access to all the buttons on the back of the clock and that the battery compartment is accessible.
Clean the inside of the window where the parking disc is to be installed, and use the included wet wipe to clean the area thoroughly.
Make sure the window is at least +15°C, as the adhesive pads do not work properly at lower temperatures. If necessary, warm up the window with the car's blower motor or with a hair dryer (if you're careful).
Remove the protective film from the four adhesive pads and press the parking disc firmly against the window for about 30 seconds. Apply pressure on the back (avoid pressing the buttons). Then check from the outside that the two pads adhere properly to the window.
You have now installed your PARK LITE Solar and are ready to drive.
 Note: PARK LITE Solar must not be left unattached in the car but must be fixed to the window to work properly.
Manual setting
If you need to set your PARK LITE Solar manually, simply press button and the clock will count up in 15-minute increments. Press, hold, and release the button when the desired time is displayed. Note that this function is only available when PARK LITE Solar is in parking mode.
Battery and Solar Cell
PARK LITE Solar has integrated solar cells. In daylight, PARK LITE Solar uses integrated solar cells, and in the dark, it uses the backup battery.
When the battery is low, the speaker is activated and the alarm sounds (5 x beep tone repeated 3 times) to indicate that the battery needs to be replaced within a week. The alarm sounds when the parking mode is activated and exited.
REMEMBER TO SET THE CLOCK AGAIN.
When the battery is replaced, the clock automatically resets. You can always adjust all time settings as previously described.
Please note that the LCD display on your PARK LITE Solar will turn off shortly after the battery is removed, so you should avoid leaving the car while there's no battery in the clock.
Replacing the battery
- Buy a new button cell battery: no. CR 2477 - 3 Volt
- Carefully remove the battery compartment completely.
- Remove the old battery
- Insert the new battery.
- Carefully insert the battery compartment again.
Service and warranty
On our website www.needit.dk you can find answers to many questions about your new PARK LITE Solar. If you have any questions, please send them to kundeservice@needit.dk.
Needit Denmark ApS offers 2 years of warranty in accordance with the Danish Sale of Goods Act. In the event of any defects or deficiencies during the warranty period, PARK LITE Solar may be returned to the retailer. Here, it will be repaired or replaced with a new one. In case of a complaint, please bring a copy of your receipt as proof of warranty.
Do not attempt to disassemble the PARK LITE Solar as this will damage the electronics and void the warranty.
Maintenance
Do not expose PARK LITE Solar to extreme temperatures (below -20°C or above +75°C), as this may damage the electronics and/or affect the response time.
If PARK LITE Solar is exposed to severe moisture or water, it must be wiped immediately with a clean cloth. Only use a cloth to clean the disc. Do not use cleaning agents.
Specifications and rights
Size in cm: 10.4 x 5.5 x 2.0
Battery specifications: Button cell battery no. CR 2477 - 3 Volt
Battery life: Approx. 5 years
Clock accuracy (avg.): ± 2 min./2 years
Response time, parking mode: Approx. 20 sec.
Response time, non-parking mode: Approx. 20 sec.
PARK LITE Solar is patent pending.
All rights to the product PARK LITE Solar belong to:
Needit ApS • Hammerholmen 18 • 2650 Hvidovre
Phone number: +45 70 22 15 35 Email: kundeservice@needit.dk
Website: www.needit.dk
The contents of this user manual are subject to change without notice.

It is the driver's responsibility to ensure that the clock is adjusted correctly. Parking tickets are not refunded by Needit Denmark ApS, nor are we responsible or liable for any installation errors.
Documents / Resources
References
Download manual
Here you can download full pdf version of manual, it may contain additional safety instructions, warranty information, FCC rules, etc.
Advertisement


Need help?
Do you have a question about the PARK LITE and is the answer not in the manual?
Questions and answers