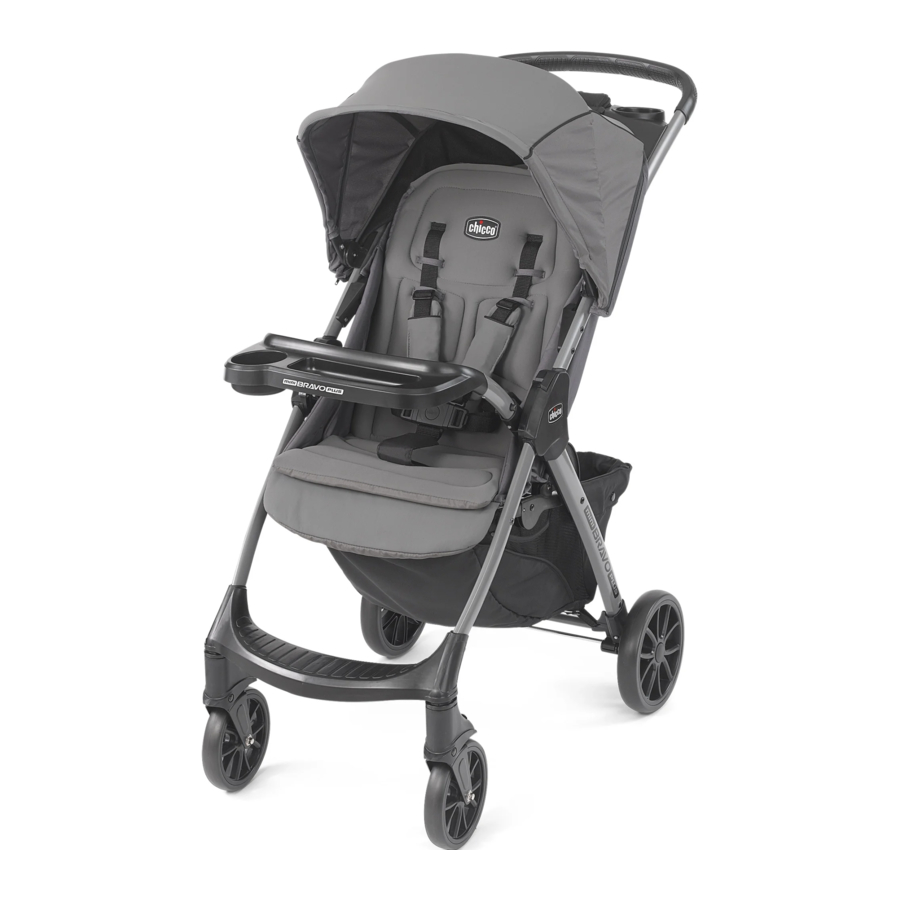
Chicco Mini Bravo Plus Manual
- Owner's manual (44 pages) ,
- Owner's manual (24 pages)
Advertisement
- 1 Components
- 2 How to Assemble Stroller
- 3 How to Remove Wheels
- 4 How to Recline the Seat
- 5 How to Attach Accessory Pocket
- 6 How to Use the Canopy
- 7 How to Use the Brakes
- 8 How to Use Safety Harness
- 9 How to Use the Child's Tray
- 10 Using the Chicco Infant Car Seat
- 11 How to Close the Stroller
- 12 How to Remove the Seat
- 13 How to Remove the Canopy Fabric
- 14 How to Re-attach the Canopy Fabric
- 15 Cleaning and Maintenance
- 16 Safety
- 17 Documents / Resources
Components


How to Assemble Stroller

When opening the Stroller, ensure that your child, or other children, are at a safe distance. Ensure that during these operations, the movable parts of the Stroller do not come into contact with your child.
- If you have hardwood floors or linoleum you may want to perform this step on carpeting or lay down some protection for your floors.
- Stand the Stroller Frame (A) on end and unfold the frame as shown.
![]()
- Press down on the seat to make sure that the frame is locked.
![]()
- Stand the Stroller Frame (A) on end and unfold the frame as shown.


- Remove and discard red plastic end caps on the Rear Axle (D). Attach the Rear Axle to the Stroller Frame as shown. The Rear Axle is attached when the snap buttons click into the holes on the Rear Axle mount.


- Locate the rear basket straps above the Rear Axle. Thread a rear basket strap over and down through the slot on the rear axle and attach the snap on the bottom of the basket. Repeat for the other side.
![]()
-
- On one side of the Rear Axle, slide a Rear Wheel (C), and turn the Wheel until the brake tab fits into one of the grooves on the Wheel.
![]()
- On the same side, slide a Washer (E) onto the Rear Axle.
![]()
- Secure the Wheel to the Rear Axle using the Pin (F). Push the straight side of the Pin through the hole on the Rear Axle. The curve on the Pin must curve around the outside of the Rear Axle, as shown. Make sure Washer is between the Pin and Wheel.
![]()
- Line up the tabs on the Hubcap (G) with the holes on the Wheel. Snap the Hubcap onto the Wheel to cover the Washer and Pin. Repeat Step 4 for other side. Pull on each Wheel to make sure the Wheel assembly is securely attached to the frame.
![]()
Check that the wheels are fitted correctly.
![]()
- On one side of the Rear Axle, slide a Rear Wheel (C), and turn the Wheel until the brake tab fits into one of the grooves on the Wheel.


- Attach the Front Wheel (B) to the Stroller Frame by lining up and inserting the Front Wheel Post into the corresponding opening on the Front Wheel, as shown. Make sure both Wheels are secure by pulling down on Wheel assemblies.
![]()

How to Remove Wheels
- Remove the Front Wheels by pulling out the Release Lever, just above the wheel (as shown). At the same time, pull the Front Wheel off of the Stroller Frame. Repeat for the other side.
![]()

How to Recline the Seat
- To Recline the Backrest, squeeze together both levers and pull down on the Backrest. To adjust the Backrest into an upright position, push up on the Backrest until it locks into the desired position.
![]()
![]()


How to Attach Accessory Pocket
Accessory pocket MUST be assembled at all times. Do not place more than 1 lb (0.45kg) in the pocket.
- Insert the Accessory Pocket (M) into the Parent Tray, as shown. Flip Back fabric flap under the back edge of parent tray, and tuck the plastic tab into the slot behind the back edge. Thread the bottom fabric section on the Front of the Accessory Pocket between the Parent Tray and the Seat Fabric. Wrap both Front fabric sections around the front edge of the Parent Tray, and secure the hook and loop tabs.
![]()

How to Use the Canopy
- To attach Canopy (H), fasten BOTH Canopy Clips to the Stroller Frame, making sure the RIVET ON THE FRAME is centered in the hole on the Canopy Clip.
![]()

-
- Thread canopy strap through the gap below the Parent Tray and above the Seat Fabric Bow. Pull the strap through to the back and attach it to the top snap button on the strap.
![]()
- Pull the front edge of the Canopy forward to open the Canopy. Reverse this step to close the Canopy.
![]()
- Thread canopy strap through the gap below the Parent Tray and above the Seat Fabric Bow. Pull the strap through to the back and attach it to the top snap button on the strap.


- To use the Canopy mesh panel, unzip the zipper and pull forward on the front Canopy edge. Reverse this step to close the mesh panel.
![]()
![]()


How to Use the Brakes
Always apply both brakes whenever the stroller is stationary. Never leave the stroller on a sloped surface, with a child onboard, even with the brakes applied.
-
- Push down on the Brake Lock Levers located on each side of the Rear Wheel assembly, to lock the Rear Wheels.
![]()
- Pull up on the Brake Lock Levers to unlock the Rear Wheels.
![]()
- Push down on the Brake Lock Levers located on each side of the Rear Wheel assembly, to lock the Rear Wheels.


How to Use Safety Harness
This stroller features three harness positions. Always use a harness position located ABOVE the child's shoulder line. If multiple harness positions are above the child's shoulder line, use the one closest to it.
-
- The Shoulder Straps can be adjusted to 3 height positions as shown. To adjust the Shoulder Harness slide the strap through loop. Always use the same loop position for both straps (13B).
![]()
- The Shoulder Straps can be adjusted to 3 height positions as shown. To adjust the Shoulder Harness slide the strap through loop. Always use the same loop position for both straps (13B).

- This stroller has a 5-point safety harness. Make sure the Shoulder Strap Connector is in the correct position, as shown. Slide the Shoulder Strap Connector onto the Waist Strap Clip and repeat for the other side. Then slide both Waist Clips into the Crotch Strap Buckle, as shown. Pull on both sides to make sure the Clips are secured to the Buckle.
![]()

Never leave child unattended. Avoid serious injury from falling or sliding out. Always use seat belt.
- The Safety Harness can be released by pressing the button on the center of the Buckle and pulling both Waist Clips out. Pull up on the Shoulder Strap Connector to remove it from the Waist Strap Clip.
![]()

- The length of the Shoulder Straps can be adjusted by pulling on the adjustment buckles to tighten or loosen. The length of the waist straps can be adjusted. Press the tab at the end of the Waist Strap Clip and pull on the strap to tighten or loosen, to better fit your child.
![]()

How to Use the Child's Tray
-
- Insert the Child's Tray (H) Tongues into the corresponding openings on the Stroller Frame. To release the Child's Tray, press in on the buttons located at the sides of the Child's Tray, as shown (17B).
![]()

- Insert the Child's Tray (H) Tongues into the corresponding openings on the Stroller Frame. To release the Child's Tray, press in on the buttons located at the sides of the Child's Tray, as shown (17B).


Using the Chicco Infant Car Seat
ONLY USE a Chicco infant car seat with this product. Make sure to properly install the Child's Tray prior to using the Chicco infant car seat. Always make sure child is properly harnessed in the car seat. Only use this product to transport infants that are within the size and weight limitations of the infant car seat. Refer to your Chicco infant car seat owner's manual for additional warnings and use instructions before using this product.
-
- With the Child's Tray attached and the Stroller Backrest FULLY RECLINED, place the Chicco infant car seat into the Stroller Frame. The car seat will only fit into the frame "REAR FACING ONLY". The baby will be facing you when pushing the stroller. Make sure infant car seat clicks into the stroller frame on both sides.
Note: Pull up on the infant car seat; make sure it is secured to stroller frame (18B). If using the Canopy with the infant car seat rotate the handle down, to allow the Canopy to fully extend open.
![]()
- With the Child's Tray attached and the Stroller Backrest FULLY RECLINED, place the Chicco infant car seat into the Stroller Frame. The car seat will only fit into the frame "REAR FACING ONLY". The baby will be facing you when pushing the stroller. Make sure infant car seat clicks into the stroller frame on both sides.

- Squeeze the Release Handle on the back of the infant car seat and lift up on the carrying handle, to remove the infant car seat.
![]()

How to Close the Stroller
When folding the Stroller, make sure that your child and other children are at a safe distance. Ensure that during the operations, the movable parts of the Stroller do not come in contact with your child.
- Lift up the Seat Fabric and locate the Fold Handle, as shown. Slide the Handle Release button over (A) and lift up on the Handle.
![]()

- When closing the Stroller, the Stroller Legs and Push Handle will fold down to make the Stroller compact.
![]()

How to Remove the Seat
- Undo both Canopy snaps on both sides and pull out on the Canopy Clips to remove the Canopy from both sides of the Stroller Frame (see step 8).
![]()
![]()


- On the back of the Stroller Seat, release all three of the fabric tabs from the seat pan.
![]()

- On both side of the seat back, release the snaps on the Seat Fabric (as shown). At the top edge of the stroller seat just below the Parent Tray, pull the fabric bow down and forward. The bow will release from the guides at the top corners and allow you to rotate the bow forward.
![]()
-
- Lift up and remove the bow from both side openings on the Stroller Frame, as shown. Slide the Seat fabric from the backrest and footrest to remove the fabric from the Stroller frame.
![]()
- Before cleaning, remove the bow from the Seat Fabric.
![]()
- Lift up and remove the bow from both side openings on the Stroller Frame, as shown. Slide the Seat fabric from the backrest and footrest to remove the fabric from the Stroller frame.


How to Remove the Canopy Fabric
- To remove the Canopy Fabric, unsnap the Canopy fabric from the Canopy Clip.
![]()

- Unscrew both screws on the Canopy Clip with a Phillips Screwdriver. Remove the Canopy Clip from the front Canopy Bow and repeat this step for the other side. Make sure to remove the bows before cleaning the Canopy Fabric.
![]()

How to Re-attach the Canopy Fabric
-
- To attach the Canopy fabric, slide the bow through the front Canopy sleeve, as shown. Make sure the dimple on the bow is facing up when sliding bow through the sleeve.
![]()
- Slide the wire bow through the back Canopy sleeve, as shown. Make sure the wire bend on the bow is facing down when sliding bow through the sleeve, as shown. To re-attach the Canopy Clip repeat steps 26 thru 27 in REVERSE.
![]()
- To attach the Canopy fabric, slide the bow through the front Canopy sleeve, as shown. Make sure the dimple on the bow is facing up when sliding bow through the sleeve.


Cleaning and Maintenance
This product requires regular maintenance. The cleaning and maintenance of the stroller must only be carried out by an adult.
CLEANING
Please refer to the care label for instructions on cleaning the fabric parts of the stroller.
Periodically wipe clean plastic parts with a soft damp cloth. Always dry the metal parts to prevent the formation of rust if the stroller has come into contact with water.
MAINTENANCE
Lubricate the moving parts only if necessary, with a light application of a silicone based lubricant. Periodically check the condition of the wheels, and keep them clean of dust and sand. To avoid friction that may prevent the correct operation of the stroller, ensure that all the movable plastic parts placed along the metal frame are clean of dust, dirt or sand. Keep the stroller in a dry place. Prolonged exposure to direct sunlight may cause the fabric to fade.
Safety
Failure to follow all warnings and instructions may result in serious injury or death. For your child's safety, read the labels and owner's manual before using the product.
- PLEASE SAVE OWNER'S MANUAL FOR FUTURE USE.
- ADULT ASSEMBLY REQUIRED.
- NEVER LEAVE CHILD UNATTENDED. Always keep child in view while in the stroller.
- AVOID SERIOUS INJURY from falling or sliding out. Always use seat belt. After fastening buckles, adjust belts to get a snug fit around your child.
- AVOID FINGER ENTRAPMENT: Use care when folding and unfolding the stroller. Be certain the stroller is fully opened and latched before allowing your child near the stroller.
- USE OF THE STROLLER with a child weighing more than 50 lbs (22.7 kg), will cause excessive wear and stress on the stroller. Use the stroller with only one child at a time.
- STROLLER TO BE USED only at walking speed. Product not intended for use while jogging, skating, etc.
- TO PREVENT A HAZARDOUS, UNSTABLE CONDITION, never place purses, shopping bags, parcels or accessory items on the canopy or handle. Do not place more than 10 lbs (4.5 kg) in the storage basket.
- DO NOT use storage basket as a child carrier.
- Avoid burns. Never put hot liquids in cup holder. Do not place more than 3 lbs (1.4 kg) on the parent tray/cup holder.
- NEVER ALLOW YOUR STROLLER to be used as a toy.
- DISCONTINUE USING YOUR STROLLER should it become damaged or broken.
- AVOID STRANGULATION. DO NOT place items with a string around your child's neck, suspend strings from this product, or attach strings to toys.
- NEVER USE STROLLER ON STAIRS or escalators. You may suddenly lose control of the product and your child may fall out. Also, use extra care when going up or down a step or curb.
- Do not attempt to attach any infant car seat to the stroller other than the Chicco infant car seat. Injury or death may result when attempting to use this stroller in conjunction with infant car seats from other manufacturers.
- Before use, remove and dispose of all plastic bags and packaging materials and keep them out of reach of children.
Failure to follow all warnings and instructions may result in serious injury or death. For your child's safety, read the labels and owner's manual before using the product.
- Before assembly, check that the product and all of its components have not been damaged during transportation.
- Do not use accessories, spare parts, or any component not supplied or approved by Chicco as they may make the stroller unsafe.
Using Chicco Infant Car Seat with stroller:
- Child's Tray must be properly attached to use the Chicco infant car seat.
- ONLY USE the Chicco infant car seat with this stroller.
- Only use this product to transport infants that are within the size and weight limitations of the infant car seat.
- FALL HAZARD: Always check that infant car seat is securely attached to stroller frame by pulling up on the infant car seat.
- ALWAYS SECURE your child with the car seat harness. Always make sure child is properly harnessed in the car seat.
- Refer to your Chicco infant car seat owner's manual for additional warnings and use instructions before using this product.
Documents / ResourcesDownload manual
Here you can download full pdf version of manual, it may contain additional safety instructions, warranty information, FCC rules, etc.
Advertisement


Need help?
Do you have a question about the Mini Bravo Plus and is the answer not in the manual?
Questions and answers