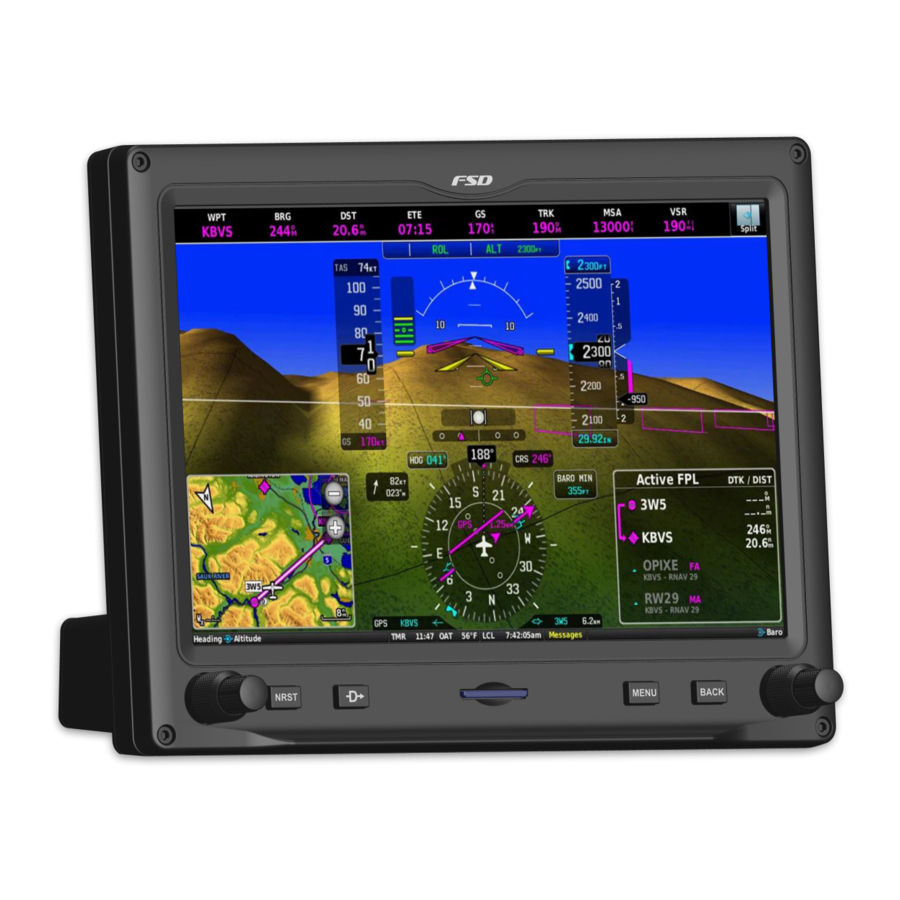
Garmin G3X Manual
- Installation manual (1011 pages) ,
- Pilot's manual (470 pages) ,
- Maintenance manual (134 pages)
Advertisement

Parts List
Electronic Parts
(2) Dual shaft encoders Part # EC11EBB24C03
(4) white LED tactile switches 6x6x7
2.54mm header pins both male and female (various lengths)
Resistors: (4) 300ohm (2) 10K ohm
(1) 100uf Capacitor part number C713345 on LCSC.com
(1) Adruino Pro Micro (5v) (for the Mobiflight Control Board)
(1) MOSFET Part # RFP30N06LE (used for Mobiflight controlled backlighting)
10.1 inch 1280x800 capacitive touch LCD
If using the full desktop case, you'll need some panel mount extension cables for the HDMI and 2 USB connections. Here are links to the ones we use.
HDMI Cable
USB Cable
USB C Cable
Hardware Parts
(5) M2 x 14mm screws
(3) M2 x 8mm screws
(13) M2 x 17mm screws
(10) M2 x 5mm screws
(4) M3 x 15mm Hex Head bolt (longer if Panel mounting)
The part numbers listed are the parts that these PCB's as well as the 3D print files are designed to use.
Please use caution when using other components as they may not fit properly.
PCB Information

Resistor Values
Please note that these values are based on using a 5v power from the Arduino card.
These are the Minimum recommended resistor ratings.
R1 - R4 = 300 ohm
Assembly Instructions
- Begin by placing the LCD into the rear of the faceplate.
![Garmin - G3X - Assembly - Step 1 Assembly - Step 1]()
- Assemble and solder all of the components onto the PCB.
Also install the Arduino Pro Micro onto the board.
![Garmin - G3X - Assembly - Step 2 Assembly - Step 2]()
- Place the buttons onto the key switches. The buttons will sit loosely on top of the switches but will stay in place once the faceplate is set in place.
![Garmin - G3X - Assembly - Step 3 Assembly - Step 3]()
- Place the PCB assembly onto the Faceplate using the Botton LCD bracket. You'll need (5) M2 x 14mm screws
![]()
- Attach the top LCB bracket with (3) M2 x 8mm screws.
![Garmin - G3X - Assembly - Step 4 Assembly - Step 4]()
- Now we can install the knobs and glue the dummy SD card in place.
![Garmin - G3X - Assembly - Step 5 Assembly - Step 5]()
- Now, attach the rear case frame using (4) M3 x 15mm Hex head bolts. If you are installing the unit into an instrument panel then increase the length of the bolts to accommodate the thickness of your panel. You also don't need to install the rest of the rear case if you don't want.
![Garmin - G3X - Assembly - Step 6 Assembly - Step 6]()
Note: If you are using the rear case, you'll need to purchase panel mount extension cables for the 2 USB and 1 HDMI connections. These will be mounted to the rear IO backplate.
Install the rear cover using (13) M2 x 17mm screws.
![Garmin - G3X - Assembly - Step 7 Assembly - Step 7]()
- Install the rear IO backplate with your panel mounted HDMI and USB connections in place. I have included a blank IO plate in.step format so that you can create your own cutouts for your cables.
You will need (10) M2 x 5mm screws.
![Garmin - G3X - Assembly - Step 8 Assembly - Step 8]()
- You can attach rubber pads to the provided cutouts on the bottom of the G3X. These will help it to stay put on your desk. Optionally, I have included a mounting plate that can be attached to a Honeycomb Yoke or just screwed to a flat surface. The mounting plate is designed to slide into the the groves between the legs under the rear case.
![Garmin - G3X - Assembly - Step 9 Assembly - Step 9]()
- Your G3X is now complete. You'll just need to connect it to your PC and install the Mobiflight Configuration files. Then you can configure the instrument pop out gauge using MSFS pop out manager.
![Garmin - G3X - Assembly - Step 10 Assembly - Step 10]()
MSFS Pop Out Manager Tips
You will need to use MSFS Pop Out Manager to properly display and use the in game instrument on your G3X unit. This is not a detailed tutorial on how to use Pop Out Manger. The software and information can be found Here.
Below you will find a screenshot of the settings window for the G3X in Pop Out Manager.
Settings:
- Height and width set to 1280 x 850
- Always on Top = ON
- Full Screen Mode = OFF (full screen mode seems to mess up the touchscreen)
- Hide Title Bar = ON
- Automatic Game Refocus = ON
You'll need to manually move and position the pop out gauge onto the G3X display.

Documents / Resources
References
Download manual
Here you can download full pdf version of manual, it may contain additional safety instructions, warranty information, FCC rules, etc.
Advertisement


 Note: If you are using the rear case, you'll need to purchase panel mount extension cables for the 2 USB and 1 HDMI connections. These will be mounted to the rear IO backplate.


Need help?
Do you have a question about the G3X and is the answer not in the manual?
Questions and answers