
Related Manuals for Pyle PLCMDVR49


Summary of Contents for Pyle PLCMDVR49
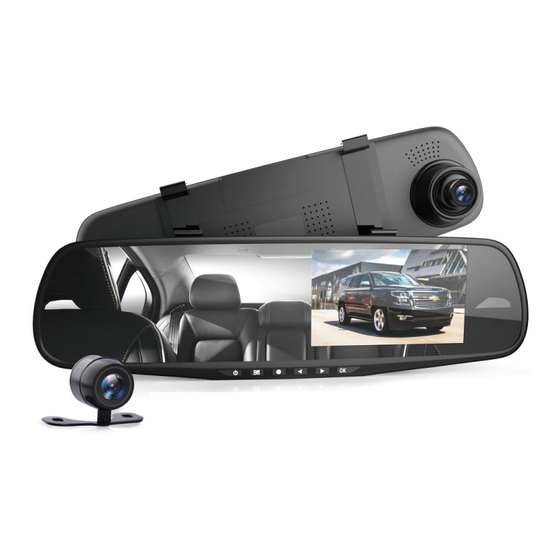
- Page 1 Visit Our Website SCAN ME PyleUSA.com PLCMDVR49 HD 720p DVR Rearview Mirror Dash Cam Kit USER GUIDE...
-
Page 2: California Prop 65 Warning
READ ALL INSTRUCTIONS CAREFULLY BEFORE USING THIS PRODUCT. RETAIN THIS OWNER’S MANUAL FOR FUTURE REFERENCE. FEATURES: • Dual Camera Car Video System • Full HD 720p Front Dash Cam • Attaches onto Your Existing Rearview Mirror • Waterproof Rearview Backup Cam •... - Page 3 Dimensions (L x W x H): 12.0'' x 1.6'' x 3.3'' -inches INTRODUCTION The PLCMDVR49 DVR Rearview Mirror Dash Cam Kit is designed to nd evidence in the event of a tra c accident. This camera can also be used in other situations such as meetings, monitoring, forensics, location shooting, and video evidence.
-
Page 4: Installation Notes
INSTALLATION NOTES This product should be mounted alongside the original rearview mirror. Ensure the lens is outside the range of the windshield wipers to maintain clear visibility, even in rainy conditions. Avoid touching the lens with your ngers, as nger grease may leave residue on the lens, resulting in unclear footage or photos. - Page 5 HOST KEYS AND INTERFACE SPECIFICATION Icon Name Operating Instructions Press to turn on/o ; press and hold to control Key Switch the screen backlight. Standby: Press to open the function setup menu; Menu Key press and hold to switch between settings menus. Mode Switch/ For video/photo/playback switching;...
-
Page 6: Recorder Installation
RECORDER INSTALLATION 1. Insert Memory Card: Insert the Micro SD card according to the device’s memory card instructions. The DVR supports memory sizes from 4GB to 32GB (Class 6 or higher). Note: Please format the memory card before using the device for the rst time. 2. - Page 7 5. Turn On/O Device: • Automatic On/O : The device will automatically power on when the car’s engine starts. The DVR will begin recording immediately. If the car charger remains plugged in, the DVR will stop recording and automatically save the data to the micro SD card.
-
Page 8: Menu Operation
Note: 1. There are 1, 2, and 3-minute options for video recording. The DVR will automatically save one video le. 2. If the memory card is full, the DVR will automatically overwrite the previous video le. 3. For G-Sensor trigger or emergency video recording, the video will be overwritten. You will need to delete the le manually. -
Page 9: Special Functions
SPECIAL FUNCTIONS 1. G-Sensor Function: The G-Sensor is triggered (collision detection). The DVR will save the accident video le and prevent it from being overwritten. You can adjust the sensitivity of the G-Sensor in the menu settings. 2. File Locking Function: In recording mode, if you capture an important event, press the “... - Page 10 5. USB Mode: When you connect the DVR to a computer via USB cable, the DVR will pop up two menu options automatically: 1. USB Storage Mode: Access video or photo les in this mode. 2. PCCAM Mode: Select this mode to use the DVR as a webcam for real-time video or photo chats using a PC.
- Page 11 DISPLAY INTERFACE ICONS Video Icon Photo Icon Video Playback Icon Motion Detection Icon 2. 1080P: Indicates the current video format size Video Locked Icon Parking Control Icon: Indicates parking control is active; "Parking control o " icon when deactivated Memory Card Icon 6.
-
Page 12: Setup Menu
SETUP MENU Menu Option Explanation Available Options Resolution Set the video resolution FHD, HD Photo Quality Set the photo resolution 12M, 10M, 8M, 5M, 3M, 2M, 1.3M, 1M 1 min, 2 min, 3 min, O ; Loop Video Set each video le length If O is chosen, the card will not be automatically overwritten Mobile... -
Page 13: Troubleshooting
Thank you for choosing PyleUSA. By registering your product, you ensure that you receive the full bene ts of our exclusive warranty and personalized customer support. Complete the form to access expert support and to keep your Model Number: PyleUSA purchase in perfect condition. PLCMDVR49 PyleUSA.com/pages/register www.PyleUSA.com... - Page 14 Questions or Comments? We are here to help! Phone: 1.718.535.1800 PyleUSA.com/ContactUs...
Need help?
Do you have a question about the PLCMDVR49 and is the answer not in the manual?
Questions and answers