Advertisement
- 1 Package Contents
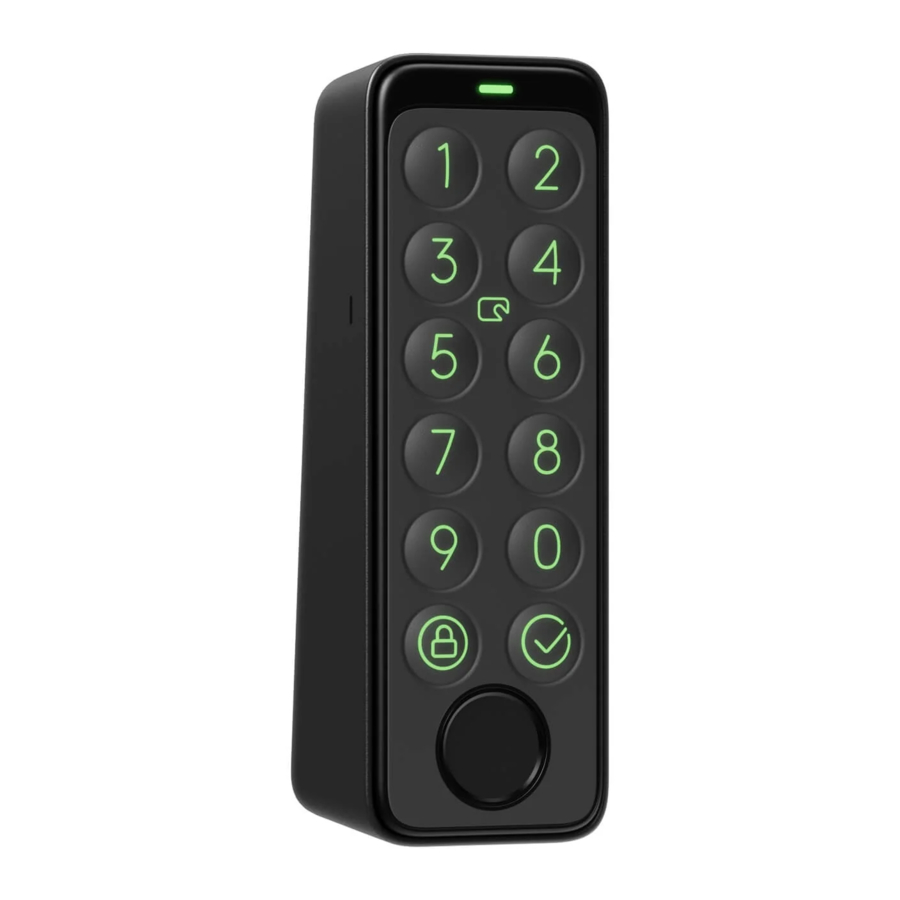
- 2 List of Components
- 3 Preparation
- 4 Getting Started
- 5 Installation
- 6 Keypad Touch Removal Illustration
- 7 Device Status Description
- 8 Passcode Unlock
- 9 NFC Card Unlock
- 10 Fingerprint Unlock
- 11 Battery Replacement
- 12 Unpairing
- 13 Lost Device
- 14 Firmware Upgrades
- 15 Troubleshooting
- 16 Specifications
- 17 Safety Information
- 18 Precautions
- 19 Contact & Support
- 20 Documents / Resources
Package Contents


List of Components

Preparation
You will need:
- A smartphone or tablet using Bluetooth 4.2 or later.
- The latest version of our app, downloadable via the Apple App Store or Google Play Store.
- A SwitchBot account, you can register via our app or sign in to your account directly if you already have one.
Please note: if you want to set unlock passcode remotely or receive notifications on your phone, you will need a SwitchBot Hub Mini (sold separately).


iOS 11.0+


Android OS 5.0+
Getting Started
- Remove the battery cover and install the batteries. Make sure the batteries are installed in the right direction. Then put the cover back on.
- Open our app, register an account and sign in.
- Tap "+" at the top right of the Home page, find the Keypad Touch icon and select, then follow the instructions to add your Keypad Touch.
Installation
Install with Screws
Before installation you will need:

- Confirm Installation Position
Tips: To avoid repeatedly changing positions after installation and causing damage to your wall, we suggest that you add Keypad Touch on our app first to see whether you can control the Lock via Keypad Touch at the chosen position. Make sure your Keypad Touch is installed within 5 meters (16.4 ft) from your Lock.
Add Keypad Touch following the instructions on the app. After adding successfully, find a suitable position on the wall, attach SwitchBot Keypad Touch to the chosen position with your hands, then check if you can lock and unlock SwitchBot Lock smoothly when using Keypad Touch.
If everything works correctly, place the alignment sticker to the position chosen and mark holes for screws using a pencil.

- Determine Drill Bit Size and Drill Holes
Tips: For outdoor usage, we recommend that you install with screws to prevent SwitchBot Keypad Touch being moved without your permission.
Concrete or other hard surfaces can be challenging for drilling. If you are not experienced with drilling into a particular type of wall, you may want to consider consulting a professional.
Prepare a suitably sized electric drill bit before drilling.- When installing on more rugged surfaces like concrete or brick:
Use an electric drill with the 6 mm (15/64") sized drill bit to drill holes at the marked positions, then use the rubber hammer to hammer the expansion bolts into the wall. - When installing on surfaces like wood or plaster: Use an electric drill with the 2.8 mm (7/64") sized drill bit to drill holes at the marked positions.
![]()
- When installing on more rugged surfaces like concrete or brick:
- Attach Mounting Plate to the Wall
Tips: If the wall surface is uneven, you may need to place two rubber rings at the two screw holes at the back of the mounting plate.
Affix mounting plate to the wall using screws. Make sure the mounting plate is firmly attached, there should be no excess movement when you press either side.

- Attach Keypad Touch to Mounting Plate
Align the two metal round buttons at the back of your Keypad Touch with the two round locating holes at the bottom of mounting plate. Then press and slide your Keypad Touch downwards with pressure along the mounting plate. You will hear a click when it is firmly attached. Then press your Keypad Touch from different angles using your hands to make sure it is stable.


If you've run into problems when attaching your Keypad Touch to the mounting plate, please refer to the following solutions to solve the problem:
- Check if the battery cover is properly clicked into place. The battery cover should cover the battery box perfectly and form a flat surface with its surrounding case parts. Then try attaching your Keypad Touch to the mounting plate again.

- Check if the installation surface is uneven. An uneven surface may cause the mounting plate to be too closely mounted to the wall. If so, you may need to place two rubber rings at the screw holes at the back of the mounting plate to ensure there is a certain distance between the mounting plate and the wall surface.

Install with Adhesive Tape
- Confirm Installation Position
Tips:- To avoid repeatedly changing positions after installation and causing damage to your wall, we suggest that you add Keypad Touch on our app first to see whether you can control the Lock via Keypad Touch at the chosen position. Make sure your Keypad Touch is installed within 5 meters (16.4 ft) from your Lock.

- 3M adhesive tape can only attach firmly to smooth surfaces like glass, ceramic tile and smooth door surface. Please clean the installation surface first before installation. (We recommend you install with screws to prevent your Keypad Touch being removed.)
![]()
- To avoid repeatedly changing positions after installation and causing damage to your wall, we suggest that you add Keypad Touch on our app first to see whether you can control the Lock via Keypad Touch at the chosen position. Make sure your Keypad Touch is installed within 5 meters (16.4 ft) from your Lock.


Add your Keypad Touch following the instructions on our app. After adding successfully, find a suitable position on the wall, attach your Keypad Touch to the position with your hands, then check if you can lock and unlock SwitchBot Lock smoothly using Keypad Touch. If so, use pencil to mark the position.
- Attach Mounting Plate to the Wall
Tips: Make sure the installation surface is smooth and clean. Make sure the temperature of the adhesive tape and installation surface is higher than 0°C, otherwise the tape adhesion may decline.
Attach adhesive tape to the back of mounting plate, then stick the mounting plate to the wall at the marked position. Press the mounting plate against the wall for 2 minutes to ensure it is firm.

- Attach Keypad Touch to Mounting Plate
Tips: Make sure the mounting plate has been firmly attached to the wall before continuing.
Align the two metal round buttons at the back of your Keypad Touch with the two round locating holes at the bottom of mounting plate. Then press and slide your Keypad Touch downwards with pressure along the mounting plate. You will hear a click when it is firmly attached. Then press your Keypad Touch from different angles using your hands to make sure it is stable.


Keypad Touch Removal Illustration
Tips: Do not remove Keypad Touch with force as this may cause structural damage to the device.

Poke the ejection pin into the removal hole and hold with pressure, at the same time, pull the Keypad upwards to remove it.
Keypad Touch Removal Alerts
- Removal alerts will be activated once Keypad Touch is added to your SwithBot account. Removal alerts will be triggered every time your Keypad Touch is removed from the mounting plate.
- Users can remove alerts by entering the correct passcode, verifying fingerprints or NFC cards.
Device Status Description
| Device Status | Description |
| Indicator light flashes green rapidly | Device is ready to set up |
| Indicator light flashes green slowly then goes off | OTA upgraded successfully |
| Red battery icon lights up and device beeps twice | Low battery |
| Green unlock icon lights up with a beep | Unlock successful |
| Green lock icon lights up with a beep | Lock successful |
| Indicator light flashes red twice and device beeps twice | Unlock/lock failed |
| Indicator light flashes red once and unlock/lock icon flashes once with 2 beeps | Unable to connect to Lock |
| Indicator light flashes red twice and panel backlight flashes twice with 2 beeps | Wrong passcode entered 5 times |
| Indicator light flashes red and panel backlight flashes rapidly with continuous beeps | Removal alert |
Please visit support.switch-bot.com for detailed information.
Passcode Unlock
- Amount of passcodes supported: You can set up to 100 passcodes, including 90 permanent passcodes, temporary passcodes and one-time passcodes totally and 10 emergency passcodes. When the amount of passcodes added has reached the max. limit, you will need to delete existing passcodes to add new ones.
- Passcode digit limit: you can set a passcode of 6 to 12 digits.
- Permanent passcode: passcode that is valid forever.
- Temporary passcode: passcode that is valid within a set time period. (Time period can be set up to 5 years.)
- One-time passcode: you can set a one-time passcode that is valid for from 1 to 24 hours.
- Emergency passcode: the app will send you notifications when emergency passcode is used to unlock.
- Emergency unlock notifications: you will only receive emergency unlock notifications when your Keypad Touch is connected to a SwitchBot Hub.
- Falsely triggered emergency unlock: With the anti-peep technology, when the random digits you entered contain an emergency passcode, your Keypad Touch will regard it as an emergency unlock first and will send you notifications. To prevent situations like this, please avoid entering digits that may compose an emergency passcode you've set.
- Anti-peep technology: You can add random digits before and after the correct passcode to unlock so people around you won't know what your real passcode is. You can enter up to 20 digits to include the real passcode.
- Security settings: Your Keypad Touch will be disabled for 1 minute after 5 failed attempts to enter your passcode. Another failed attempt will disable your Keypad Touch for 5 minutes and the disabled time will increase by double with following attempts. The max. disabled time is 24 hours, and each failed attempt after that will cause it to be disabled for another 24 hours.
- Set passcode remotely: requiring a SwitchBot Hub.
NFC Card Unlock
- Amount of NFC cards supported: You can add up to 100 NFC cards, including permanent cards and temporary cards. When the amount of NFC cards added has reached the max. limit, you will need to delete existing cards to add new ones.
- How to add NFC cards: Follow the instructions in the app and put a NFC card close to the NFC sensor. Do not move the card before it has been added successfully.
- Security settings: Your Keypad Touch will be disabled for 1 minute after 5 failed attempts to verify a NFC card. Another failed attempt will disable your Keypad Touch for 5 minutes and the disabled time will increase by double with following attempts. The max. disabled time is 24 hours, and each failed attempt after that will cause it to be disabled for another 24 hours.
- NFC card lost: if you've lost your NFC card, please delete the card as soon as possible in the app.
Fingerprint Unlock
- Amount of fingerprints supported: You can add up to 100 fingerprints, including 90 permanent fingerprints and 10 emergency fingerprints. When the amount of fingerprints added has reached the max. limit, you will need to delete existing fingerprints to add new ones.
- How to add fingerprints: follow the instructions in the app, press and lift your finger to scan it for 4 times to add your fingerprint successfully.
- Security settings: Your Keypad Touch will be disabled for 1 minute after 5 failed attempts to verify a fingerprint. Another failed attempt will disable your Keypad Touch for 5 minutes and the disabled time will increase by double with following attempts. The max. disabled time is 24 hours, and each failed attempt after that will cause it to be disabled for another 24 hours.
Battery Replacement
When your device battery is low, a red battery icon will appear and your device will emit a sound prompt indicating low battery every time you wake it up. You will also receive a notification via our app. Should this happen, please replace batteries as soon as possible.
How to replace batteries:
Note: The battery cover can not be easily removed due to the waterproof sealant added between the battery cover and the case. You will need to use the triangle opener provided.
- Remove the Keypad Touch from the mounting plate, insert the triangle opener into the slot at the bottom of the battery cover, then press it with continuous force to pry the battery cover open. Insert 2 new CR123A batteries, put the cover back, then attach the Keypad Touch back to the mounting plate.

- When putting the cover back, make sure it covers the battery box perfectly and forms a flat surface with its surrounding case parts.

Unpairing
If you are not using Keypad Touch, please navigate to the Settings page of the Keypad Touch to unpair it. Once Keypad Touch is unpaired, it will be not able to control your SwitchBot Lock. Please operate with caution.
Lost Device
Should you lose your device, please navigate to the Settings page of the Keypad Touch in question and remove pairing. You can pair the Keypad Touch to your SwitchBot Lock again if you find your lost device.
Please visit support.switch-bot.com for detailed information.
Firmware Upgrades
In order to improve user experience, we will regularly release firmware updates to introduce new functions and solve any software defects that may occur during usage. When a new firmware version is available, we will send an upgrade notification to your account via our app. When upgrading, please make sure your product has sufficient battery and make sure your smartphone is within range to prevent interference.
Troubleshooting
Please visit our website or scan the QR code below for more information.
https://support.switch-bot.com/hc/en-us/sections/4845758852119

Specifications
Model: W2500020
Color: Black
Material: PC + ABS
Size: 112 x 38 x 36 mm (4.4 x 1.5 x 1.4 in.)
Weight: 130 g (4.6 oz.) (with battery)
Battery: 2 CR123A batteries
Battery Life: Approx. 2 years
Usage Environment: Outdoor and Indoor
System Requirements: iOS 11+, Android OS 5.0+
Network Connectivity: Bluetooth Low Energy
Operating Temperature: -25°C to 66°C (-13°F to 150°F)
Operating Humidity: 10% to 90% RH (non-condensing)
IP Ratings: IP65
Safety Information
- Keep your device away from heat and humidity, and make sure it does not come into contact with fire or water.
- Do not touch or operate this product with wet hands.
- This product is a precision-based electronic product, please avoid physical damage.
- Do not attempt to disassemble, repair, or modify the product.
- Do not use the product where wireless devices are not allowed.
Precautions
- This product cannot control your Lock when it runs out the battery. Please check remaining battery via our app or the indicator on the device panel periodically, and make sure you replace the battery in time. Remember to bring a key out with you when the battery is low to prevent being locked outside.
- Refrain from using this product if an error occurs and contact SwitchBot Customer Service.
Contact & Support
Setup and Troubleshooting:
support.switch-bot.com
Support Email:
support@wondertechlabs.com
Feedback: If you have any concerns or problems when using our products, please send feedback via our app through the Profile > Feedback page.
Documents / Resources
References
Download manual
Here you can download full pdf version of manual, it may contain additional safety instructions, warranty information, FCC rules, etc.
Advertisement


Need help?
Do you have a question about the Keypad Touch and is the answer not in the manual?
Questions and answers