Bissell Pet Stain Eraser Duo, 3704 / 3705 / 3706 / 3709 Series Manual
- User manual ,
- Manual (24 pages) ,
- User manual
Advertisement
What's in the Box
Standard accessories may vary by model. To identify what should be included with your purchase, please refer to the "Carton Contents" list located on the carton top flap.

Charging the Battery
If you need additional help charging your battery, head to support.BISSELL.com.
 |  |  |
|
|
|
Wet Cleaning
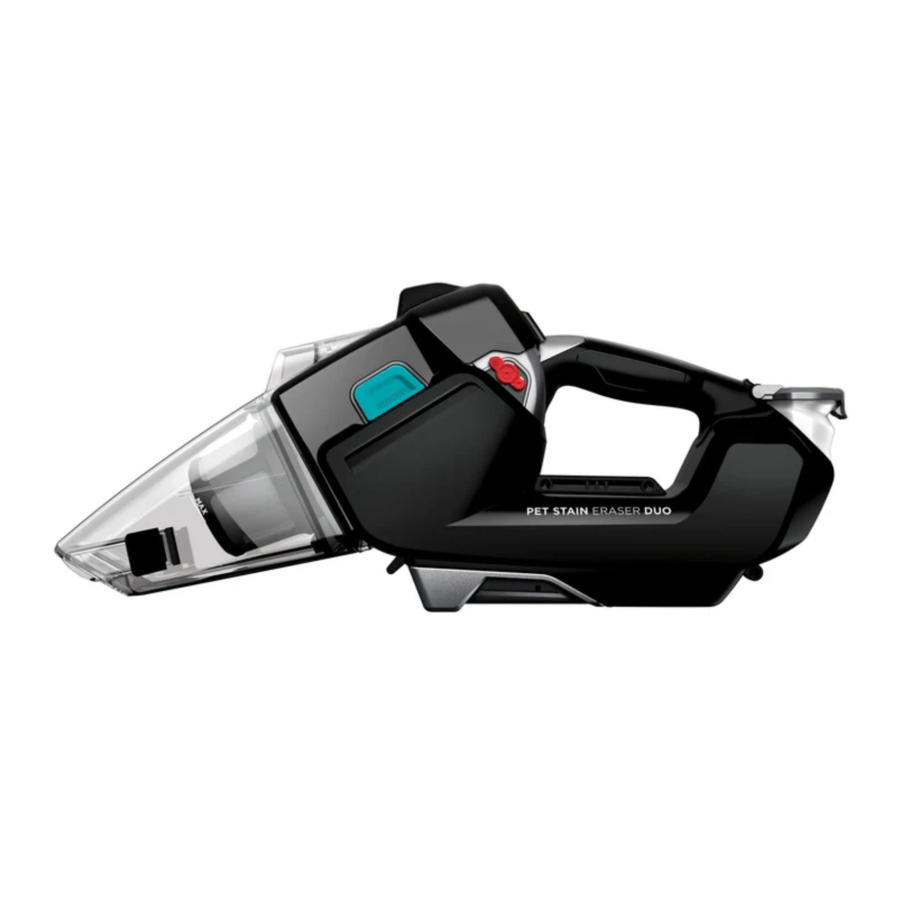
Overview

- Spray Nozzle
- Charging Port
- Removable Suction Lens
- Deep Cleaner Attachment Release Latch
- Dirty Water Tank
- Removable Scrub Brush
- Formula Tank
- Control Panel
- Power Switch
- Battery Status Indicator Light
- Spray Switch
Positioning the Machine Correctly

To prevent leaking, ensure machine is always in a horizontal or upright position.

Keep spray away from face. Failure to do so may result in personal injury.

Check the manufacturer's tag before cleaning upholstery. "W" or "WS" on the tag means you can use your Pet Stain Eraser. If tag is coded with an "S" (with diagonal strike-through), or says "Dry Clean Only," do not proceed. If manufacturer's tag is missing or not coded, check with your furniture dealer.
Installing the Deep Cleaning Attachment
 |  |
|
|
Spot Cleaning Carpet & Upholstery
 |  |  |
|
|
|
 |  |  |
|
|
|
NOTICE
Use of cleaning formulas which contain lemon or pine oil may damage this appliance. Chemical spot cleaners or solvent-based soil removers also should not be used. These products may react with the plastic materials used in your cleaner, causing cracking or pitting.
Removing & Emptying the Dirty Water Tank
 |  |  |
|
|
|
 |  | |
|
|


To reduce the risk of fire, electric shock or injury, turn power OFF and disconnect from charger before performing maintenance or troubleshooting.
After-Cleaning Care
 |  |  |
|
|
|
 |  |  |
|
|
|
 |  |  |
|
|
|
To reduce the risk of fire, electric shock or injury, turn power OFF and disconnect from charger before performing maintenance or troubleshooting.
Dry Cleaning
Overview

- Dirt Tank Release Button
- Dry Vacuum Attachment Release Latch
- Charging Port
- Dirt Tank
- Control Panel
- Power Switch
- Battery Status Indicator Light
 |  |  |
|
|
|
 | ||
| ||
Emptying the Dirt Tank
 |  |  |
|
|
|
 |  |  |
|
|
|
 |  |  |
|
|
|
NOTICE
- To reduce the risk of a leaking condition, do not store where freezing may occur. Damage to internal components may result.
- Disconnecting the battery will destroy the appliance and invalidate the warranty.
To reduce the risk of fire, electric shock or injury, turn power OFF and disconnect from charger before performing maintenance or troubleshooting.
Troubleshooting
Below are some of the issues you may run into. If you don't see the issue you're experiencing below, visit support.BISSELL.com.
| Problem | Possible Cause | Remedies | |
| Machine Issues | |||
Machine is not powering ON | Battery is depleted. | Charge machine before use. | |
Machine is not charging | Charger plug/cord not properly connected. | Make sure charger cord is secured into machine and charger plug is inserted fully into a working wall outlet. | |
| Wet Cleaning Issues | |||
Machine is leaking or making a whistling sound | Dirty water tank plug gasket is dirty. | Clean gasket. | |
| Dirty water tank and plug are not properly installed. | Remove and reinstall tank and plug until secured. | ||
| Dirty water tank is full. | Empty tank. See "Spot Cleaning Carpet & Upholstery". | ||
| Machine is in an incorrect position. | Ensure machine is in horizontal or upright position. Machine should not be stored on its side. | ||
Reduced or no spray | Pump not primed. | Turn machine ON, press and hold spray button for a few seconds. | |
| Spray nozzle clogged. | Clear debris from spray nozzle using a paper clip. | ||
| Machine is in an incorrect position. | Use machine in horizontal orientation. See "Positioning the Machine Correctly". | ||
Reduced or no suction | Dirty water tank not properly installed. | Reinstall dirty water tank and confirm plug is secure. | |
| Suction lens not properly installed or is clogged. | Remove, clean, and reinstall suction lens. See "Removing & Emptying the Dirty Water Tank". | ||
| Suction lens not engaged with carpet. | Tilt machine forward and press down firmly on carpet. | ||
| Debris on filter. | Remove debris from red filter behind dirty tank. | ||
| Dry Cleaning Issues | |||
Low suction | Dirt tank is full. | Empty tank. | |
| Dirt tank isn't properly installed. | Remove and reinstall tank until secured. | ||
| Tool is loose (if tool is used). | Make sure tool is fully inserted into tank. | ||
| Filter is dirty or needs to be replaced. | Clean filter. Visit support.BISSELL.com for replacement parts. | ||
| Clog in tank opening or tool. | Examine and remove clog. | ||
| Filter assembly is missing or installed incorrectly. | Check filter for correct installation. | ||
Note: Any other servicing should be performed by an authorized service representative.
The battery is to be disposed of safely. See global.BISSELL.com for battery removal instructions.
To reduce the risk of fire, electric shock or injury, turn power OFF and disconnect from charger before performing maintenance or troubleshooting.
IMPORTANT SAFETY INSTRUCTIONS
READ ALL INSTRUCTIONS BEFORE USING YOUR APPLIANCE.
When using an electrical appliance, basic precautions should be observed, including the following:
TO REDUCE THE RISK OF FIRE, ELECTRIC SHOCK OR INJURY:
- Keep hair, loose clothing, fingers, and all parts of body away from openings and moving parts of the appliance and its accessories.
- Unplug charger from outlet when not in use and before servicing.
- Do not expose to rain. Store indoors.
- Do not allow to be used as a toy. Close attention is necessary when used by or near children.
- Use only as described in the user guide.
- Use only manufacturer's recommended attachments.
- Do not use with damaged charger, cord or plug.
- If appliance is not working as it should, has been dropped, damaged, left outdoors, or dropped into water; do not attempt to operate it and have it repaired at an authorized service center.
- Do not pull or carry charger by the cord, use cord as a handle, close a door on cord, or pull cord around sharp edges or corners. Do not run appliance over cord.
- Keep charger away from heated surfaces.
- Do not unplug charger by pulling on cord.
- To unplug, grasp the plug, not the cord.
- Do not handle charger, including charger plug and charger terminal with wet hands.
- Do not put any object into openings.
- Do not use with any opening blocked; keep free of dust, lint, hair, and anything that may reduce air flow.
- Use extra care when cleaning on stairs.
- Keep batteries out of reach of children.
- The battery is to be disposed of safely.
- Turn OFF all controls before plugging or unplugging appliance.
- Do not use to pick up flammable or combustible liquids, such as gasoline, or use in areas where they may be present.
- Do not pick up toxic material (chlorine bleach, ammonia, drain cleaner, etc.)
- Do not pick up anything that is burning or smoking, such as cigarettes, matches or hot ashes.
- Do not use appliance in an enclosed space filled with vapors given off by oil-based paint, some moth-proofing substances, flammable dust, or other explosive or toxic vapors.
- Do not pick up hard or sharp objects such as glass, nails, screws, coins, etc.
- Do not use a flammable or combustible liquid.
- Prevent unintentional starting. Ensure the switch is in the OFF-position before picking up or carrying the appliance. Carrying the appliance with your finger on the switch or energizing appliance that can turn the switch on invites accidents.
![]()
Under abusive conditions, liquid may be ejected from the battery; avoid contact. If contact accidentally occurs, flush with water. If liquid contacts eyes, additionally seek medical help. Liquid ejected from the battery may cause irritation or burns.![burn hazard]() Do not use appliance that is damaged or modified. Damaged or modified batteries may exhibit unpredictable behavior resulting in fire, explosion or risk of injury.
Do not use appliance that is damaged or modified. Damaged or modified batteries may exhibit unpredictable behavior resulting in fire, explosion or risk of injury.- Do not expose appliance to fire or excessive temperature. Exposure to fire or temperature above 130°C/265°F may cause explosion.
![burn hazard]() Follow all charging instructions and do not charge the appliance outside of the temperature range specified in the instructions. Charging improperly or at temperatures outside of the specified range may damage the battery and increase the risk of fire.
Follow all charging instructions and do not charge the appliance outside of the temperature range specified in the instructions. Charging improperly or at temperatures outside of the specified range may damage the battery and increase the risk of fire.- Have servicing performed by a qualified repair person using only identical replacement parts. This will ensure that the safety of the product is maintained.
- Do not modify or attempt to repair the appliance except as indicated in the instructions for use and care.
- Keep the temperature range of between 4-40°C/40-104°F when charging battery, storing machine or during use.
- Only use with the following charger; E-tek Model ZD006C100063USE.
![burn hazard]() Recharge only with the charger specified by the manufacturer. A charger that is suitable for one type of battery pack may create a risk of fire when used with another battery pack.
Recharge only with the charger specified by the manufacturer. A charger that is suitable for one type of battery pack may create a risk of fire when used with another battery pack.- Plastic film can be dangerous. To avoid danger of suffocation, keep away from children.
- Liquid must not be directed towards equipment containing electrical components.
- Do not immerse. Use only on surfaces moistened by the cleaning process. Use only BISSELL cleaning products intended for use with this machine.
- If the charger supply cable is damaged, it must be replaced by the manufacturer, its service agent or similarly qualified person in order to avoid a hazard.
- Battery pack and charger output terminals are not to be short-circuited.
- Do not charge the unit outdoors.
- Do not incinerate the appliance even if it is severely damaged. The batteries can explode in a fire.
- The appliance must be disconnected from the supply mains when removing the battery.
- Dispose of used batteries promptly.
- This appliance contains batteries that are only replaceable by skilled persons.
- The battery must be removed from the appliance before it is scrapped.
- Do not use without filters in place.
- Do not turn your appliance ON until you are familiar with all instructions and operating procedures.

SAVE THESE INSTRUCTIONS
THIS MODEL IS FOR HOUSEHOLD USE ONLY.
COMMERCIAL USE OF THIS UNIT VOIDS THE MANUFACTURER'S WARRANTY.
Join us online for a complete guide to your new product, including troubleshooting, product registration, parts, and more.
Go to support.BISSELL.com
Documents / Resources
References
Download manual
Here you can download full pdf version of manual, it may contain additional safety instructions, warranty information, FCC rules, etc.
Download Bissell Pet Stain Eraser Duo, 3704 / 3705 / 3706 / 3709 Series Manual
Advertisement


Need help?
Do you have a question about the Pet Stain Eraser Duo and is the answer not in the manual?
Questions and answers