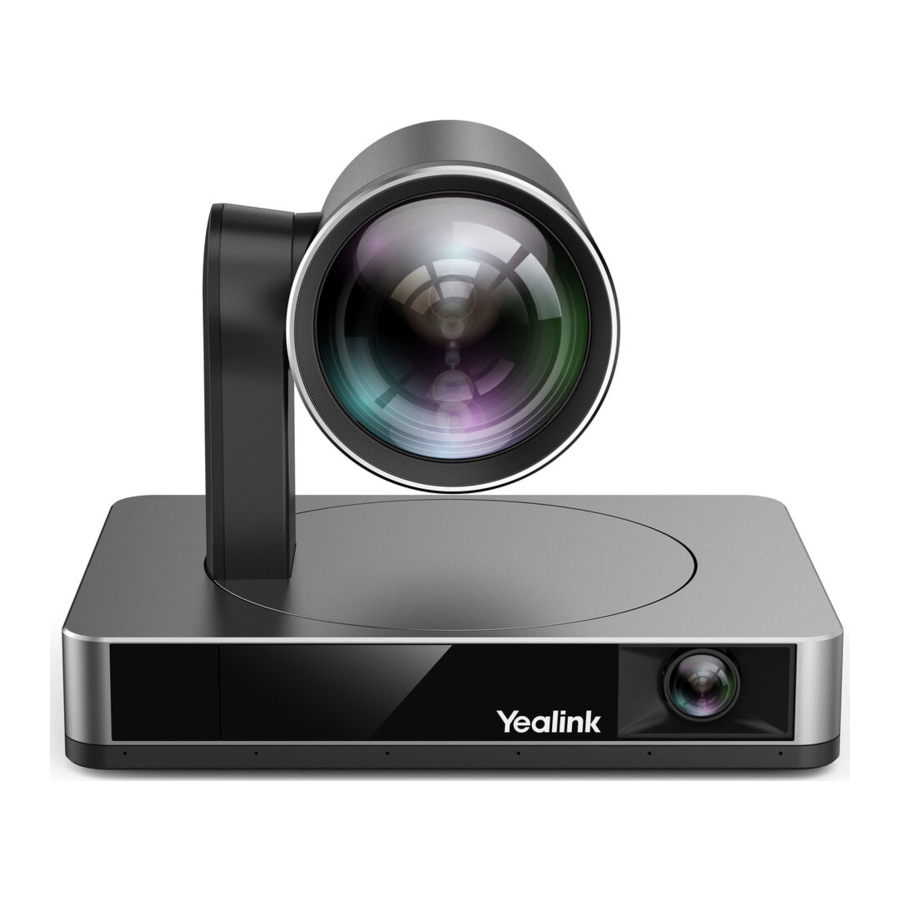
Yealink UVC86, UVC86-BLACK Manual
Also See for UVC86:
- Quick start manual (36 pages) ,
- Manual (9 pages) ,
- Installation manual (10 pages)
Advertisement
Table of Contents
Contents
Yealink UVC86, UVC86-BLACK Manual
Package Contents
 TIP
TIP
For the UVC86 unboxing video, and please refer to UVC86. We recommend that you use the accessories provided or approved by Yealink. The use of unapproved thirdparty accessories may result in poor performance.

Install UVC86
- Put on a Flat Surface
You can put the UVC86 on the conference table, and make sure that the angle of inclination of the UVC86 is not more than 5 degrees to ensure proper operation. - Mount on top of a display
Choose the following installation method when the thickness of the TV is between 0 mm and 70 mm.

Choose the following installation method when the thickness of the TV is between 46 mm and 146 mm.

- Mount on the Wall
The recommended height is 1.55 m-1.85 m above the ground.

- Mount on the Ceiling

- Mount onto a TV Mount
You need to purchase a TV Mount separately.


Lens Calibration
- Manually adjust the panoramic camera
UVC86 is equipped with dual cameras (panoramic camera and tracking camera). The panoramic camera is a mechanical device without a gimbal. In order to better adapt to the user's installation environment, it is allowed to manually adjust the pitch angle of ±10°. According to the following actual usage scenarios, manually adjust the lens gear at the bottom of the UVC86.
When you mount the UVC86 on the ceiling, you need to adjust the lens to the downward direction, as shown in the figure.

When you put the UVC86 on the desk, you need to adjust the lens to the upward direction, as shown in the figure.

- Lens Calibration Using Yealink Room Connect Software
Since the coordinates of the panorama lens image analysis need to be used as the adjustment basis for the gimbal lens image during smart tracking, the image coordinate systems of the two lenses need to match each other. After manually adjusting the lens to a suitable angle, please use the Yealink Room Connect software to calibrate the lens.


- Open the Yealink Room Connect software, clickDevice Settings > Lens Calibration.
- Click OK (the camera cannot be adjusted during the lens calibration).
NOTE
During the lens calibration process, please ensure that there is no obstruction in front of the lens, and the lens cannot be adjusted manually. If one calibration fails, try calibrating again.
Hardware Interface
UVC86

| No. | Item | Description |
| 1 | VCH | In MVC system, connect to audio device (for example: VCM34). |
| 2 | DC48V | Connect to a power adapter. |
| 3 | PC Port | Connect to a PC as video output. |
| 4 | HDMI out | Reserved port for future features. |
| 5 | Line in | The UVC86 can be connected to a third-party audio playback device via a 3.5mm audio cable, and the audio output from third-party audio device is used as an audio reference signal for the UVC86 voice tracking. |
| 6 | Reset | Reset the UVC86 to factory defaults. |
| 7 | Security slot | Connect a universal security cable to the UVC84 so that you can lock the UVC84 down. |
| 8 | USB-A Port | Connect to DD10 or USB disk. |
VCR20 Remote Control

| No. | Port Name | Description |
| 1 | Mute Key | Mute or unmute the microphone. |
| 2 | Tracking Feature Key |
|
| 3 | OK Key |
|
| 4 | Navigation Key | Pan and tilt the camera to adjust the viewing angle. |
| 5 | 1/ 1/ 3 key |
|
| 6 | Volume Key | Turn up/down the volume. |
Connect UVC86
- Connect to PC

- Connect to the video conference system


NOTE
- Supports connecting up to 2 cameras via PoE switch.
- Not included accessories requirements:
- Ethernet cable: CAT5e or higher ethernet cable.
- PoE switch: If you use PoE to connect cameras, you need to use PoE+.
LED Indicator
| LED Status | Description |
| Off | The UVC86 is powered off. |
| Solid green | The UVC86 is active. |
| Solid red | The UVC86 is in sleep mode. |
| Flash red | The UVC86 is in recovery mode. |
| Flash orange | The UVC86 is upgrading firmware. |
Documents / ResourcesDownload manual
Here you can download full pdf version of manual, it may contain additional safety instructions, warranty information, FCC rules, etc.
Advertisement


Need help?
Do you have a question about the UVC86 and is the answer not in the manual?
Questions and answers