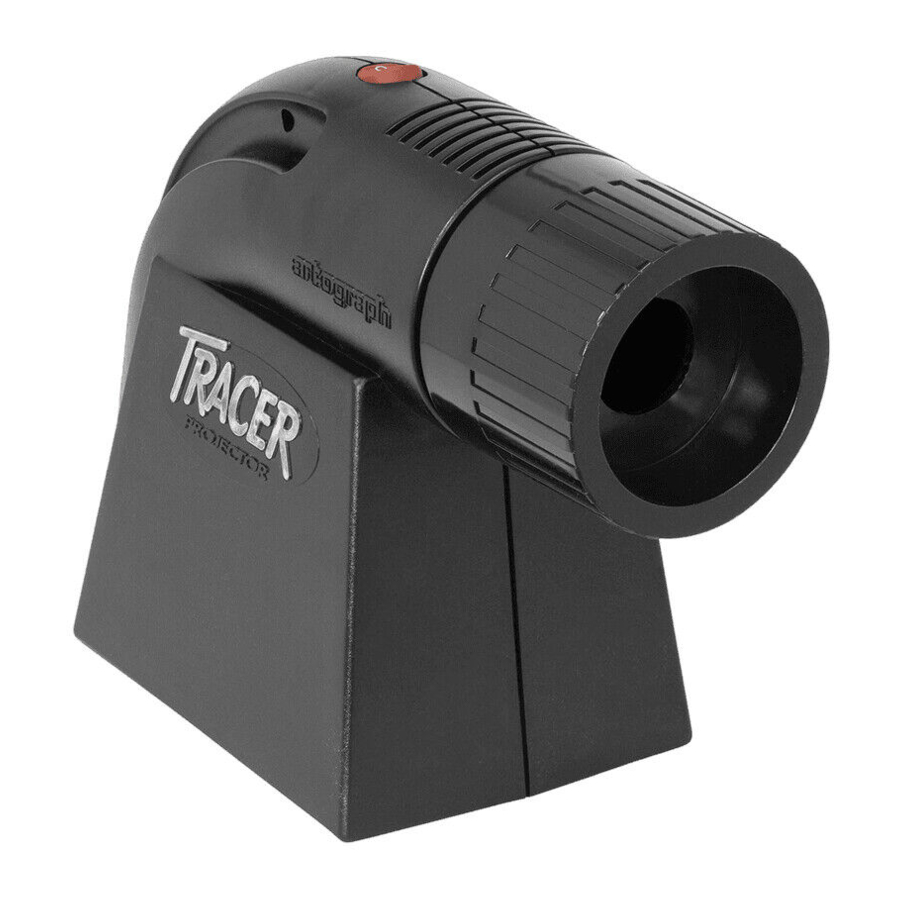
artograph TRACER Manual
- User manual (24 pages) ,
- User manual (21 pages) ,
- User manual (21 pages)
Advertisement

Introduction
Whether you wish to enlarge a pattern, trace a picture, create a mural or more, the Tracer provides a fast and easy way to let you get to the fun part faster. We hope you enjoy your new Tracer! If you have any questions or suggestions, please contact us at 763-553-1112, toll-free at 1-888-975-9555, or send an email to sales@artograph.com
ELECTRICALLY-OPERATED PRODUCT. FOR USE BY AGES 12 AND UP
SET UP & OPERATION
- Room Lighting
All opaque projectors work like a flashlight; the darker the room, the brighter the projected image will appear. The clearest and brightest images are produced in a completely dark room. For best results, operate your Tracer in a room where you are able to control the lighting conditions, or work in the evening. The darker the room conditions, the brighter and sharper the projected image will be. - Projecting the Image
We do not recommend using photographs or resin-coated prints with the Tracer. Photographs were not intended to handle the intense light and heat created by a projector. Photographs may be adversely affected by the heat and light. If using original or valuable art, we recommend that you project from copies if it can not be replaced.
- Lay the art or design you wish to project face-up on a fl at hard surface. A stool or hard chair is ideal, as they can be easily moved when adjusting the size of the projected image. CAUTION: Do no put the projector on a soft or heat sensitive surface, as damage may occur.
The Tracer must be positioned near an electrical outlet. Carefully arrange the cord so that it won't be tripped over or pulled while projecting in a dark room. - Place the Tracer on top of the art or design with the opening at the bottom of the projector positioned over the area you wish to project.
- Make sure the red on/off switch on top of the unit is in the "O" (off) position. Plug the Tracer into an electrical outlet and flip the red switch to the "I" (on) position.
- Turn off any room lights and point the Tracer toward the desired wall or vertical surface (i.e. easel, canvas etc.).
- Sizing and Focusing
To change the size of the projected image, move the Tracer either closer to the projection surface (i.e. wall, easel, canvas, etc.) for a smaller enlargement, or farther away for a greater enlargement. Then, focus by sliding the lens barrel in or out slowly until the projected image becomes clear. The Tracer can enlarge an image anywhere between 2 and 14 times the original size. See Distance Chart for desired sizes and approximate distances.
![artograph - TRACER - Sizing and Focusing Sizing and Focusing]()
| Range 2X | 4x | 6x | 8x | 10x | 12x | 14x | |
| Distance 24" | (61cm) | 40" (1.02m) | 56" (1.42m) | 6' (1.83m) | 7.3' (2.24m) | 8.6' (2.65m) | 10' (3.05m) |
PARTS LIST

- Lens: 200-685
- Lamp (110V, 100-watt): 106-015
Lamp (220V, 100-watt): 106-018
PROJECTOR MAINTENANCE
Replacement Lamps
The Tracer projector includes a standard 100 watt soft white incandescent lamp for illumination; however, any lamp up to 100 watts may be used including a fluorescent lamp.
A 23-26 watt fluorescent helix lamp may be substituted for the standard 100 watt incandescent lamp. Fluorescent lamps are much cooler and offer long life. For best image brightness and color, use Daylight (6500 ansi) lamps. For questions contact customer service.
Cleaning
LENS: Clean the lens with a commercial lens cleaner and a soft cloth or lens tissue. Apply cleaner to the cloth: NEVER apply cleaner directly onto the lens as it may seep inside.
MIRROR: The Tracer features a special front-surface mirror, which eliminates double imaging and enhances brightness. Normally the mirror will not require cleaning other than occasional dusting. Clean the silvered surface with care using a mild cleaning solution and a soft cloth or tissue. DO NOT SCRUB!
NEVER submerge the projector in water.
IMPORTANT SAFEGUARDS
When using this projector, always follow basic safety precautions, including the following:
- Read and understand all instructions before operating.
- Close supervision is necessary when used by or near children. Do not leave unattended while in use.
- Do not operate this equipment with a damaged cord, or if it has been dropped or otherwise damaged, until it has been examined by a qualified electrician.
- If an extension cord is necessary, be sure it has a suitable current rating. Cords rated for less amperage than this equipment may overheat. Be careful to arrange the cord so that it will not be tripped over or pulled.
- Always unplug from the electrical outlet when not in use. Disconnect by grasping and pulling the plug from the outlet; never yank the cord to disconnect the plug.
- Allow the projector to cool completely before moving. Loop the cord loosely when storing.
- If the projector receives water damage, do not use until inspected by a qualified electrician.
- To avoid electrical shock hazard, do not disassemble. Take the projector to a qualified electrician. Incorrect reassembly can cause an electrical shock hazard.
PLEASE SAVE THESE INSTRUCTIONS
Documents / Resources
References
Download manual
Here you can download full pdf version of manual, it may contain additional safety instructions, warranty information, FCC rules, etc.
Advertisement


Need help?
Do you have a question about the TRACER and is the answer not in the manual?
Questions and answers