Sign In
Upload
Download
Table of Contents
Contents
Add to my manuals
Delete from my manuals
Share
URL of this page:
HTML Link:
Bookmark this page
Add
Manual will be automatically added to "My Manuals"
Print this page
×
Bookmark added
×
Added to my manuals
Manuals
Brands
Strong Manuals
Smart TV
G472C Series
Installation instructions manual
Strong G472C Series Installation Instructions Manual
Hd smart tv 24”
Hide thumbs
1
2
3
Table Of Contents
4
5
6
7
8
9
10
11
12
13
14
15
16
17
18
19
20
21
22
23
24
25
26
27
28
29
30
31
page
of
31
Go
/
31
Contents
Table of Contents
Troubleshooting
Bookmarks
Table of Contents
Simplified Eu Declaration of Conformity
Table of Contents
Instruction
Safety Instructions
Storage
Accessories
Equipment Set-Up
Installation
Password Setting
Front Panel
Rear Panel
Remote Control
Colour Buttons
Installing the Batteries
Using the Ir Remote Control
First Time Installation
Channel Installations for Cable
Channel Installations for Antenna
Channel Installations for Satellite
Home Screen
Inputs
Network & Internet
Live Tv Usage
Channel Installation
Watching Tv Channels
Electronic Program Guide (Epg)
Tv Menus
Smart Tv Possibilities
System Settings
Settings Main Menu
System Menu
Multimedia
Reminder When Using the Usb Storage Devices
Multimedia Player
Play Videos
Browse Photos
Play Music
Browse Files
Troubleshooting
Specifications
Advertisement
Quick Links
Download this manual
G472C Serie
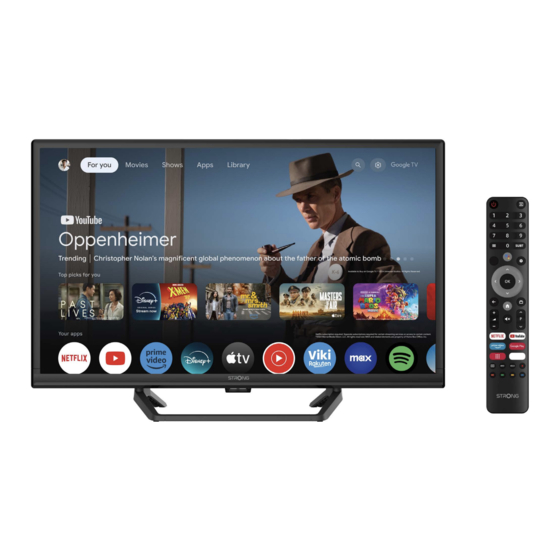
HD SMART TV 24"
SRT 24HG4723C
Installation instructions
www.strong-eu.com
Table of
Contents
Previous
Page
Next
Page
1
2
3
4
5
Advertisement
Table of Contents
Need help?
Do you have a question about the G472C Series and is the answer not in the manual?
Ask a question
Questions and answers
Related Manuals for Strong G472C Series
Smart TV Strong G673C Series Installation Instructions Manual
Hd smart tv 32"/40" (31 pages)
Smart TV Strong G877 Series Installation Instructions Manual
(28 pages)
Smart TV Strong SRT 65UC6433 User Manual
Uhd smart android tv with dvb-t2/c/s2 (34 pages)
Smart TV Strong SRT 32HB5203 User Manual
Smart tv with dvb-t2/c/s2 (21 pages)
Smart TV Strong SRT 43UA6203 User Manual
4k uhd smart tv with dvb-t2/cs2 (24 pages)
Smart TV Strong 32HC5433 User Manual
Smart android tv with dvb-t2/c/s2 (284 pages)
Smart TV Strong SRT 32HC5433 User Manual
Hd smart an droid tv with dvb-t2/c/s2 (22 pages)
Smart TV Strong SRT 32HC4432 User Manual
Hd smart android tv with dvb-t2/c (32 pages)
Smart TV Strong 32HD5553 Manual
Smart android tv with dvb-t2/c/s2 (35 pages)
Smart TV Strong SRT 50UC7433 User Manual
Smart tv with dvb-t2/c/s2 (22 pages)
Smart TV Strong SRT 50UF8733 Installation Instructions Manual
Smart tv 50'' / 55'' / 65'' (33 pages)
Smart TV Strong SRT24HE4203 Manual
Hd smart tv with dvb-t2/c/s2 (34 pages)
Smart TV Strong 32HC4433 User Manual
Android tv with dvb-t2/c/s2 (34 pages)
Smart TV Strong 32HC5433 User Manual
Smart android tv with dvb-t2/c/s2 (38 pages)
Smart TV Strong FC5433 User Manual
3.1ch soundbar with wireless subwoofer & dolby atmos (22 pages)
This manual is also suitable for:
Srt 24hg4723c
Table of Contents
Print
Rename the bookmark
Delete bookmark?
Delete from my manuals?
Login
Sign In
OR
Sign in with Facebook
Sign in with Google
Upload manual
Upload from disk
Upload from URL


Need help?
Do you have a question about the G472C Series and is the answer not in the manual?
Questions and answers