Advertisement
Quick Links
Advertisement

Subscribe to Our Youtube Channel
Related Manuals for Otto N621P172750


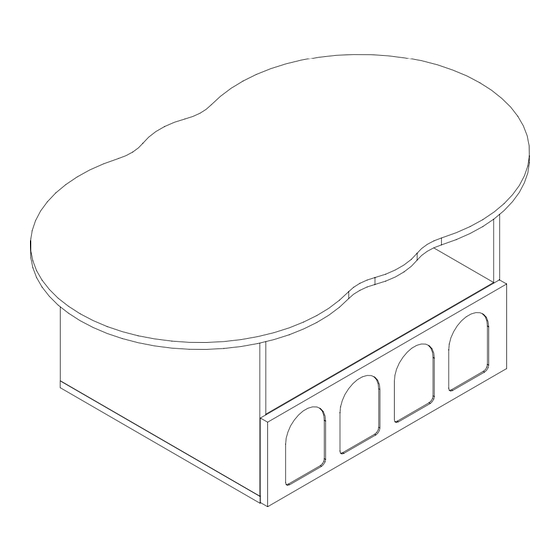
Summary of Contents for Otto N621P172750
- Page 1 N621P172750 Gebrauchsanweisung Manuel du produit Manual del producto Manuale del prodotto...
- Page 2 Sicherheits- und Pflegehinweise Wichtig: Bitte lesen Sie diese Anweisungen vollständig durch, bevor Sie mit der Montage beginnen. Achtung: Dieses Gerät ist relativ schwer. Bitte heben Sie es vorsichtig an. Überprüfen Sie, ob alle auf den Seiten aufgeführten Komponenten und Werkzeuge vorhanden sind. Entfernen Sie sämtliches Zubehör aus den Plastiktüten und teilen Sie es in seine Gruppen auf.
- Page 3 Safety and Care Advice Important - Please read these instructions fully before starting assembly Warning: This unit is relatively heavy. Please lift with care.Check you have all the components and tools listed on pages. Remove all fittings from the plastic bags and separate them into their groups. Keep children and animals away from the work area, small parts could choke if swallowed.Parts of the assembly will be easier with 2 people.
- Page 4 Conseils de sécurité et d'entretien Important - Veuillez lire entièrement ces instructions avant de commencer l'assemblage Attention : cet appareil est relativement lourd. Veuillez soulever avec précaution. Vérifiez que vous disposez de tous les composants et outils répertoriés sur les pages. Retirez tous les raccords des sacs en plastique et séparez-les en groupes.
- Page 8 N621P172750...
- Page 9 Hardware 8x40 3.5x14 16pcs 12pcs 17Sets F1-L F1-R F2-L F2-R 3.5x35 7x50 400mm 6pcs 6pcs 1Sets 1Sets 6pcs x 6pcs 4pcs 4pcs...
- Page 10 Step 1 A1 x 12 B x 8 C x 4 F1CR x 1 F1CL x 1 The slide rail needs to be installed facing upwards in this way Die Gleitschiene muss so nach oben gerichtet montiert werden F1CR F1CL REMARK: When installing, please make sure the screws are flattened,Not crooked;...
- Page 11 Step 2 A2 x 6 C x 2 B x 4 J1 x 1 J2 x 1...
- Page 12 Step 3 E x 6...
- Page 13 Step 4 A1 x 5 C x 6 L x 4 K x 4 G x 6...
- Page 14 Step 5 A2 x 5 C x 4 D x 6 F2DL x1 F2DR x1 F2D-R F2D-L...
- Page 15 Step 6 A2 x 6...
- Page 16 Step 7 H x 6 In order to make the product more beautiful, please paste hardware H on the exposed holes Um das Produkt schöner zu machen, kleben Sie bitte Hardware H auf die freiliegenden Löcher Pour rendre le produit plus esthétique, coller la quincaillerie H sur les trous nus...
Need help?
Do you have a question about the N621P172750 and is the answer not in the manual?
Questions and answers