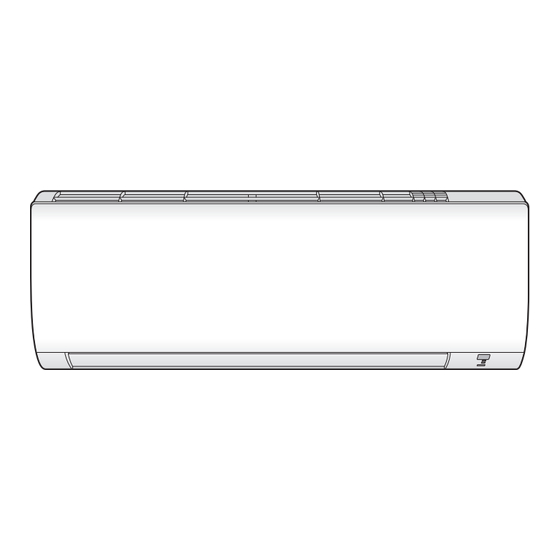
Daikin ATXP20N5V1B9 Installation Manual
Hide thumbs
Also See for ATXP20N5V1B9:
- Installation manual (148 pages) ,
- Installer's reference manual (56 pages) ,
- User reference manual (44 pages)
Summary of Contents for Daikin ATXP20N5V1B9
- Page 1 Installation manual Daikin room air conditioner FTXP20N5V1B9 FTXP25N5V1B9 FTXP35N5V1B9 FTXP50N5V1B9 ATXP20N5V1B9 Installation manual ATXP25N5V1B9 English Daikin room air conditioner ATXP35N5V1B9...
- Page 2 3P746272-2...
- Page 3 4P684901-25G...
- Page 4 To connect the electrical wiring to the indoor unit ..... 11 Daikin website (publicly accessible). 8 Finishing the indoor unit installation ▪ The full set of the latest technical data is available on the Daikin To insulate the drain piping, refrigerant piping and Business Portal (authentication required).
- Page 5 A phase WARNING: MILDLY FLAMMABLE MATERIAL advancing capacitor will reduce performance and may The refrigerant inside this unit is mildly flammable. cause accidents. FTXP-N9, ATXP-N9 Installation manual Daikin room air conditioner 3P748643-1G – 2024.07...
- Page 6 NOT affected by equipment. the snow. If necessary, install a snow cover or shed and a pedestal. ▪ Microwave oven. It may affect wireless LAN communications. Installation manual FTXP-N9, ATXP-N9 Daikin room air conditioner 3P748643-1G – 2024.07...
- Page 7 2 Pull out the service cover horizontally away from the unit. circles. Service cover screw Service cover Upper hook Symbol with 3 circles 4 We recommend opening the flap before removing the front grille. FTXP-N9, ATXP-N9 Installation manual Daikin room air conditioner 3P748643-1G – 2024.07...
- Page 8 2 Insert a wall embedded pipe into the hole. 3 Insert a wall cover into the wall pipe. 2 Remove any burrs along the cut section using a half round needle file. Installation manual FTXP-N9, ATXP-N9 Daikin room air conditioner 3P748643-1G – 2024.07...
- Page 9 ▪ Rigid polyvinyl chloride pipe. When connecting a rigid polyvinyl chloride pipe (nominal Ø13 mm) directly to the drain hose as with embedded piping work, use a field supplied drain socket (nominal Ø13 mm). FTXP-N9, ATXP-N9 Installation manual Daikin room air conditioner 3P748643-1G – 2024.07...
- Page 10 Refrigerant piping diameter Use the same diameters as the connections on the outdoor units: Class Pipe outer diameter Liquid pipe Gas pipe 20~35 Ø6.4 mm (1/4") Ø9.5 mm (3/8") Ø6.4 mm (1/4") Ø12.7 mm (1/2") Installation manual FTXP-N9, ATXP-N9 Daikin room air conditioner 3P748643-1G – 2024.07...
- Page 11 WARNING ▪ In order to avoid any electrical interference, the ALWAYS use multicore cable for power supply cables. distance between both wirings should ALWAYS be at least 50 mm. FTXP-N9, ATXP-N9 Installation manual Daikin room air conditioner 3P748643-1G – 2024.07...
- Page 12 ▪ Do NOT push the refrigerant pipes onto the bottom frame or the front grille. 2 Pass the drain hose and refrigerant piping through the wall hole and seal the gap with a putty. Installation manual FTXP-N9, ATXP-N9 Daikin room air conditioner 3P748643-1G – 2024.07...
- Page 13 5 Press to select . Make sure drainage flows smoothly. 6 Press Possible consequence: Condensate water might drip. The system is properly earthed and the earth terminals are tightened. FTXP-N9, ATXP-N9 Installation manual Daikin room air conditioner 3P748643-1G – 2024.07...
- Page 14 There are NO damaged components or squeezed pipes on the inside of the indoor and outdoor units. ▪ The full set of the latest technical data is available on the Daikin Business Portal (authentication required). There are NO refrigerant leaks.
- Page 15 S*NPH Pressure sensor (high) S*NPL Pressure sensor (low) S*PH, HPS* Pressure switch (high) S*PL Pressure switch (low) Thermostat S*RH Humidity sensor S*W, SW* Operation switch SA*, F1S Surge arrester FTXP-N9, ATXP-N9 Installation manual Daikin room air conditioner 3P748643-1G – 2024.07...
- Page 16 DAIKIN ISITMA VE SOĞUTMA SİSTEMLERİ SAN.TİC. A.Ş. Gülsuyu Mahallesi, Fevzi Çakmak Caddesi, Burçak Sokak, No:20, 34848 Maltepe İSTANBUL / TÜRKİYE Tel: 0216 453 27 00 Faks: 0216 671 06 00 Çağrı Merkezi: 444 999 0 Web: www.daikin.com.tr 3P748643-1G 2024.07...


Need help?
Do you have a question about the ATXP20N5V1B9 and is the answer not in the manual?
Questions and answers