Table of Contents
Advertisement
Quick Links
Advertisement
Table of Contents

Related Manuals for getAir ComfortControl Pro


Summary of Contents for getAir ComfortControl Pro
- Page 1 Control units End-of-Life disassembly instructions Instructions for disassembly of the control units getAir GmbH Telefon +49 2161 990 90 - 0 Copyright © 2023 getAir GmbH Krefelder Straße 670 info@getair.eu V1 2023-06-21 41066 Mönchengladbach Germany www.getair.eu Subject to technical changes.
-
Page 2: Table Of Contents
3 Description of the disassembly 3.1 ComfortControl Pro ......5 3.2 BasicControl Pro ......6 3.3 ComfortControl Pro BT . -
Page 3: Notes On The Instructions
Control units End-of-Life disassembly instructions 1 Notes on the instructions Read these instructions carefully and completely before starting work! Be sure to observe the gene- ral safety instructions and the safety symbols with notes in the text. These instructions describe the disassembly of the control units of ventilation units at the end of the product life cycle. -
Page 4: Preparation For Disassembly
For further information, refer to the corresponding assembly instructions of the assemblies. Place the assemblies on a suitable work surface for further disassembly. 2.1 Overview of the assemblies ComfortControl Pro BasicControl Pro ComfortControl Pro BT EcoControl Pro BT EcoControl Pro BTB Power supply unit Power supply unit... -
Page 5: Description Of The Disassembly
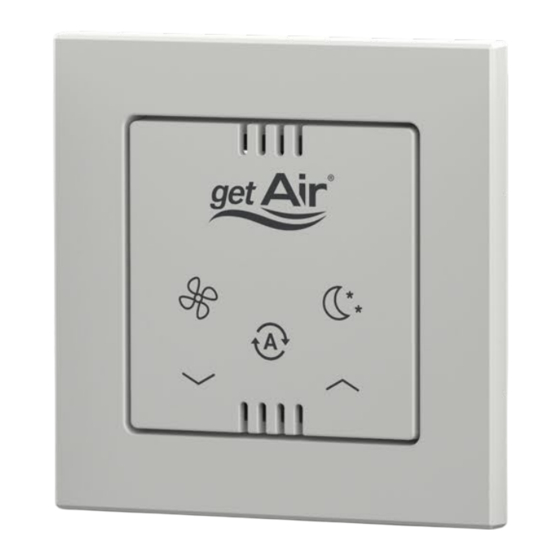
Control units End-of-Life disassembly instructions 3 Description of the disassembly 3.1 ComfortControl Pro Component Material Control unit housing Printed circuit board Miscellaneous (electr. component) Frame Support ring Disassembly instructions • Pull the frame forward off the support ring. The control unit housing comes off at the same time. -
Page 6: Basiccontrol Pro
Control units End-of-Life disassembly instructions 3.2 BasicControl Pro Component Material Control unit housing Printed circuit board Miscellaneous (electr. component) Frame Support ring Disassembly instructions • Pull the frame forward off the support ring. The control unit housing comes off at the same time. -
Page 7: Comfortcontrol Pro Bt
Control units End-of-Life disassembly instructions 3.3 ComfortControl Pro BT Component Material Control unit housing Printed circuit board Miscellaneous (electr. component) Frame Support ring Disassembly instructions • Pull the frame forward off the support ring. The control unit housing comes off at the same time. -
Page 8: Ecocontrol Pro Bt
Control units End-of-Life disassembly instructions 3.4 EcoControl Pro BT Component Material Control unit housing Printed circuit board Miscellaneous (electr. component) Frame Support ring Disassembly instructions • Pull the frame forward off the support ring. The control unit housing comes off at the same time. -
Page 9: Ecocontrol Pro Btb
Control units End-of-Life disassembly instructions 3.5 EcoControl Pro BTB Component Material Control unit housing Printed circuit board Miscellaneous (electr. component) Frame Screw Steel, galvanised Support ring Battery housing Battery contact #1 Miscellaneous (electr. component) Battery contact #2 Miscellaneous (electr. component) Battery contact #3 Spring steel, nickel-plated 10 AAAA batteries... -
Page 10: Power Supply Unit Flush-Mounted
Control units End-of-Life disassembly instructions 3.8 Power supply unit flush-mounted Component Material Power supply unit flush-mounted Miscellaneous (electr. component) Disassembly instructions • Disassembly is not necessary. Disconnect all connected components and take the power supply unit to a collection point for waste electrical equipment. -
Page 11: Power Supply Unit Top-Hat Rail
Control units End-of-Life disassembly instructions 3.9 Power supply unit top-hat rail Component Material Power supply unit top-hat rail Miscellaneous (electr. component) Disassembly instructions • Disassembly is not necessary. Disconnect all connected components and take the power supply unit to a collection point for waste electrical equipment.
Need help?
Do you have a question about the ComfortControl Pro and is the answer not in the manual?
Questions and answers