Advertisement
Quick Links
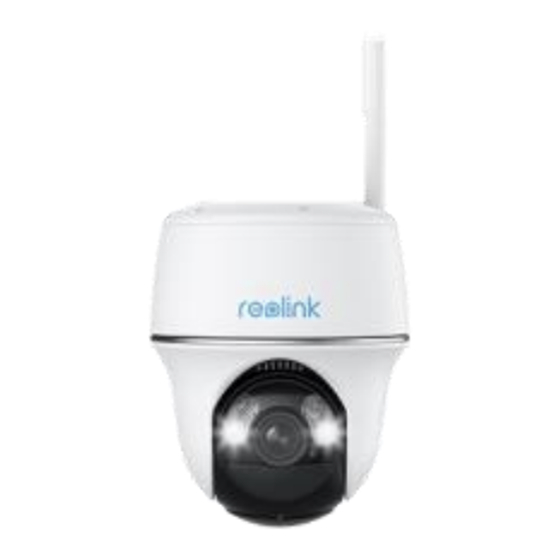
Argus Series B430
Upgraded to 5MP resolution, Argus Series B430 offers you sharper images.
Equipped with spotlights, it can capture clear details even at night. Besides, the
camera can pan 355° and tilt 140° to help you see more corners easily. Thanks
to the smart person/vehicle/pet detection algorithms, false alarms are greatly
reduced. Just enjoy this top surveillance security choice!
1. Specs
1
Speaker
2
Lens
3
Spotlight
4
Daylight Sensor
5
IR LEDs
6
Status LED
7
Built-In PIR Sensor
8
Built-In Mic
Advertisement

Subscribe to Our Youtube Channel
Related Manuals for Reolink Argus B430 Series


Summary of Contents for Reolink Argus B430 Series
- Page 1 Argus Series B430 Upgraded to 5MP resolution, Argus Series B430 offers you sharper images. Equipped with spotlights, it can capture clear details even at night. Besides, the camera can pan 355° and tilt 140° to help you see more corners easily. Thanks to the smart person/vehicle/pet detection algorithms, false alarms are greatly reduced.
- Page 2 Antenna USB-C Port Power Switch MicroSD Card Slot Reset Hole Status Light Status Light Camera Status Red light Wi-Fi connection failed Blue light Wi-Fi connection succeeded Blinking Standby status Working status 2. Setup and Install Set up the Camera What’s in the Box Note: The package content may vary and update with different version and...
- Page 3 After a startup sound, you will hear a repeated Ding sound or a voice prompt. Note: The voice prompt you will hear may be "Welcome to Reolink, please install Reolink app and scan the QR code on the camera" in multilingual versions, or "please run Reolink app, add the camera and set it up".
- Page 4 Step 3. Scan the QR code on the bottom of the camera. You may tap Light to enable a flashlight when setting up the camera in a dark environment. If the phone doesn't respond, please tap Input UID/IP and then manually type in the UID (16-digit characters under the QR code of the camera).
- Page 5 Step 5. Enter the WiFi password of the selected WiFi network (you may tap the right eye icon to see and double-check the password) and tap Next. Note: Argus Series B430 supports 5GHz/2.4GHz Dual-Band WiFi connection. Step 6. Tap Scan Now. Place the QR code on your phone in front of the camera’s lens at a distance of about 20 cm (8 inches) and let the camera scan the QR code.
- Page 6 Step 7. Wait around 60 seconds for the camera to connect to the router. After hearing "connection to the router succeeded", tick correspondingly and tap Next. Step 8. Create a login password and then name your camera.
- Page 7 Step 9. Read the note below and then tap Finish to complete the initialization of your camera. Once the initial setup is completed, you may choose a good position to mount your camera.
- Page 8 Install the Camera We offer you guides on three different scenes in which the camera could be installed. Check out them respectively. Mount the Camera to the Wall Step 1. Drill holes in accordance with the mounting hole template and screw the security mount to the wall.
- Page 9 Mount the Camera to the Ceiling Step 1. Install the bracket base on the ceiling with screws. Step 2. Align the camera with the bracket and turn the camera unit clockwise to lock it in position. Install the Camera with Loop Strap You are allowed to strap the camera to a tree with both the security mount and ceiling bracket.
Need help?
Do you have a question about the Argus B430 Series and is the answer not in the manual?
Questions and answers