Advertisement
Item Checklist

 NOTE
NOTE
- The number of label rolls on the checklist is determined by the contents of the shipped package.
Specifications
| Name | Smart Mini Label Maker |
| Model | D30 |
| Technology | Thermal Printing |
| Width of label | 12mm |
| Supported Consumables | Black mark thermal Label, Pre-cut Label, Continuous Label |
| Darkness | Light, Medium, High |
| Resolution | 203dpi |
| Print head Lifespan | 50KM |
| Communication Port | Bluetooth |
| Product Dimensions | 131.5*75.5*29mm (5.2*2.9*1.2inch) |
| Power Input | 5V 2A 2A |
| Power Supply | Micro USB / Lithium Battery |
| OS Supported | Android / iOS |
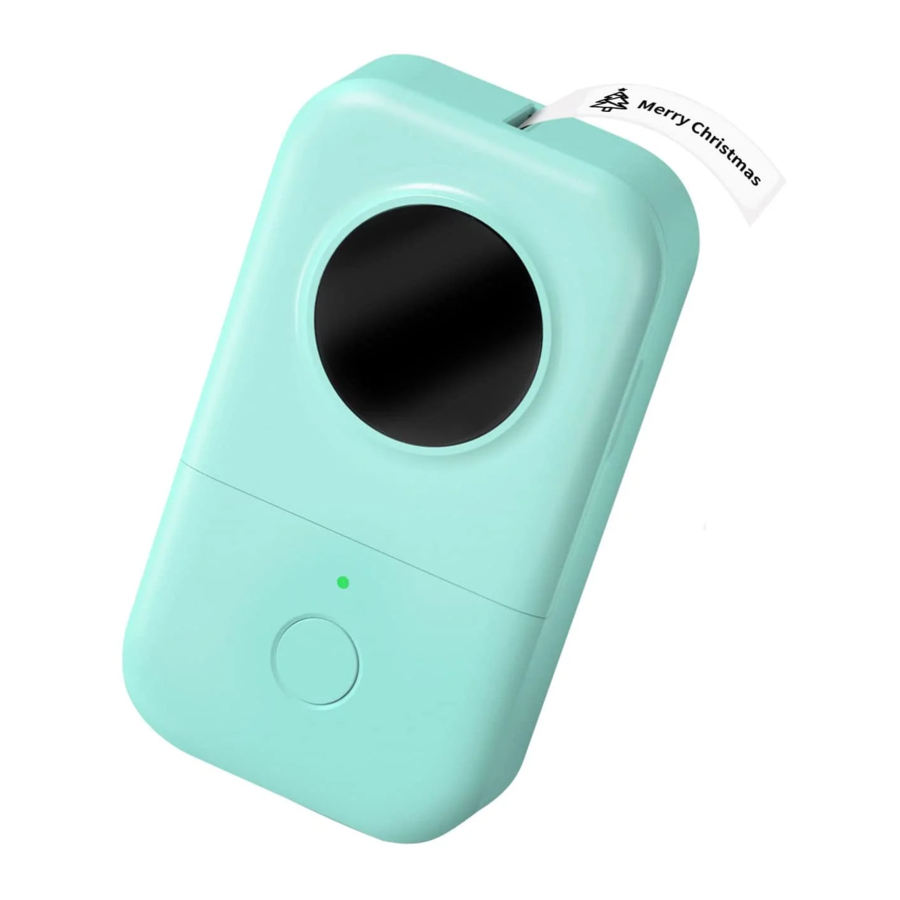
Product Introduction
Parts and Features
Label Maker display

Features of Labels

Features of Continuous Labels
Tear away the base of the label easily with the easy-to-tear line

Gently bend the label along the east-to-tear line to tear the base from the adhesive easily
Power and Indicator Light

Power button description
| Button | Operation | Functions |
| Power button | Hold for 3 seconds | Power on/off |
| Press once | Output the label | |
| Press twice | Print diagnostic page |
Indicator Light
 Green Light | Normal |
 Blinking (slow) Green Light | Powered on & charging |
 Blinking (fast) Green Light | Powered off & charging |
 Red Light | Error (No Paper, Cover is open, Overheat) |
 Blinking (slow) Red Light | 10% Power left |
 Blinking (fast) Red Light | 5% Power left |
How to Use
- Open the label compartment.

- Take out the label roll, tear the anti-loosening sticker.

- Place the label roll into the label compartment with the printing side facing left.

- Pull out 5 mm of the label of the Label Maker.

- Close the cover.

- Hold the power button for 3s to start the Label Maker.

- Press the power button once, and the Label Maker will start detecting the position of the label.

- When the label comes out, the positioning of the label is complete.


NOTE
- After installing the label roll for the first time or replacing the label roll, remember to reposition the label (Step No.
![]() ).
). - If you do not reposition the label (Step No.
![]() ), the first label you print will be printed incorrectly (missing contents, not aligning to the center, etc.).
), the first label you print will be printed incorrectly (missing contents, not aligning to the center, etc.).
Continuous labels do not need repositioning. You only need to pull the label to the opening of the Label Maker.
 ).
).Downloading the App

NOTE
- You need to connect the Label Maker through the Print Master app.
- In compliance with Google's requirement, Android phones must enable GPS (Location Services) before using Bluetooth.
Method 1:
Use your phone to scan the QR code to install the App.

Method 2:
Search for "Print Master" in the app store on your phone to download the App.


Connecting the Label Maker
- Turn on GPS (Android phones only).

- Open Print Master.

- Tap the "
![]() " button to search for your device.
" button to search for your device.

- Press "Start using".


 " button to search for your device.

NOTE
- In compliance with Google's requirement, Android phones must enable GPS (Location Services) before using Bluetooth. Before connecting to your device in print Master, please make sure your Label Makers turned On and your phone's Bluetooth is On.
Identifying the Label Size
Method 1:
Check the anti-loosening sticker. (The label size shown below is just an example. The size of the label roll you have may vary.)

Method 2:
Check your label package.

Method 3:
Measure with a ruler.

Method 4:
Check the tag on your label roll. (Label rolls are being updated, so the actual product you receive may vary.)

How to Print
Selecting an Edit Mode
Lite Mode: Simple editing and fast printing

Creation Mode: More functions and materials

The user can view more operation tutorials and switch editing versions in the "Home".

Lite Mode
- Select "Label Setting"

- Select the correct label size (The label size shown below is just an example. Please choose the size of the label roll you have.)

- Select Blank label to enter your text.


- If you do not choose the correct label size, your label will be printed incorrectly.
- Select the correct Label Size
(The label size shown below is just an example. Please choose the size of the label roll you have.)
- Edit Functions
| Function | How to Operate | Example |
 | Choose a Text Attribute: Adjust the size and thickness of the font. Choose whether it is aligned to the center or to the right, etc. |  |
 | Add a date |  |
 | Add a time |  |
 | Add a unit symbol |  |
- After you have completed editing, tap "Print".

- After you have finished printing, tear off the label.

- If it's a continuous label, tear off the base paper. Gently bend the label along the easy-to -tear line to easily tear the base paper away from the adhesive.


Creation Mode
- Select "Label Setting"

- Select the correct Label size. (The Label Size shown below is just an example. Please choose the size of the label roll you have.)

- Tap "T" to enter your text.


- If you do not choose the correct label size, your label will be printed incorrectly (contents not centered/aligned, etc.).
NOTE
- The functions in the App might change in future updates.
| Functions | Description |
 | Change font size, alignment, etc |
 | Select from all kinds of icons |
 | Add cute border to the label |
 | Insert a photo |
 | Add date and time |
 | Scan a QR code and obtain its content |
 | Insert barcode: Enter the content and generate a barcode. Then adjust your label design |
 | Inserter QR code: Enter the Content and generate a QR code. Then adjust your label design |
 | Add a line. You can do some creative DIY |
 | Add shapes such as circles and rectangles |
 | Support importing spreadsheets |
 | Capture the text inside an image |
- After you have completed editing, tap "Print".

- After you have finished printing, tear off the label.

- If it's a continuous label, tear off the base paper. Gently bend the label along the easy-to -tear line to easily tear the base paper away from the adhesive.


Daily Cleaning
- Turn off the Label Maker
![]()
- Use a cotton bud with a little ethyl alcohol
![]()
- Gently wipe the printhead
![]()
- After the alcohol has dried off, turn on the Label Maker and press the power button twice to print the diagnostic page.
![]()


NOTE
- Please do not scratch the print head with any hard object. If the print head is damaged, the Label Maker will not print properly.
Troubleshooting
an't print, paper jam, not properly aligned, missing contents, etc.
Please check Is the label installed inside the printer properly?
Please ensure the label is installed inside the Label Maker with its printing side facing left. If it is facing the wrong (opposite) side, the printer will not be able to print.
Please check Did you choose the correct label size and image?
Please check the label size and image on the label packaging, and choose the correct template in the App. To do so, select "Label Setting"
Please check After turning on the Label Maker, did you press the power button to reposition the label?

If you are installing label roll for the first time or replacing the label roll, after turning on the Label Maker, you need to press the power button once and print a blank label to reposition the label and align the label roll with the print head. Continuous labels do not need to be repositioned. Just pull the label to the paper outlet.
When the print is not clear
Please check Is there a foreign Object or adhesive on the printhead?

Use a cotton bud with small amount of ethyl alcohol to gently wipe away the dirt from the printhead. After wiping it off, don't turn on the printer. Instead, wait until the alcohol has dried off before turning on the printer. Press the power button twice to print a diagnostic page.(Please do not scratch the printhead with any hard object. If the printhead is damaged, the printer will not print properly.)
Please check Is there enough power for the printer?

After connecting to the printer, select "Profile" and "Printer". Press the  button to check the power of the printer. If the printer's power is less than 10%, please connect the printer to a charger for at least 30 minutes before using it.
Cannot connect to printer
Please check Is the printer turned on?
Please check Is your phone's Bluetooth turned on?
Please check Did you connect to your device through the App?
This product needs to be connected through the App.
Please check Did you grant required permissions to the App?
Note: In compliance with Google's requirement, Android phones must enable GPS (Location Services) before using Bluetooth.
Documents / Resources
References
Download manual
Here you can download full pdf version of manual, it may contain additional safety instructions, warranty information, FCC rules, etc.
Advertisement


Need help?
Do you have a question about the D30 and is the answer not in the manual?
Questions and answers