Advertisement
Printer usage flow
STEP 1: Connect the printer to your PC or laptop and turn it on
STEP 2: Insert the labels and adjust the paper clips
STEP 3: Run the automatic label identification
STEP 3.1: press and hold the Feed Button while turning the power ON until you hear two short beeps and see the red light flashes one time, then release the Feed Button
STEP 5: Installation the printer driver
STEP 6: Printing4" x 6 "Shipping Sample Label for testing (Download: from the CD)
STEP 7: If the sample label is perfect, that means the printer is ready! Enjoy your printing!
Quick Start Video
 Important Tip: Please watch the short setup video for a fast and easy setup. Visit https://phomemo.com/page/pm-201-setup-guide or watch the Getting Started Video on the USB driver attached
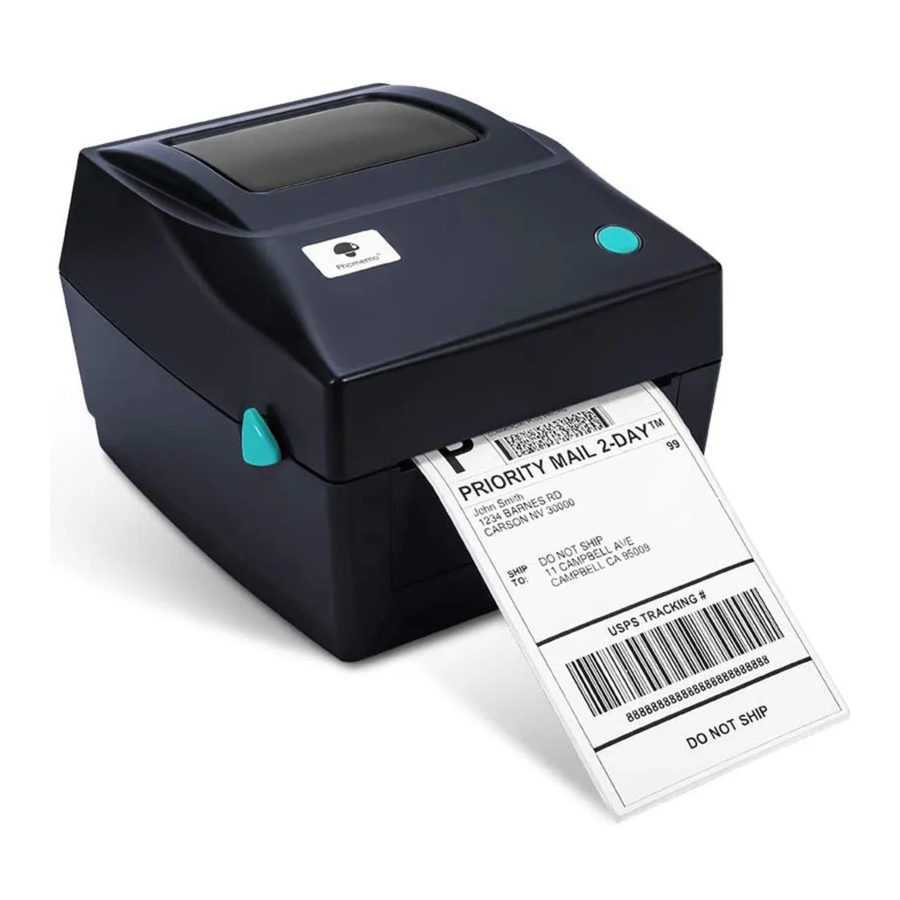
The Phomemo printer is a very capable printer. You can print barcodes, shipping labels, name badges, warehouse labels, food nutrition labels, Amazon FBA labels and labels of all sizes with it. It prints without the need of ink or cartridges. It's the perfect partner for your business with its economical, reliable and high-efficient features.
Please take a short time to watch the setup video. It will guide you to setup the printer step by step.
Product Overview
Package contents
Printer *1, Power Cord *1, Power Adapter *1, USB Cable *1, USB Driver *1, Quick Start Guide *1, Start Label *1, TC Adapter *1
Printer Components

Please take a moment to thoroughly read this user guide.
Incorrect operation may result in damage to the printer or your physical injury.
STEP 1 Get the printer started
- Ensure that the printer is OFF. The power switch is switched to O. (1:0n; O:0ff)


- Attach the power cord to the adapter.

- Plug the adapter cable into Circular DC adapter connector of the printer. Then plug the power cord into the socket.

- Connect the USB cable to the printer.

- Connect the other end of the USB cable to the computer.


- Turn the printer ON with the power switch. (I:0n; O:0ff)


STEP 2 Label Loading
The Phomemo printer is capable of working with labels ranging from 1" to 4.52" (25.4 to 115mm) in width. To print on different labels correctly, the printer needs to identify your label size before it starts printing.
To run the automatic label identification, please follow these steps:
- Turn on the printer.(l: On; O: 0ff)

- 0pen the printer cover by pushing the release latches forward.

- Adjust the paper clips to match the label size.


- Load the paper roll or fan-fold paper in a straight and smooth as shown.
Note: The print side should face up.

- Close the printer cover. The printer will spit one sheet of blank label automatically if the cover is tight. If it doesn't' t happen, please close the cover again.

- Turn the power OFF. Press and hold the Feed Button while turning the power ON, until you hear two short beeps and the red light flashes one time, then release the Feed Button.

- The printer will move the label forward to learn the gap and size of your label.


NOTE: Please run the label size identification every time you change your label. (See picture 6 & 7)
Continue to Driver Installation
STEP 3 Download the driver
Method 1:
Download the latest printer driver from the USB driver attached.

Method 2:
Download the latest driver from www.phomemo.com → Shipping Label Printer → PM-201 Printer Driver

STEP 4 Driver Installation
Please run the downloaded software from the website or USB driver indicated above and follow the hints to complete the installation.

Support Team Contact Information:
TEL: +1855 957 5321 (US ONLY)
Service time: Mon-Fri 9AM-5PM (US EST)
Email: support@phomemo.com
Skype: Phomemo Team-Jessie / Phomemo Team-Helen
Contact us on-live chat or WhatsApp, Scan QR code:


For more videos, please visit:
www.youtube.com
- Search for "Phomemo" and go to the home page
- Search for you purchased printer model (i.e PM-201)
- You will find the tutorial videos for an easy setup
Security & Privacy Setting for macOS
- Double click the ". pkg" installer to begin.
- If the driver can not be opened, please give permission to it first. Click "0K" and follow the steps below to allow the macOS system to process the installation.

- Click "
![]() " and go to "System Preferences".
" and go to "System Preferences".
![]()
- Select "Security & Privacy".
![]()
- Under "General", click "Open Anyway" to set up.

- Input the password of your Mac. Then click "Modify Settings".
Note: If you didn' t need to set a password, please skip this step.

- Click "Open" and continue to install the driver.


 " and go to "System Preferences".


Driver Installation for macOS
- Follow the installation steps until you receive the "Installation was successful" message.

- Click
![]() and go to "System Preferences".
and go to "System Preferences".
![]()
- Select "Printer & Scanners".
![]()
- Click "+" to add a printer.

- Select "4BARCODE 4B-2064A" → Click "Select Software" under "Use".

- Select "Label Printer" and click "OK"

- Click Add


 and go to "System Preferences".


Printer Setup for macOS
- Print a sample label: Open the desired file (e.g. a PDF with Preview).

- Click "File" and choose "Print".

- Select "Show Details".

- Choose the paper size from "Paper Size".


- If there is no suitable label size for you, please click "Manage Custom Sizes" to add the size.
![]()
- Input width and height, then click "0K".


- Select "Printer Features" in "Preview", you can set up the printer properties such as "Media Tracking", "Darkness" and "Print speed".


- Select the paper type in "Media Tracking". Choose from "Continuous", "Gap" or "Black Line".

- You can change the Printing Speed and the Darkness of your printing. (Larger number means higher Darkness)


- After setup, click "Print".


Driver Installation for Windows
- Double click the installer to begin.
- Select "l accept the terms in the license agreement" and click "Next".
- Select "Other (such as Parallel or Serial) " and click "Next".

- Select "4BARCODE 4B-2064A" and click "Next".

- To know which USB Port is connected, please click on "This PC" and choose "Manage".
→"Device Manager" → "Universal Serial Bus controllers". → Double click on "USB Printing Support".

→Go to "detail", choose "Bus relations" to check which USB port is connected.

- Go back to the installation window and select the connected port and click "Next".
- Tick "Use this printer as the default printer" and click "Next" to finish the installation.


- To check if the printer is connected successfully:
- Right click on "This PC", choose "Properties", then click on "Control panel" → "Devices and Printers".

- Right click on "4BARCODE 4B-2064A "→ "Printer Properties" → Click on "Print Test Page".


Printer Setup for Windows
- Set as default printer.
→ Right click on "4BARCODE 4B-2064A" → "Set as default printer".


- Select paper type.
- Right click on "4BARCODE 4B-2064A" → choose "Printer Preferences".
- Go to " Page Setup". You can choose the size you need in "Paper Name".

- If there is no suitable label size for you, you can click "New" to create the needed size.
- Change Paper name and input width and height, click "0K".


- Set up Print Speed and Darkness.
→Go to "Option" → Untick "Use Current Printer Settings".

→ Go to "Option" → Untick "Use Current Printer Settings".


- Print a sample label: Open a desired file (e.g. a PDF).
- Click "
![]() "
" - Select the printer "4BARCODE 4B-2064A".

- Preview and check the print size, then click "Print".

- Click "
 "
"

LED STATUS LIGHT

| Light | Printer Status |
| Solid Blue | Standby and Ready |
| Flashing Blue | Downloading data or pause printing |
| Solid Purple | Clearing data |
| Solid Red | Cover is not closed |
| Flashing Red | Error: Paper shortage etc. |
FEED BUTTON
| Desired Action | Standby and Ready |
| How to skip a label | Load your label and ensure it is straight and smooth. Ensure the printer is standby and ready and press the Feed Button once (i.e. nothing is being printed). |
| How to restore factory setting | Turn the power OFF. Press and hold the Feed Button while turning on the printer again. After two short beeps you can see the light flashing cyclic in the order of Red (flashing 5 times)-→ Purple (flashing 5 times)-→ Blue (flashing 5 times) → Blue (solid). Release the Feed Button during blue light flashing. The printer will be restored to factory setting. |
| How to run the automatic label identification (gap label) | Load your label and ensure it is straight and smooth. Turn the power OFF. Press and hold the Feed Button while turning the power ON. After two short beeps, you can see the light flashing cyclic in the order of Red (flashing 5 times) → Blue (flashing 5 times) → Blue (solid). Release the Feed Button during red light flashing. |
| How to print out test page | Load your label and ensure it is straight and smooth. Turn the power OFF. Press and hold the Feed Button while turning the power ON. After two short beeps, you can see the light flashing cyclic in the order of Red (flashing 5 times) → Purple (flashing 5 times) → Blue (solid). Release the Feed Button during purple light flashing. After the self-test page has been finished, turn off the printer with power switch. Then turn it back on. (Restart the printer) |
| How to pause printing | When the printer is printing, press the Feed Button once. |
| How to resume printing | When the printer pauses printing, press the Feed Button once to resume printing. |
MAINTENANCE
Printer head Cleaning Steps
- Turn the printer off, remove the power cord and open the cover by pushing the release latches forward. (See picture 1)
![]()
- Wait until the printer head cools down. (The printer head may be very hot after printing)
- Completely clean the printer head using an alcohol swap (NOT WATER). (See picture 2)
![]()
- Wait until the alcohol has completely vaporized, then close the cover.
- Connect the power cord and print a test page to check if it is clean.


NOTICE
Ensure power is off when performing maintenance.
Do not touch or scratch the printer head surface, roller or sensors.
PRO TIPS
- Avoid using poor quality labels as they candamagethe printer.
- Regularly clean the printer head.
- Insert Printer to the same USB port on your computer every time
This will avoid creating duplicate copies of the printer in your operating system. - If paper is jammed, see"Printer head Cleaning Steps" from "Maintenance".
SAFETY NOTICES
- Do not bend the power cord excessively or place objects on the cord.
- Keep the printer out of reach of children.
- Use only approved accessories and do not try to disassemble or repair the unit by yourself.
- Keep the printer away from water and other objects that could penetrate the components.
- Unplug the printer when it is not in use for long periods.
- Do not use the printer if you find any irregularities as these could result in fire or electrocution.
- Do not touch the printer head. The printer head can become very hot after printing labels.
Documents / Resources
References
Download manual
Here you can download full pdf version of manual, it may contain additional safety instructions, warranty information, FCC rules, etc.
Download Phomemo PM-201 - Logistics Label Printer Quick Start Guide
Advertisement


Need help?
Do you have a question about the PM-201 and is the answer not in the manual?
Questions and answers