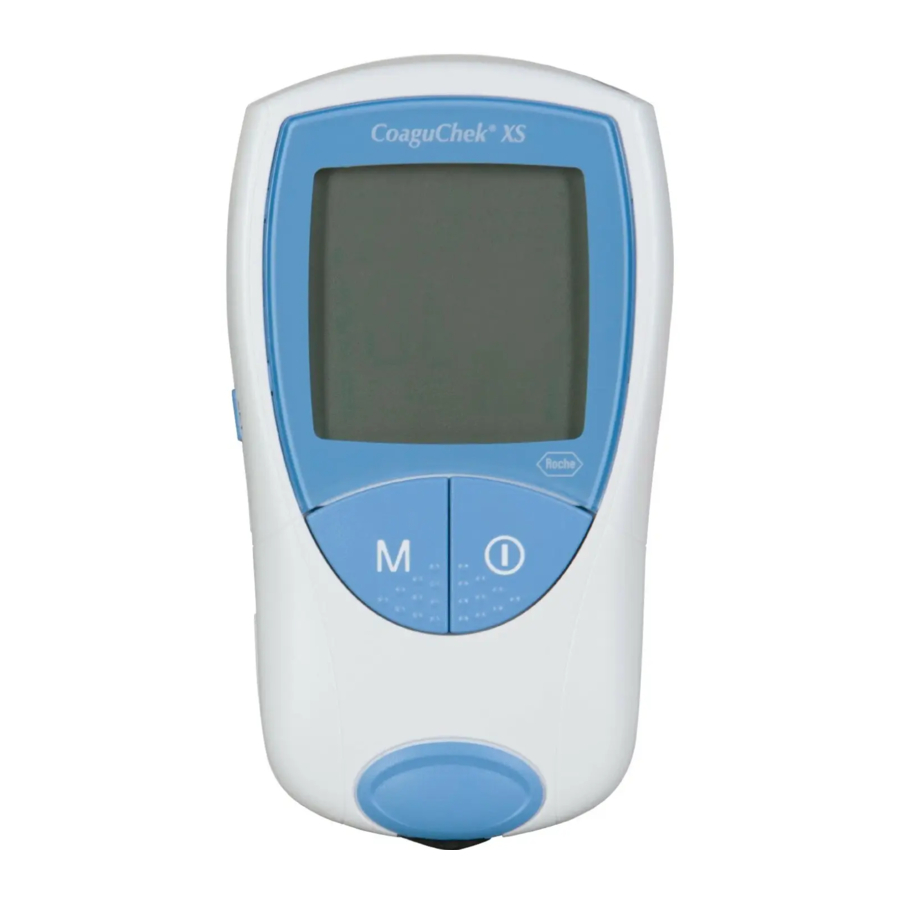
Roche CoaguChek XS Manual
- User manual (222 pages) ,
- Procedures manual (59 pages) ,
- Training manual (36 pages)
Advertisement
How to Run an INR Test

CoaguChek® XS Test Strips are available from your local or online pharmacy; allow up to one week for delivery
Please keep strips at room temperature (2-30oC) or refrigerated.
Always consult your healthcare professional before attempting any changes to your treatment
Before you begin:
Wash your hands with soap and warm water, and then dry them thoroughly. This improves blood flow and makes sure the puncture site is clean. We recommend collecting capillary blood from the side of the fingertip as this area is least sensitive to pain.
- Place the monitor on a level, vibration-free surface or hold in your hand so it is roughly horizontal.
- If you are using the first test strip from a new box, insert the code chip that comes in the box into the side of the monitor and press ON/OFF key.
![]()
![warning]() Note: if turning on for the first time, or following a battery change that took more than one minute, you will enter into the 'Set' mode. Once time, and date format has been entered, the monitor automatically enters the test mode (refer to manual).
Note: if turning on for the first time, or following a battery change that took more than one minute, you will enter into the 'Set' mode. Once time, and date format has been entered, the monitor automatically enters the test mode (refer to manual). - The flashing test strip symbol prompts you to insert a test strip shown in (figure B) Immediately replace the cap the test strip container.
![]()
- The number of the inserted code chip will be displayed, compare this number with the number on the test strip container. Confirm they are identical by pressing the 'M' button. (figure C)
![]()
- The hourglass symbol shows that the test strip is warming up. When the warming-up process is complete, a further beep tone indicates that you can now apply blood.
- The blood drop symbol and application area flash to indicate the meter is ready to perform the test. At the same time a 180-second countdown begins. You must apply the drop of blood to the test strip within this time. (figure D)
![]()
- Using the CoaguChek® XS Softclix® lancet device, prick the bottom side of the finger tip. (figure E) Massage the finger until a large 8μL hanging drop of blood forms.
![]()
- Apply the first drop of blood directly from the finger to the semicircular transparent application area on the strip.
![warning]() Note: Blood must be applied within 15 seconds of lancing. (figure F)
Note: Blood must be applied within 15 seconds of lancing. (figure F)
![]()
- Hold blood drop onto test strip until monitor gives a short beep. Do not add more sample or touch the test strip.
- The meter now performs an automatic quality control check on the strip. When QC check is successful, a tick appears and the coagulation test begins.
- The INR result will appear on the screen in less than one minute and is automatically stored in the monitor's memory.
![]()
- Record your results in a Log book or patient file.
- Remove the test strip. Discard lancet and used test strip into a biohazard container.


Note: Refer to back of the folder for Error Codes
The gentle way to take blood
The CoaguChek® XS Softclix® lancing device is an easy-to-use device for obtaining blood from the tip of the finger virtually without pain. There are 11 different settings available so that the penetration depth can be adjusted to suit individual skin requirements.

Simple to use, handy, hygienic
For patients on oral anticoagulants this means minimal post-test bleeding, improved safety and a significant gain in comfort.
- Simply pull off the cap from the lancing device.
![]()
- Insert a new lancet in the lancet holder, push it in until it clicks and then remove the protective end from the lancet with a twisting motion.
![]()
- Press the cap onto the lancing device again until it clicks. Make sure to align the notch on the cap with the centre of the semi-circular cut-out on the ejector.
![]()
Always use a new lancet each time you take blood. This decreases the risk of infection, and blood collection remains virtually pain-free. - Check that you have set the desired penetration depth by turning the bottom of the lancing device between 1 to 5.
![]()
- Press the priming button from the top of the lancing device until it clicks. Be careful not to press the release button on the front side of the device at the same time. The lancing device is primed when a yellow dot appears in the transparent release button. Do not prime the lancing device until you are ready to take blood.
![]()
- Press the lancing device firmly against the chosen puncture site and activate the release button. Take care not to push against the priming button or to impede its free movement.
![]()
If no blood is obtained at this setting, increase the penetration depth and lance another finger until enough blood is produced. Use this setting for future testing.


Do not use the CoaguChek® XS Softclix® on anyone else.
This is a single person device.
HELPFUL CODE GUIDE
| Error message | Brief description | |
| Test strip flashing |  | Test strip in meter or Test strip unusable or the test strip is not a CoaguChek® XS PT test strip |
| Temperature symbol flashing |  | Meter too warm or too cold |
| Battery symbol flashing |  | Battery level to low |
| Cover symbol flashing |  | Test strip guide cover open |
| QC symbol flashing |  | Quality control: test strip unusable |
| Code symbol flashing |  | Code chip error (check code chip is properly inserted and matches the test strip) |
| Error number: 000 |  | Allowed time of 180 seconds for applying blood has been exceeded |
| Error number: 3 |  | Test strip beyond expiry date Check date set-up; must use Australian format of day-month-year |
| Error number: 4 |  | Test strip unusable (You have not waited for the 180 second countdown to begin or call technical support if error occurs when turning on the meter) |
| Error number: 5 |  | Blood application error (often not enough blood, start again with a new strip) |
| Error number: 6 |  | Measurement error (test strip error, repeat test with a new test strip) |
| Error number: 7 |  | Measurement error resulting from the blood sample. |
| Error number: 8 |  | Internal error. Call technical support |
| Error number: 9 |  | Internal error. Call technical support |
If an error message appears please refer to your CoaguChek® XS user manual.
If the problem persists please call the technical support hotline
Support
Technical Support Hotline: 1800 645 619 (press 1)
Documents / ResourcesDownload manual
Here you can download full pdf version of manual, it may contain additional safety instructions, warranty information, FCC rules, etc.
Advertisement


Need help?
Do you have a question about the CoaguChek XS and is the answer not in the manual?
Questions and answers