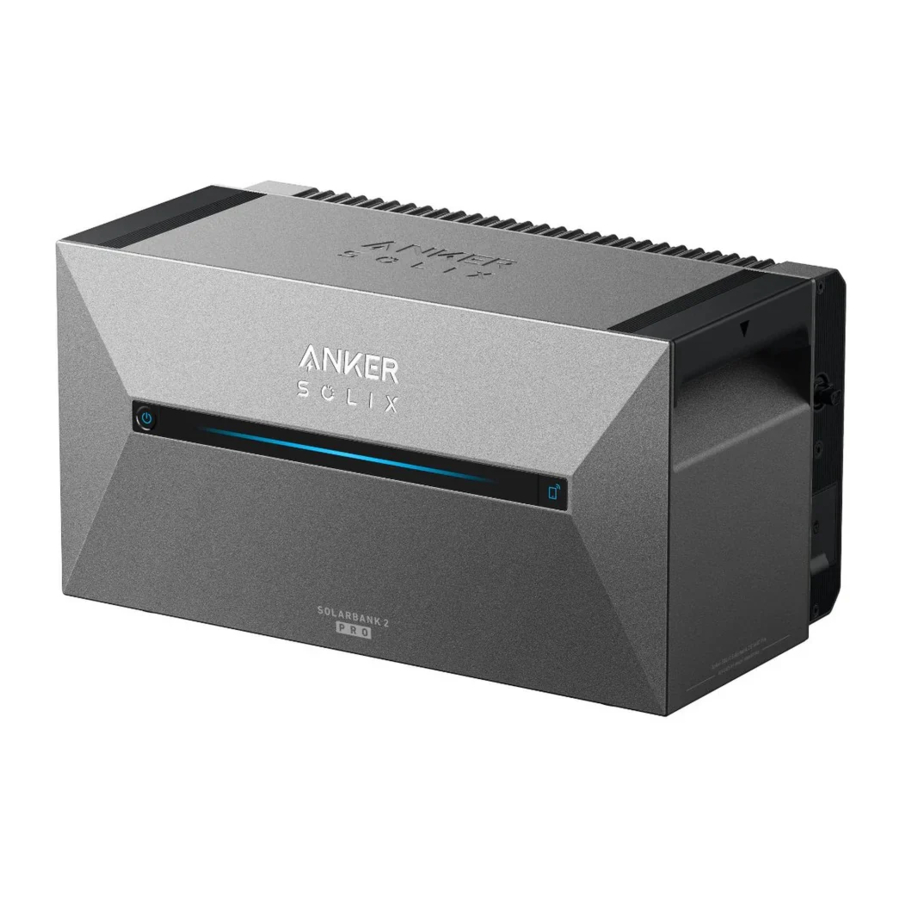
Anker SOLIX Solarbank 2 E1600 Plus Manual
- Manual (24 pages) ,
- User manual (10 pages) ,
- Quick installation manual (2 pages)
Advertisement
System Design
This diagram shows the primary system for the whole-home photovoltaic energy cycle, with Anker SOLIX Solarbank 2 E1600 Plus installed as the main service equipment.

Note: Anker SOLIX Smart Meter and Anker SOLIX BP1600 Expansion Battery can be purchased optionally.
Optional Accessories:
- Anker SOLIX BP1600 Expansion Battery
- Anker SOLIX Smart Meter
Installing Your Product
Pre-Installation Instructions
Configuration Description
- One Anker SOLIX Solarbank 2 E1600 Plus can support up to five Anker SOLIX BP1600 Expansion Battery modules.
- Anker SOLIX Solarbank 2 E1600 Plus can be used with Anker SOLIX Smart Meter.
Environment Requirements
- Do not place the modules near an area exposed to direct sunlight, fire, or explosive materials.
- Ensure the site is protected from potential hazards such as floods.
- The maximum operating altitude is 4,000 m (13,123 ft).
Safety Instructions
- Make sure that the Solarbank 2 E1600 Plus is turned off during the entire connection process.
![shock hazard]() The grid connection must be connected to a socket with grounding, otherwise there is a risk of electric shock. Alternatively, the casing should be grounded. The grounding point is shown below.
The grid connection must be connected to a socket with grounding, otherwise there is a risk of electric shock. Alternatively, the casing should be grounded. The grounding point is shown below.
![]()
- Measure the distance. Reserve sufficient space for heat dissipation and safety isolation.
 The grid connection must be connected to a socket with grounding, otherwise there is a risk of electric shock. Alternatively, the casing should be grounded. The grounding point is shown below.
What You Need
The steps below describe the installation of one Solarbank 2 E1600 Plus and two Expansion Batteries as an example.

 Note: The following components are not included in this package. Please make sure they are ready before installation and electrical connection.

Installation
- Place one expansion battery on the floor 30mm from the wall.
![]()
- Use a Phillips screwdriver to pry open the rubber plug.
![information]() Note: When installing the bottom battery pack or only one Solarbank, please do not remove the bottom rubber plug to avoid water damage
Note: When installing the bottom battery pack or only one Solarbank, please do not remove the bottom rubber plug to avoid water damage

- Stack expansion batteries in sequence with Solarbank at the top by inserting the two corresponding ports into each other.
![]()
- Pre-fasten the L-Shape Wall Mount Fitting to both sides of the first expansion battery under Solarbank using M5x10 combined Phillips screws.
![information]() Note: The L-Shape Wall Mount Fitting can be mounted on the front or the back.
Note: The L-Shape Wall Mount Fitting can be mounted on the front or the back.
![]()
- Mark the position of drilling holes on both sides and use a drill with a Φ 8 drill bit and a depth of 60mm.
![]()
- Use a hammer to tap the plastic sleeve of the M5x60 self-tapping expansion screw into the hole, and then use a Phillips screwdriver to fasten the M5x60 self-tapping screw against the L-Shape Wall Mount Fitting.
![]()
- Use a Phillips screwdriver to fasten the M5•10 combination Phillips screws against the L-Shape Wall Mount Fitting: then secure the interlocking bracket to the expansion battery using the M5x10 combined Phillips screws to complete the installation.
![]()


Electrical Connections
Connecting Cables
- Connect Solarbank to a home outlet using the included AC Cable with Schuko plug (5m).

- Find the PV connector ports of your solar panels.

- Connect each set of PV modules to each set of PV input ports in Solarbank using the included Anker SOLIX Solar Panel Extension Cable (3m).


Note: Never connect two or more components in series because this causes the input voltage to exceed 60V and will damage the equipment.

Turn On the Device
- The first use requires the connection of a solar panel and a home outlet.

- When you use it at night, you can press and hold the power button on the solarbank for 4 seconds to turn it on, which will enable network pairing. Please complete the network paring with the app within 30 minutes. If the network paring is not completed within 30 minutes, Solarbank will automatically turn off.
![]()


Using the App
Download the App
Search "Anker" and download the App via App Store or Google Play. Or scan QR code below to go to the corresponding application store.


Account Registration
Region Selection
When the app is launched, you will head to the login page.
Please be reminded that the country region MUST match where you live. An incorrect country region may cause the device connection to fail.
Sign Up/Sign In
You can login via Anker account, Amazon, or Apple ID.
If you do not have an Anker account, you can tap [Sign Up] to register an account:
Please prepare an email for the registration process. Passwords must contain 8-20 characters using upper case and lowercase letters, numbers, and symbols.
Initialization Setting
Network Configuration
Before configuring, please ensure the network connection is working well with a strong Wi-Fi signal. Do not place the device far away from the router.
- If Solarbank is powered off, press the left button on the device for 4 seconds to turn it on.
![]()
- Press the right button on the device, enable Wi-Fi mode.
- When the loT light flashes, the device is in Configuration mode.
- If the device has configured Wi-Fi and you wish to reset it, you may hold the loT button for 7 seconds.
![]()
- Keep the device on. Tap[+] or [Add Device] at the top right corner of Devices page.
![]()
- The Anker App will automatically search for your Solarbank. Once the device is found, it will appear on the list.
![]()
- Please make sure your phone's Bluetooth is on, and the Anker App is authorized to access Bluetooth and Wi-Fi.
- If you wish to manually search for the device, you can tap [Balcony Solar System] in the "Add devices manually" row.
- After connecting Solarbank via Bluetooth, you should choose a Wi-Fi network for the device. Select the Wi-Fi network from the list and enter the password.
![]()
- The device only supports 2.4GHz Wi-Fi.
- Make sure the password is correct.
- Your Solarbank should successfully be configured to the network.
If the configuration process fails, follow the tips below:
![]()
- Check if the Wi-Fi router is working normally.
- Move the router closer to the device.
- Make sure the Wi-Fi password is correct.


Firmware Update
Make sure all your devices have configured Wi-Fi and have a stable network connection.
- If there is an important update for the firmware of Solarbank or Smart Meter, the app will guide you to through the process. Make sure your devices are on and connected to Wi-Fi before updating.
![]()
- If no update is required, you can skip this step.
Note: Updates can take a few minutes. Please be patient. If the update fails, check if your devices are activated and connected to Wi-Fi.

Power Mode Setting Initialization
- Tap [Create] to create a system for the previously added device.
![]()
- You can initially set up the system's energy plan with the following options:
![]()
- Self-Consumption: Solarbank will intelligently charge and discharge based on real-time power demand required by household loads determined from the Smart Meter.
- Custom Mode: You can set up a schedule for Solarbank to discharge a fixed amount of power into your home load at different time periods, and extra energy will be stored in Solarbank.
Note: Self-Consumption mode is only available when the Smart Meter is added to the system.
![]()


Installing the Smart Meter
Installation Instructions

![shock hazard]() Danger of electrocution. Mounting/installation of the device to the power grid has to be performed with caution by a qualified electrician.
Danger of electrocution. Mounting/installation of the device to the power grid has to be performed with caution by a qualified electrician. ![shock hazard]() Danger of electrocution. Ensure there is no voltage present at the device terminals before making any connection change.
Danger of electrocution. Ensure there is no voltage present at the device terminals before making any connection change. - Use the device only with a power grid and appliances which comply with all applicable regulations. A short circuit in the power grid or any appliance connected to the device may damage it.
- Do not connect the device to appliances exceeding the given max load.
- Connect the device only in the way shown in these instructions. Any other method could cause damage and/or injury.
- Do not install the device where it can get wet.
- RECOMMENDATION: Connect the device using solid single-core cables with increased insulation heat resis tance no less than PVC T105°C (221°F). Before starting the mounting/installation of the device, check that the breakers are turned off and there is no voltage from their terminals. This can be done with a phase tester or multimeter. When you are sure that there is no voltage, you can proceed to connecting the cables. Follow the diagram below to install the current transformers CT L1 around the Phase L1 cable to the load(s), CT L2 around the Phase L2 cable to the load(s) and CT L3 around Phase L3 cable to the load(s). Mount the device onto the DIN rail. Plug the cables of the CT L1, CT L2 and CT L3 into the Device L1, L2 and L3 input connectors respectively.

- Mount circuit breakers in accordance with your local regulations and connect Phase L1, Phase L2, and Phase L3 cables through them to the Device L 1, L2 and L3 inputs respectively. Connect the neutral cable to the N input. The device is powered through its L 1, L2, L3 input. Make sure you have made all the connections correctly and then turn on the circuit breakers.


Do not allow children to play with the buttons/switch connected to the device. Keep the devices for remote control of Anker SOLIX products away from children.
Connecting Cables
See the diagram above.
Please snap the CT to the phase cables on the household side. The cables are thick, and the specifications for the household side L1/L2/L3 are 63A with a maximum of 100A.
Note:
- Install a voltage cable (sold separately).
- A three-phase smart meter can be used as a single-phase smart meter.
- Please first identify the entry phases. Under normal circumstances, the brown phase is live wire L 1, the black phase is live wire L2, the grey phase is live wire L3, and the blue phase is the neutral wire N.
L1![]()
L2![]()
L3![]()
L4![]()


| (International Standard) New House - Common Scenarios | (Old German Standard) Old House - Rare Scenarios |
| Brown--Live Wire L 1 | Red--Live Wire L 1 |
| Black--Live Wire L2 | Yellow--Live Wire L2 |
| Grey--Live Wire L3 | Blue--Live Wire L3 |
| Blue--Neutral Wire N | Black--Neutral Wire N |
| Green and Yellow--GND PE | Green and Yellow--GND PE |
- Turn off the power to ensure there is no risk of electric shock.
![]()
- Wear insulating gloves (provided by the user), and take out the Smart Meter and the CT (current transformer) from the package.
![]()
- Insert the Smart Meter into the distribution box rail, making sure it is securely fastened.
![]()
- Please prepare the corresponding color voltage wire, then connect the voltage wire from any unused circuit breaker hole and connect it to the hole of the corresponding Smart Meter.

- Connect the CT wire to the CT socket.

- Snap the CT to L 1 /L2/L3 phases.


Please pay attention to the direction of the current.
- Snap L1 CT to L1 in the direction of the current.
- Snap L2 CT to L2 in the direction of the current.
- Snap L3 CT to L3 in the direction of the current.
LED Indicator
 | The connection between the Smart Meter and the distribution box has been completed. |
 | When the Smart Meter is connected to the CT and the CT is snapped to the corresponding phases, the CT automatically detects the current. |
 | Network configuration completed. |
 | Connection successful. |
After successful connection, the Smart Meter is automatically powered on. If the user does not use the App for network configuration within 30 minutes, it will be turned off automatically.
Customer Service
support@anker.com
(DE) +49 (0) 69 9579 7960
+49 (800) 000 2522 (Anker SOLIX)
Documents / Resources
References
Download manual
Here you can download full pdf version of manual, it may contain additional safety instructions, warranty information, FCC rules, etc.
Advertisement


Need help?
Do you have a question about the SOLIX Solarbank 2 E1600 Plus and is the answer not in the manual?
Questions and answers