Advertisement
Table of Contents
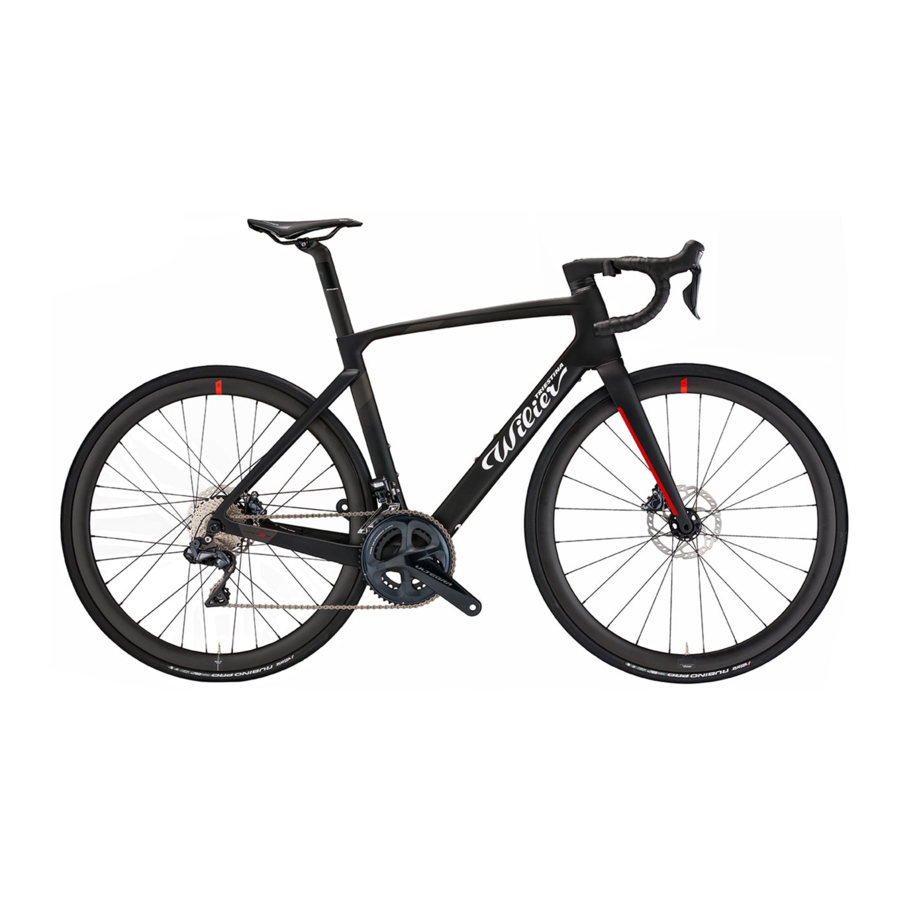
Wilier Cento10 Hybrid Manual
ASSEMBLY INSTRUCTIONS
- Place the upper and lower bearings in the head tube of the Cento10 Hybrid frame.
![]()
- Insert the battery inside the down tube, passing it through the hole positioned on the underside of the bottom bracket. The battery must be inserted so that the end with two terminal cables is facing towards the head tube, while the end with three output cables is facing towards the bottom bracket.

- Exit the two battery cables from the lower hole of the head tube.

- Fix the battery vertically to the down tube using two screws with a maximum length of 8 mm.

- Proceed to fit the shimano group electronic cables.

- Feed the 1200 mm long Shimano electronic cable through the down tube (it will be connected to one of the control levers).

- Feed the 1000 mm shimano electronic cable into the seat tube (it will be connected to the Shimano battery).

- Place the speed sensor in the rear dropout.

- Feed the speed sensor cable into the rear chainstay.

- Attach the dropout to the frame.

- Feed the 700 mm long electronic cable through the chainstay (it will be connected to the rear shifter).

- Insert the 350 mm shimano electronic cable into the derailleur hole (it will be connected to the derailleur).

- Connect the shimano SM-JC41 hub to all electronic cables. Place the hub inside the down tube.

- Pass the rear brake hydraulic cable along the frame until it exits from the upper hole of the head tube.

- Secure the rear brake calliper to the chainstay.

- Fit the shimano Press Fit bottom bracket into the bottom bracket shell.

- Connect the speed sensor cable to the connector following the direction arrows shown on the cables.

- Install the charging point in the bottom bracket hole. Pay attention to the direction of insertion indicated by the position arrows.

- Secure the charging point with the two supplied screws.

- Connect the charging point cable to the corresponding battery cable.

- Install the crankset

- Attach the iwoc to its support bracket

- Connect the connector of the iwoc with the corresponding battery cable. Put the connection back inside the down tube, so that only the wire of the iwoc exits the head tube.

- Install the wtp-110-4

- Install the fork inside the head tube (with the brake caliper already installed and the hydraulic cable passing through the top hole of the head tube).

- Fit the required number of spacers. NB the connection spacer between the frame / spacers and the one between spacers / stem must be installed. The two hydraulic brake cables, the electronic cable of the unit and the iwoc cable must exit from the upper hole of the head tube.

- Pass the hydraulic cables inside the handle- bar through the hole and direct them to the corresponding controls.

- Pass the shimano electronic cable from the SM- JC41 hub into the handlebar toward the left side.

- Position the handlebar onto the steerer tube over the spacers and fix it with the expander to the fork.

- Attach the left hand control to the handlebar fold.


- Connect the left control to the right control with a 700 mm shimano electronic cable.
Attach the right control to the handlebar fold. Connect the right control to the shimano interface EW-RS910 positioned at the end of the handlebar bend with the 400 mm shimano electronic cable. Install the rest of the components.


Documents / Resources
References
Download manual
Here you can download full pdf version of manual, it may contain additional safety instructions, warranty information, FCC rules, etc.
Advertisement


Need help?
Do you have a question about the Cento10 Hybrid and is the answer not in the manual?
Questions and answers