cecotec SEALVAC 120 STEELCUT (04256) Manual
- Instruction manual (33 pages) ,
- Instruction manual (33 pages)
Advertisement
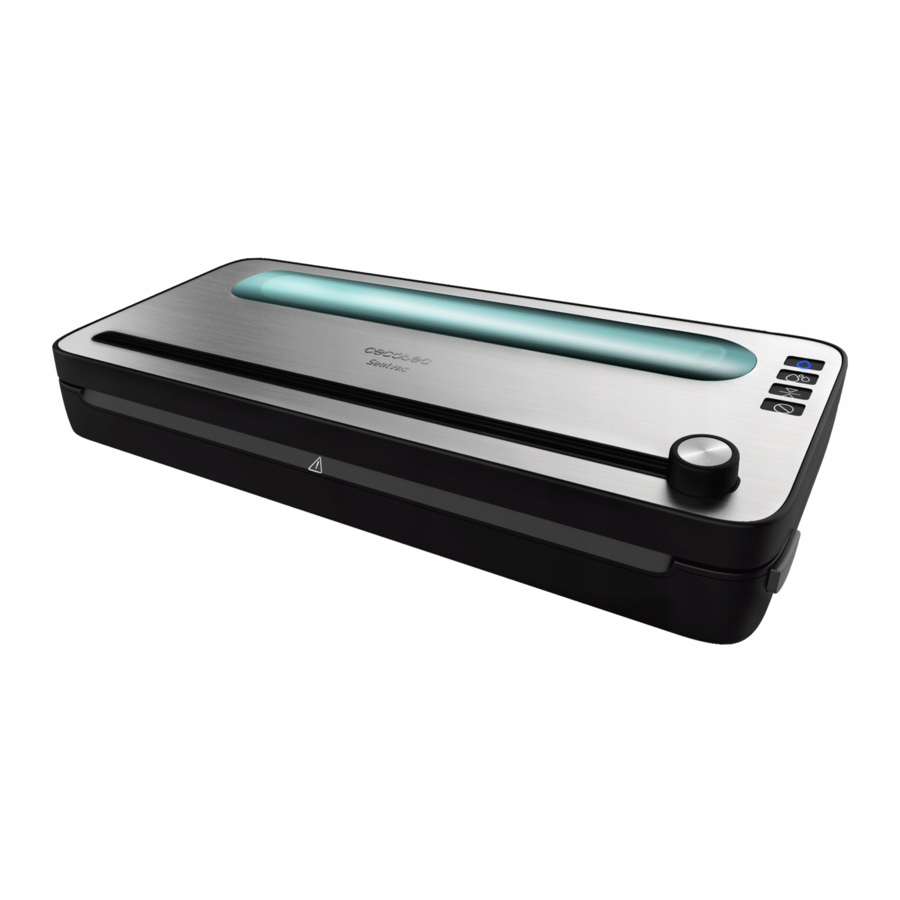
PARTS AND COMPONENTS
Fig. 1

- Food sealing button
- Soft-food sealing button
- Sealing button
- Cancellation button (stop)
- Cutting blade
- Opening button
- Gasket
- Vacuum chamber
- Sealing strip
- Sealing strip
- Snap closure
- Roll bag cavity
- Air-suction orifice
- External-sealing button
BEFORE USE
- Take the product out of the box.
- Remove all packaging materials. Keep the original box.
- Make sure all the components are included and in good conditions, otherwise, contact immediately the official Technical Support Service of Cecotec.
OPERATION
Sealing bags.
Fig. 2

- Connect the device to a socket. Open the cover by pressing the tabs on both sides.
- Place the bag on the sealing strip. It is recommended to leave 20 cm between the sealing strip and the top of the bag.
- Push down both sides of the cover until you hear a locking sound.
- Press the "sealing button".. Its light indicator will switch on and will start flashing when the sealing is completed. Slide the cutter across the roll to cut the bag off. Make sure the cutter is on the edge before cutting.
Note
The sealing areas can get very hot when sealing. Do not touch them.
Sealing hard food.
Fig. 3

- After placing foodstuff (beans, spaghetti, rice, etc.) inside a bag, place the bag in the vacuum chamber and leave at least 8 cm between the content of the bag and the top of the bag. More space will be needed for larger foodstuff.
Fig. 4
![]()
- Push down both sides of the cover until you hear a locking sound. Press the foodstuff button (its light indicator will be switched on while the device is vacuuming the air out of the device).
Fig. 5
![]()
- After vacuuming all the air out of the bag (its indicator light will turn off), the bag will be sealed automatically (the sealing button indicator light will switch on). The sealing button indicator light will flash when the sealing is complete.
Fig. 6
![]()
- After sealing the bag (all the indicator lights should be off), open the cover by pressing the tabs on both sides. Take out the bag.


Note
The sealing areas can get very hot when sealing. Do not touch them.
Sealing soft food.
Fig. 7

- After placing moist foodstuff (beef, pork, chicken, etc.) inside a bag, place the bag in the vacuum chamber and leave at least 8 cm between the content of the bag and the top of the bag. More space will be needed for larger foodstuff.
Fig. 8
![]()
- Push down both sides of the cover until you hear a locking sound. Press the Moist button (its light indicator be switched on while the device is vacuuming the air out of the device).
Fig. 9
![]()
- After vacuuming all the air out of the bag (its indicator light will turn off), the bag will be sealed automatically (the Sealing button's indicator light will switch on). The Sealing button's indicator light will flash when the sealing is complete.
- After sealing the bag (all the indicator lights should be off), open the cover by pressing the tabs on both sides. Take out the bag.


Note
The sealing areas can get very hot when sealing. Do not touch them.
Sealing bags without vacuuming the air.
Fig. 10

- Place the bag in the vacuum chamber and leave at least 8 cm between the content of the bag and the top of the bag. More space will be needed for larger foodstuff.
Fig. 11
![]()
- Press the "Sealing button". Its light indicator will switch on and will start flashing when the sealing is completed.
Fig. 12
![]()
- After sealing the bag (all the indicator lights should be off), open the cover by pressing the tabs on both sides. Take out the bag.


Note
The sealing areas can get very hot when sealing. Do not touch them.
Sealing jars.
Fig. 13

- Insert one end of the vacuuming hose into the air-suction orifice and insert the other end to the opening of the jar.
Fig. 14
![]()
- Press the external-suction button in order to vacuum the air out of it. This function will be completed when the sound stops. Stop the function manually just by pressing the button again.

Note
The suction tube and the connectors are not included.
Sealing zipper bags.
Fig. 15

- Insert one end of the vacuuming hose into the air-suction orifice and insert the other end to the opening of the zipper bag.
Fig. 16
![]()
- Press the external-suction button in order to vacuum the air out of it. This function will be completed when the sound stops. Stop the function manually just by pressing the button again.

Note
The suction tube and the connectors are not included.
Note
After sealing 5 bags in a row, allow the device to cool down for about a minute.
The vacuum sealing or sealing process can be stopped and cancelled at any moment by pressing the cancellation button.
CLEANING AND MAINTENANCE
- Disconnect the appliance from the power supply and allow it to cool down before cleaning.
- Use a soft, damp cloth to clean the product surface.
- Do not immerse the appliance in water or other liquid.
- Do not use abrasive scouring pads, powders or cleaners.
TROUBLESHOOTING
| Problem | Possible cause | Solution |
The product does not turn on | The device is not plugged in. | Check the cord and reconnect it properly. |
| The cord is damaged. | ||
The bags cannot be vacuum sealed after suction | The bag might have an air leak. | Check the bag carefully. Use another bag if necessary. |
| The bag is not placed in the vacuum chamber properly. | Place the bag into the vacuum chamber properly. | |
| The sealing strip might be damaged. | Check the sealing strip carefully. If it is damaged, please the Customer Service of Cecotec to arrange a replacement. | |
Air leaks in the bag after sealing | The bag might be damaged or there is something in the opening of the bag. | Open the bag and wipe whatever is inside the bag. Check if the bag has a leak. |
TECHNICAL SPECIFICATIONS
Reference No.: 04256
Product: SealVac 120 SteelCut
Power: 120 W
Voltage and frequency: 220-240 V~50/ 60 Hz
TECHNICAL SUPPORT
Cecotec shall be liable to the end user or consumer for any lack of conformity that exists at the time of delivery of the product under the terms, conditions and deadlines established by the applicable regulations.
It is recommended that repairs be carried out by qualified personnel.
If at any moment you detect any problem with your product or have any doubt, do not hesitate to contact Cecotec official Technical Support Service at +34 963 210 728.
Documents / ResourcesDownload manual
Here you can download full pdf version of manual, it may contain additional safety instructions, warranty information, FCC rules, etc.
Advertisement


Need help?
Do you have a question about the SEALVAC 120 STEELCUT and is the answer not in the manual?
Questions and answers