Advertisement
Introduction
The Acaia Ion Beam features an industrial-grade ion generator. Designed to address the common issue of static electricity created during the coffee grinding process.
The generator counteracts the positive or negative charges built up during the grinding process. It neutralizes the static electricity that causes coffee grounds to cling together. This reduces the retention of grounds and minimizing flying chaff and clumps.
With the Acaia Ion Beam, you can expect a better coffee grinding experience. Less mess and more consistency.
Features
- Industrial-grade ion generator that generates concentrated, high-density negative or positive ions.
- Works with a range of coffee roasts, from light to dark roasted coffee.
- Automatically begins emitting negative or positive charged ions upon motion detection by the IR sensor, streamlining the coffee grinding process for enhanced efficiency and ease of use.
- Automatically powers off after 120 seconds of use to conserve energy and prevent static electricity accumulation after extended use.
- Portable design to work with different coffee grinders.
- Effectively reduces flying chaffs, clumps and retention for a smoother coffee preparation process.
In The Box
First, check the package to find the following:

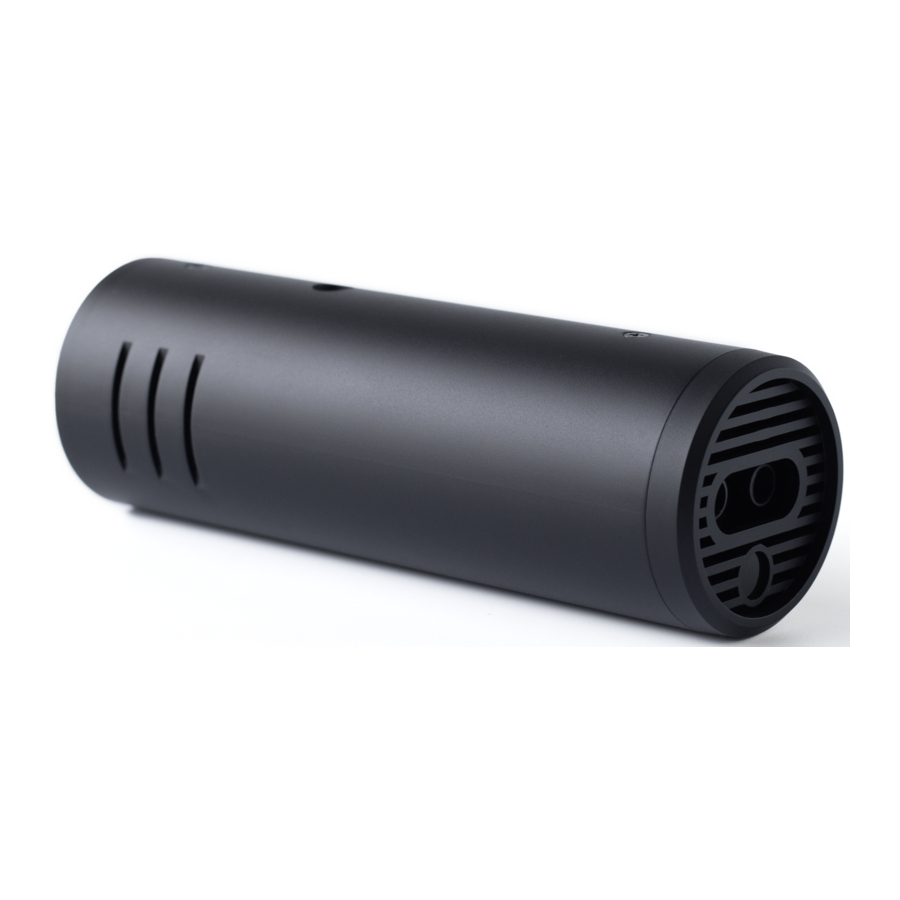
Ion Beam Overview

Product Care Information
Battery Charge
You can charge the battery by plugging the USB Type-C cable into any of the power supplies listed below:
- A computer
- A USB wall-charger with an output of 5 volts and 1 amp
- A USB-C PD charger supporting 5 volts
- A DC car-charger with an output of 5 volts and 1 amp
- When plugging in the Ion Beam for charging, it will automatically turn off. A red charging indicator will be displayed during the charging process. It is possible to use the Ion Beam when it is being charged. Once the Ion Beam is fully charged, the charging indicator will turn off.
- It takes about 1-2 hours to fully charge the battery when the battery is empty. Try not to let the battery completely run out before charging. Instead, charge the battery as needed.
- A fully charged battery allows for continuous operation for about 8 hours.
- When the battery level is low, the status light flashes five times as a warning message before turning off.
Product Cleaning
To clean the Ion Beam, follow the steps below:
- Ensure that the Ion Beam is powered off and unplugged to prevent any electrical hazards.
![]()
- Gently turn to remove the front cover of the Ion Beam.
![]()
- Use the provided cleaning brush to gently remove dust or coffee grounds from the sensor.
![]()
- After cleaning, examine the sensor for any remaining residue. If necessary, use a soft, lint-free cloth to wipe away the coffee grounds.
![]()
- Reattach the front cover carefully, ensuring it is securely fastened to maintain proper functionality.
![]()
- Once the cover is back in place, power on the Ion Beam and test the IR sensor to confirm that it is functioning correctly.
![]()


 Note:
Note:
- The Acaia Ion Beam is equipped with charging protection to prevent the battery from charging under high temperatures.
- Be cautious not to apply excessive force or use sharp objects during the cleaning process, as this may cause damage to the sensor or its components.
- If you are uncertain about any step or encounter difficulties, please contact our customer support (support@acaia.co) for further assistance.
Setting up the Acaia Ion Beam
Using Acaia Ion Beam with the Orbit
- To install the Ion Beam on the Orbit, you will need: L-Shaped mount x 1, Spacer x 2, 1/4-20x12 Thumb Screw x 1, and M3x12 mm Screw x1. These are included in the Ion Beam package.

- Remove the M3x8 mm screw on the left side of the motor housing of the Orbit.
![]()
- Align the short side of the L-Shaped mount with the Orbit and secure it in place with an M3x12 mm screw as shown. Ensure the long side of the mount is perpendicular to the Orbit housing.
![]()
- When installing the Ion Beam, place a spacer on both sides of the screw hole of the L-shaped mount, then secure it with a 1/4-20x12 thumb screw. After installing the Ion Beam, adjust its position to a 45-degree angle toward the chute.


Using Acaia Ion Beam with a Tripod
- Insert the tripod screw thread into the designated tripod socket on the Ion Beam. A standard 1/4- inch tripod socket ensures universal compatibility.
![]()
- Rotate the tripod clockwise until it securely attaches to the Ion Beam.
![]()


Operation Instructions
Power on / off
- Click the switch at the bottom of the Ion Beam to power it on. The IR sensor will be activated and the status light will flash twice indicating it's on. During operation, the status light will flash once every 5 seconds.
![]()
- Click again to turn on the spotlight and enter the Continuous mode.
- To turn off the Ion Beam, click the switch at the bottom again.

Note: When the Ion Beam's battery is low, the status light will flash for five times as a warning before turning off.
Modes
- In IR mode, when an object is placed within 5 cm of the IR sensor, the spotlight turns on and the Ion Beam emits positive/negative ions. When there's no object detected, the Ion Beam enters Sleep mode after 120 seconds. It can be reactivated by placing an object within the range. While in Sleep mode, the Ion Beam does not emit ions, but the status light continues to flash every 5 seconds for indication.
- In Continuous Mode, both the spotlight and the Ion Beam remain active regardless of object detection by the IR sensor. The Ion Beam automatically powers off after 120 seconds after operation to conserve energy. The Ion Beam's auto-off function prevents excessive static electricity accumulation after extended use.
Usage
Place the Ion Beam as close as possible to your grinder chute and turn on the Ion beam. It works best while shooting the ions from slightly above the exiting path of the grinder. Users may experiment with different angles to find the optimal setup.

Area of Effect
Depending on the environment, the Ion Beam is most effective when placed as close to the coffee grounds as possible. It usually works within 1 - 5 cm range.

Reset to Default
With the Ion Beam powered off, press and hold the switch for 10 seconds until the indicator flashes, release the switch to reset all settings to default.
Firmware Update
To enter the Update Mode, follow the steps below:
- Press and the power switch for 10 seconds until the status light displays.
- Without releasing the the power switch, continuing holding for another 10 seconds; the status light begins to flash, indicating the Ion Beam is in Update Mode.
- Once the Ion Beam is connected to the Updater App, the light will stop flashing.
- Click Update on the Updater App to start the firmware update. The light will flash during the update process.
- Once the update is completed, the Ion Beam will turn off automatically.
Note: If you wish to exit the Update Mode without updating the firmware, simply leave the Ion Beam untouched. It will automatically power off and exit the Update Mode after 120 seconds of inactivity.
Specifications
| Model | AIM101/ AIM102 / AIM103 |
| Product Weight | 115 g ± 5 g |
| Product Dimensions | Ø: 42 mm L: 127 mm |
| Battery | Lithium-ion rechargeable 3.7 V 780 mAh |
| Battery Life | 8 hours |
| Material | PC |
| Connectivity | Bluetooth 5.0 |
| Warranty | US / EU: 2 Years Other: 1 Year |
| Inside the Package | Acaia Ion Beam x 1 L-Shaped Mount x 1 USB Type-C Cable x 1 Cleaning Brush x 1 |
Safety Information
Read the information below carefully before using your Ion Beam. Incorrect handling of this product could result in personal injury or equipment damage. Please keep this manual for future reference.
- Do NOT touch the carbon brush in the Ion Beam due to potential high voltage.
- Do NOT direct the Ion Beam and its light directly towards human eyes.
- Do NOT immerse the Ion Beam in liquids or allow liquids to enter the unit. Use a soft, clean with warm water only to clean the product.
- Do NOT allow young children to play with the Ion Beam as it is not a toy.
- Do NOT use the Ion Beam if it is not working properly, has been dropped, damaged, or exposed to water.
- Never drop or insert objects into any openings.
- Do not try to disassemble the Ion Beam. Disassembling the unit may cause harm to yourself or damage the equipment, and will void the warranty.
- Do NOT operate in areas where aerosol units are being used or where oxygen is being administered.
- Do NOT operate the Ion Beam in oxygen-rich environments.
- Keep away from gas-powered stoves and ovens, and do not operate the Ion Beam in areas where flammable or combustible units or vapors may be present.
- When Ion Beam is turned on, do NOT place it vertically on table for an extended period of time, as static may accumulate on the front or back of the Ion Beam.
Documents / ResourcesDownload manual
Here you can download full pdf version of manual, it may contain additional safety instructions, warranty information, FCC rules, etc.
Advertisement


Need help?
Do you have a question about the Ion Beam and is the answer not in the manual?
Questions and answers