Roland JUPITER-X, JUPITER-Xm, JD-800 Manual
- Reference manual (58 pages) ,
- Owner's manual (31 pages) ,
- Install manual (3 pages)
Advertisement
- 1 Using the JD-800 Model Expansion
- 2 Parameter Guide
- 3 Sound List
- 4 MIDI Parameter Address Map
- 5 Documents / Resources
Using the JD-800 Model Expansion
This manual explains how to use JD-800 Model Expansion with the JUPITER-X/Xm.
There are two ways to use JD-800 Model Expansion.
In this manual, we explain how to do this via Roland Cloud Manager.
Using Roland Cloud Manager
On your computer, use the Roland Cloud Manager to download the JD-800 Model Expansion files from Roland Cloud.
Use a USB flash drive to import the files into the JUPITER-X/Xm.
* You must purchase a Lifetime Key for the data if you want to use Roland Cloud Manager.
* Data that was downloaded with only a Roland Cloud membership can't be loaded into the JUPITER-X/Xm.
Using Roland Cloud Connect
Use Roland Cloud Connect (sold separately) and your smartphone to import the JD-800 Model Expansion files into the JUPITER-X/Xm.
* If you are using Roland Cloud Connect (sold separately), you can use the JD-800 Model Expansion files even on a membership basis.
Updating the JUPITER-X/Xm to the Latest Version
Before using the JD-800 Model Expansion, you must update the JUPITER-X/Xm to the latest version.
Download the latest software from the website below, and follow the steps listed to update.
https://roland.cm/jupiter-x_dl (JUPITER-X)
https://roland.cm/jupiter-xm_dl (JUPITER-Xm)
Downloading the JD-800 Model Expansion by Using Roland Cloud Manager
This explains how to use Roland Cloud Manager to download and install the JD-800 Model Expansion files.
Installing the Roland Cloud Manager
- On your computer, download Roland Cloud Manager from the Roland Cloud website.
Access the website listed below to download the appropriate installer for your computer. https://roland.cm/RolandCloudManager - Double-click the installer you downloaded to begin the installation.
Proceed with the installation by following the directions shown onscreen.
When you see a message saying that the installation was successful, click the [Close] or [Finish]. - Start the Roland Cloud Manager that you installed, and register your account.
Follow the onscreen instructions to register.
Downloading the JD-800 Model Expansion
- Launch Roland Cloud Manager.
- Click "Hardware Instruments" (Hardware) on the menu tab.
A list of hardware group appears at the top of the screen. - On the hardware group tab, click "Synthesizers".
A list of hardware appears on the left side of the screen. - Click on "JUPITER-X/XM".
The contents list appears. - Click the
![]() (Add to cart) icon for JD-800 Model Expansion.
(Add to cart) icon for JD-800 Model Expansion.
This adds the contents to your cart. - Click the
![]() (Move to cart) button at the top right-hand part of the screen.
(Move to cart) button at the top right-hand part of the screen.
The cart screen appears. - Check the contents onscreen, and click "Proceed to checkout".
A payment screen appears in your Web browser. Proceed to payment, and close your Web browser when you're finished. - Return to the Roland Cloud Manager screen and click "Accept" in the "Purchase Complete" dialog box. This closes the message.
- Click the
![]() (Download) icon for the contents you wish to download.
(Download) icon for the contents you wish to download.
A dialog box for specifying the download destination folder appears. - Specify the folder to which you want to download the contents, and close the dialog box.
The content files are downloaded into the folder that you specified on your computer.
 (Move to cart) button at the top right-hand part of the screen.
Installing the JD-800 Model Expansion
Saving Files to a USB Flash Drive
* When using a USB flash drive for the first time, you must format it on the JUPITER-X/Xm.
- "Formatting a USB Flash Drive" (Owner's Manual)
- Connect the USB flash drive to your computer.
- Save the file (EXM005_JD800.exz) to the root directory of the USB flash drive.
- Disconnect the USB flash drive from your computer.
Installing on the JUPITER-X/Xm
- Insert the USB flash drive you prepared in "Saving Files to a USB Flash Drive" into the JUPITER-X/Xm.
- Turn the power of the JUPITER-X/Xm on while holding down the [ENTER] button.
The EXPANSION top screen appears.

- Press the PAGE [>] button to go to the installation screen.
- Use the PAGE [
![]() ] and [
] and [![]() ] buttons to select "EXM005_ JD800", and press the [ENTER] button or the PAGE [>] button.
] buttons to select "EXM005_ JD800", and press the [ENTER] button or the PAGE [>] button.
A confirmation message appears.
If you decide to cancel, press the [EXIT] button.
![information]() MEMO
MEMO
The user license registration screen appears if you're installing for the first time.
To continue installing, use the PAGE [>] button to select "OK", and then press the [ENTER] button. - To execute, use the PAGE [>] button to select "OK", and then press the [ENTER] button.
- Turn the power off, then on again.
This allows you to use the JD-800 Model Expansion.

 ] and [
 ] buttons to select "EXM005_ JD800", and press the [ENTER] button or the PAGE [>] button.
Error Messages
| Indication | Action |
| Expansion Memory Full! | There is not enough memory available for installation. Follow the steps in "Uninstalling a Model Expansion" to free up the memory. |
| Incorrect License! Please Remove License | The JD-800 Model Expansion is currently linked to a different user license. Follow the steps in "Initializing Your User License" to initialize the user license. |
Uninstalling a Model Expansion
If there is not enough free memory, you can uninstall Model Expansions that are already installed, and then install the JD-800 Model Expansion.
- Hold down the [ENTER] button and turn the JUPITER-X/Xm on.
The EXPANSION top screen appears. - Use the PAGE [
![]() ] and [
] and [![]() ] buttons to select the file to uninstall, and then press the PAGE [<] button to go to the uninstallation screen.
] buttons to select the file to uninstall, and then press the PAGE [<] button to go to the uninstallation screen.
A confirmation message appears.
If you decide to cancel, press the [EXIT] button. - To execute, use the PAGE [>] button to select "OK", and then press the [ENTER] button.
 MEMO
MEMO
The uninstall process works the same even if you've installed the Model Expansion with Roland Cloud Connect (WC-1).
User License
The Model Expansions are linked to the user license of the user who downloaded them.
You cannot import or install Model Expansions with different user licenses on a single JUPITER-X/Xm.

When you want to import or install a JD-800 Model Expansion that has a different user license from the Model Expansions already registered in the JUPITER-X/Xm, follow the steps to initialize the user license.

Initializing Your User License
By initializing the user license, you can install a JD-800 Model Expansion that you've downloaded with a new user license.
 NOTE
NOTE
- This deletes all Model Expansions that are already installed.
- Never turn off the power or remove the USB flash drive while the "Executing..." message is shown.
- Press the [MENU] button on the JUPITER-X/Xm.
- Use the [1] knob or PAGE [
![]() ] and [
] and [![]() ] buttons to select "UTILITY", and press the [ENTER] button.
] buttons to select "UTILITY", and press the [ENTER] button. - Use the [1] knob to select "FACTORY RESET", and then press the [ENTER] button.
The FACTORY RESET screen appears.
![]()
- Select the item using the PAGE [
![]() ] and [
] and [![]() ] buttons, and using the [ENTER] button to select or deselect the items, select only the "Remove License" check box.
] buttons, and using the [ENTER] button to select or deselect the items, select only the "Remove License" check box.
![]()
* If you have not imported or installed a Sound Pack, Wave Expansion or Model Expansion, the "Remove License" check box is not shown.
* If you select the other check boxes besides the "Remove License" check box and execute this operation, this initializes all of the corresponding data. See "Returning to the Factory Settings (Factory Reset)" in the JUPITER-X/Xm Owner's Manual for details. - Press the PAGE [>] button.
A confirmation message appears. If you decide to cancel, press the [EXIT] button. - To execute, use the [2] knob to select "OK", and then press the [ENTER] button.
"Completed. Turn off power" is shown on the display. - Turn the JUPITER-X/Xm off.
This initializes the user license. - Follow the steps in "Uninstalling a Model Expansion" to install the JD-800 Model Expansion on the JUPITER-X/Xm.


Error Messages
| Indication | Action |
| USB Memory Not Ready! | The USB flash drive cannot be recognized. Make sure that your USB flash drive is correctly inserted into the JUPITER-X/Xm. |
| Expansion File Not Found! | This is shown when there is no Expansion file in the USB flash drive. Make sure that the file has been correctly saved and that the file extension is ".exz". |
| Incorrect File! | This is shown when the selected file is not supported by the JUPITER-X/Xm, or when the file is corrupted. Check which instruments support the original download, and try downloading again. |
| Incorrect License! Please Remove License | This is shown when the JD-800 Model Expansion is currently linked to a different user license. To install, provide a file that uses the same user license as the Expansion already installed, or initialize the user license. |
| Expansion Memory Full! | This is shown when there is not enough free memory to install an Expansion. In this case, you can uninstall Model Expansions that are already installed to free up memory. |
| It has already been installed | This is shown when the JD-800 Model Expansion has already been installed. You don't need to reinstall. |
Using the JD-800 Model Expansion
Selecting a Tone
- Press the [MODEL BANK] button.
The MODEL BANK top screen appears.

- Press the PAGE [
![]() ] button to move the cursor to the model name/category name.
] button to move the cursor to the model name/category name. - Use the [2] knob to select "JD-800."
- Press the PAGE [
![]() ] button to move the cursor to the tone number.
] button to move the cursor to the tone number. - Use the [2] knob to select the tone.
You can use the [1] knob to move the cursor quickly.
![information]() MEMO
MEMO
Move the cursor to the model name/category name or the tone number and press the [ENTER] button. The tone list appears.
![]()
- Press the [ENTER] button to select the tone.


Registering the JD-800 to a model bank
- Hold down the [MODEL BANK] button and press a model bank button ([1]–[16]).
- Press the PAGE [
![]() ] button to move the cursor to "Attr."
] button to move the cursor to "Attr."
You can also use [1] to move the cursor. - Use the [2] knob to select "MODEL."
- Press the PAGE [
![]() ] button to select where to register the JD-800.
] button to select where to register the JD-800.
You can also use the [1] knob to select the model. - Use the [2] knob to select "JD-800."
- If you want to save the setting, execute the System Write operation.
- "Saving the System Settings (System Write)" (Owner's Manual)
Selecting a JD-800 tone using the model bank
- Press the [MODEL BANK] button.
The MODEL BANK top screen appears. Use the [1]–[16] buttons to switch to tone select mode. - Select the model bank where you want to register the JD-800 by pressing one of the [1]–[16] buttons.
The tones for the JD-800 are shown.
You can use the [2] knob to select a tone on this screen as well. - Press the [ENTER] button.
A list of tones is shown. - Use the [2] knob to select the tone.
You can use the [1] knob to move the cursor quickly. - Press the [ENTER] button.
The tone is now selected.
Parameter Guide
Controls on the JUPITER-X and Their Associated Parameters

Controls on the JUPITER-Xm and Their Associated Parameters

*1 The LFOs are given priority in this order: PITCH > FILTER > AMP.
*2 This is only enabled in Function mode.
* For other parameters, see the "Parameter Guide" (PDF).
* The JD-800 Model Expansion parameters are located in TONE EDIT.
TONE Parameters
TONE COMMON
JD-800 Model Expansion


TONE MFX Group B
JD-800
This can only be used when a tone from the JD-800 model is selected for part 1.


List of supported CCs

PALETTE Function
The Palette function lets you display the values set for partials 1–4 in a row and edit them, for the partial parameter you last edited.

* TVA Level is selected by default.
* The partial parameters you edit in the TONE EDIT screen can also be selected in the Palette.
How to Use on the JUPITER-X
- Select a JD-800 Model Expansion tone for the current part.
- Press the [RING], [SYNC] and [XMOD] buttons at the same time.
"PALETTE ON" is shown onscreen, and the Palette function is activated. The [RING], [SYNC] and [XMOD] buttons light up. - Use the [OSC 1]–[OSC 4] sliders to edit the parameter selected in the Palette.
The currently selected parameter name and the values for each partial are shown.
MEMO
To turn the Palette function off, change the tone or press one of the [RING], [SYNC] or [XMOD] buttons.
How to Use on the JUPITER-Xm
- Select a JD-800 Model Expansion tone for the current part.
- Hold down the [SHIFT] button and press the ENV [AMP] button.
"PALETTE ON" is shown onscreen, and the Palette function is activated. The ENV [PITCH], [FILTER] and [AMP] buttons light up. - Use the [A] [D] [S] [R] knobs to edit the parameter selected in the Palette.
The currently selected parameter name and the values for each partial are shown.
MEMO
To turn the Palette function off, change the tone or press one of the ENV [PITCH], [FILTER] or [AMP] buttons.
Sound List
Tone
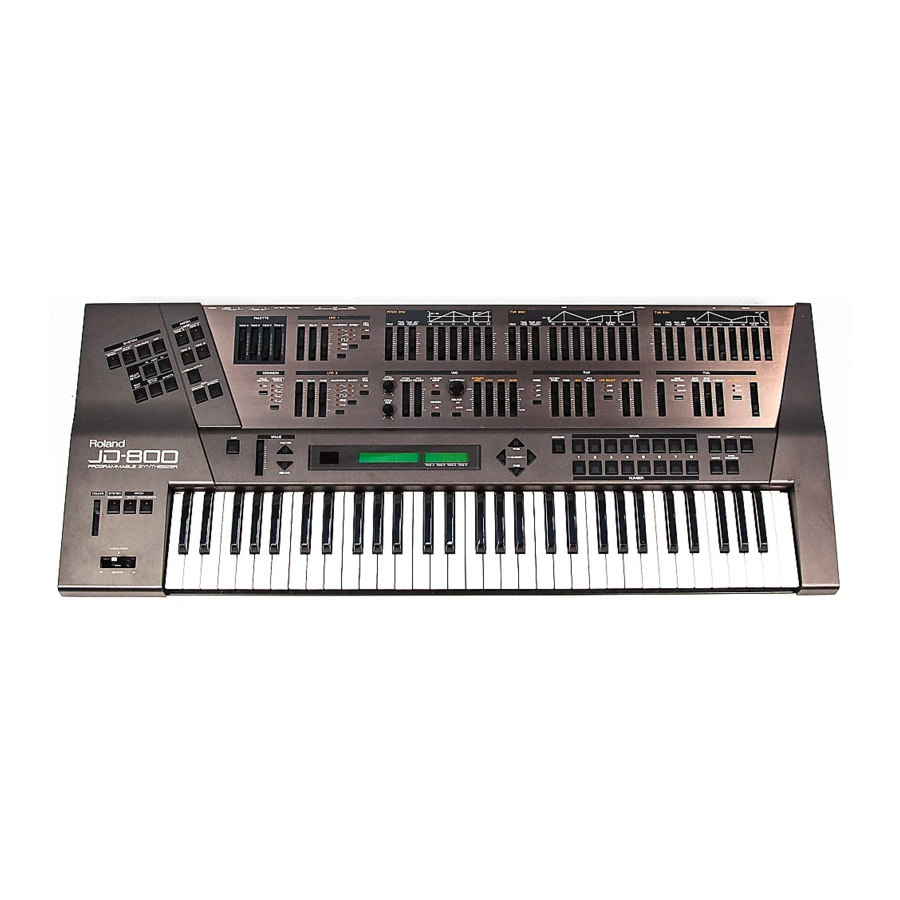
JD-800


Waveform


MIDI Parameter Address Map


Documents / Resources
References
![roland.cm]() Roland - Roland Cloud Manager | Management Software
Roland - Roland Cloud Manager | Management Software![roland.cm]() Roland - JUPITER-X | Synthesizer
Roland - JUPITER-X | Synthesizer![roland.cm]() Roland - JUPITER-Xm | Synthesizer
Roland - JUPITER-Xm | Synthesizer
Download manual
Here you can download full pdf version of manual, it may contain additional safety instructions, warranty information, FCC rules, etc.
Advertisement


Need help?
Do you have a question about the JUPITER-X and is the answer not in the manual?
Questions and answers