Beyerdynamic MMX 300 PRO (730670, 1000081) - Gaming Headsets Manual
- User manual (50 pages)
Advertisement
VERSIONS
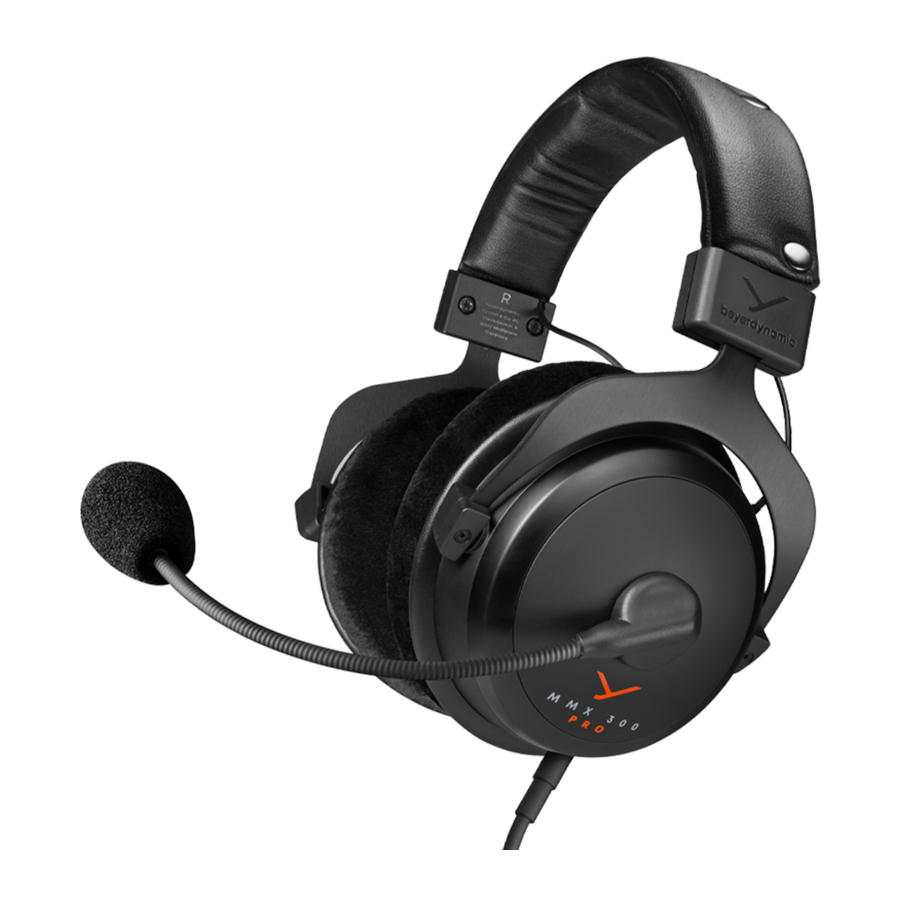
MMX 300 PRO
Gaming headset, closed, black: Order # 730670
MMX 300 PRO MANUFAKTUR
Gaming headset, closed, with individually selectable features: Order # 1000081
SUPPLIED ACCESSORIES
1 x Connection cable with 2 x 3-pole mini jack plugs (3. 5 mm) to connect to a headphone output and microphone input, e. g. PC

1 x Adapter with 2 x mini jack sockets (3. 5 mm) and 1 x mini stereo jack plug (3. 5 mm) to connect to mini combination jacks (3. 5 mm), e. g. game consoles, tablets, smartphones etc.

ACCESSORIES AND REPLACEMENT PARTS
- Accessories and replacement parts can be found on the internet at: https://www.beyerdynamic.com
- If you have technical problems while using the MMX 300 PRO or need further guidance, please visit our FAQ website at:
https://support.beyerdynamic.com
PUTTING INTO OPERATION
How to connect the cable
The cable that connects to the headphone is provided with a 5-pole jack plug that has a locking protection.
- Connect the cable to the headset with a slight twisting motion.
![]()

 A common source of error is that the 5-pole jack plug is not connected properly to the headset.
When a malfunction occurs, simply pull out the plug again and push it firmly into the socket with a slight twisting motion.
How to connect the headset to a PC
At the other end, the cable is provided with two 3-pole mini jack plugs (3. 5 mm) to connect to a PC.

- Connect the plug with the headphone symbol to the headphone output of your PC.
- Connect the plug with the microphone symbol to the microphone input of your PC.
How to connect the headset to a game console
In contrast to a PC, game consoles only have one mini jack connection (3. 5 mm).

- Connect the supplied adapter and the cable to your game console as illustrated.
- Optionally, you can purchase a 1. 2 m long console cable (order # 918105) with a mini jack plug (3. 5 mm).
Putting on the headset
- Put the headset on your head. The microphone is on the left-hand side.
- Position the microphone in front of the middle of your mouth. In order to avoid pop noise, you should use the microphone with a pop shield.
Adjusting the headband
- To optimise the wearing comfort, adjust the head-band of the headset to your head via the adjustable yokes on the left and right side of the housing shells.
- Wear the headset so that the headband runs over the centre of your head and adjust the headband so that
- your ears are completely enclosed by the ear pads,
- you feel a gentle pressure around your ears,
- both ends of the headband have the same length.
Adjusting the microphone
- Turn the microphone holder (never the gooseneck!) to position the microphone as requested.

- Make sure that the pop shield completely encloses the microphone.
- Bend the flexible gooseneck so that the microphone is placed about two centimetres in front of your mouth.

In order to avoid overstretching and premature wear and tear never bend the gooseneck more than 90°.
Remote control
The connection cable has an integrated remote control with a volume control and a mute switch. Use the volume control to adjust the volume of the headset. Use the mute switch to mute or activate the microphone.

Increase the volume:
- Turn the volume control upwards.
Reduce the volume:
- Turn the volume control downwards.
Mute the microphone:
- Slide the mute switch downwards (red marking visible).
Activate microphone:
- Slide the mute switch upwards (red marking not visible).
MAINTENANCE
- As with any equipment which will be used near sensitive areas of the body, it is essential that the ear pads and headband are kept clean.
Use a soft cloth moistened with water for cleaning. Make sure that no water drops into the ear cups or transducers. - If necessary, you can carefully remove the ear pads and headband pad and clean them with mild soapy water.
Never use any solvent cleaning agents! Furthermore, the pads must be completely dry before they are reattached to the MMX 300 PRO.
Never use a vacuum cleaner for cleaning the MMX 300 PRO, as this may cause irreparable damage.
- Should it become necessary to replace the ear pads or the headband pad, refer to "Replacement parts and Accessories". You can easily do this yourself. Refer to the chapters "How to change the ear pads" and "How to change the headband pad".
- If other components must be replaced, please contact your local beyerdynamic representative.
HOW TO CHANGE THE EAR PADS
- Use your fingertips to carefully pull the ear pad away from the housing.

- Attach a new ear pad to the housing. The new ear pad can be attached easier if you warm it beforehand (e. g. using a hairdryer).


HOW TO CHANGE THE HEADBAND PAD
- Carefully unbutton the headband pad and remove it.

- Place the new headband pad around the headband and connecting cable and fasten the buttons.


TECHNICAL SPECIFICATIONS
Headphone
| Transducer type | Dynamic |
| Operating principle | Closed |
| Wearing type | Over-ear |
| Frequency response | 5 - 40,000 Hz |
| Nominal impedance | 48 Ω per system |
| Sound pressure level @ 1 mW/500 Hz | 96 dB |
| T.H.D. @ 500 Hz | < 0.0 5 % |
| Power handling capacity | 30 mW |
| Ambient noise attenuation | 18 dBA |
| Headband pressure | 5.5 N |
| Weight | 314 g |
| Length and type of cable | 2.5 m/straight cable, detachable, single-sided with 5-pole stereo jack plug |
| Connection | 2 x mini stereo jack plugs (3.5 mm) & mini jack adapter (3.5 mm) for consoles |
Microphone
| Transducer type | Condenser (back electret) |
| Operating principle | Pressure gradient |
| Polar pattern | Cardioid |
| Power supply | AB powering |
| Supply voltage | 2 - 9 V |
| Current consumption | 0.6 mA |
| Sensitivity at f = 1 kHz | 21.6 mV/Pa |
| Frequency response | 20 - 20,000 Hz |
| Max. sound pressure level | 121 dB |
| Microphone output | unbalanced |
| Length mic boom | approx. 190 mm |
| Microphone head diameter | 13 mm |
SAFETY INSTRUCTIONS
Risk of injury
![]()
- We would like to point out that an excess of high volumes and long periods of listening may cause hearing damage. Hearing defects always constitute an irreversible impairment of hearing ability.
- If you suffer from tinnitus, do not use head-phones, or reduce the volume.
- According to regulations to protect employees against damages caused by noise and vibrations, please follow these instructions:
Sound pressure level Period of listening at 85 dB max. 8 hours at 88 dB max. 4 hours at 91 dB max. 2 hours at 94 dB max. 1 hour at 97 dB max. 30 minutes at 100 dB max. 15 minutes - When connecting the headphone, please ensure that the volume is turned down to minimum. Adjust the volume after putting on the headphone.
- When wearing wired headphones, avoid sudden movements. You could seriously injure yourself, especially if you have any piercings or wear earrings or glasses, etc. that can get caught in the cable.
Microphone
- Please make sure that you do not connect the microphone to microphone inputs supplying phantom power (12 - 48 V), as this will damage the microphone.
Danger to life
- Headphones drastically reduce perception of external sounds. Using headphones in road traffic can be potentially dangerous. The user's hearing must not be impaired to the extent that it causes road safety risks. Please also make sure that you do not use the headphones in traffic, especially within an area of potentially dangerous machines and tools.
- Furthermore, avoid using the headphones in situations where hearing must not be affected, especially when crossing a railway crossing or at a construction site.
Liability/intended use
- Do not use the headphones for any application which is not described in this product information.
- The company beyerdynamic GmbH & Co. KG accepts no liability for damage to the headphones or injury to persons caused by careless, improper or incorrect use of the headphones, or by use for purposes not specified by the manufacturer.
SERVICE
- If you require service, please contact qualified service personnel or directly:
beyerdynamic service and logistics centre
E-mail: service@beyerdynamic.de - Dismantling the MMX 300 PRO yourself will invalidate the guarantee.
beyerdynamic GmbH & Co. KG
Theresienstraße 8
74072 Heilbronn Germany
www.beyerdynamic.com
Documents / Resources
References
Download manual
Here you can download full pdf version of manual, it may contain additional safety instructions, warranty information, FCC rules, etc.
Download Beyerdynamic MMX 300 PRO (730670, 1000081) - Gaming Headsets Manual
Advertisement


Need help?
Do you have a question about the MMX 300 PRO and is the answer not in the manual?
Questions and answers