Advertisement
Table of Contents
Contents
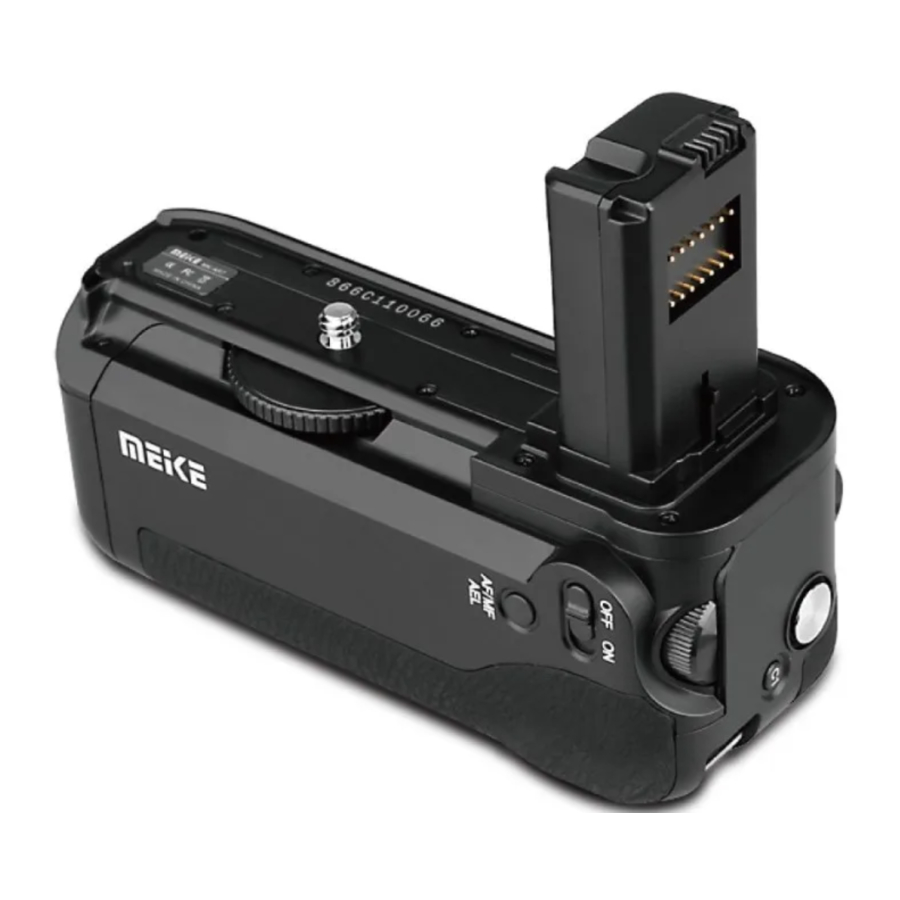
Sony A1 - Battery Pack Manual
Notice for Use
- For detailed information about the camera model that is compatible with the grip, Please consult your dealer or local service agents. Even though the grip is adopted the design concept of preventing from dust and from being splashed, it still can't totally prevent from dust or liquid.
- If the grip will be stored for a long time, please remove the battery.
- Be sure to use the original battery in the grip and only use the designated charger to charge the battery.
- The grip has no charging function; it is hard to directly charge the battery through the grip.
- Even though the grip is installed on a camera which has charging function, it still can't charge the battery in the grip.
- Please don't put the product in the hot environment as direct sunlight, heat source and the hot temperature in the car are easy to cause deformation or malfunction to the grip.
- The environment where has intense shaking, strong electromagnetic interference, intense radiation and much dust.
- The designed working temperature for this product is -20°C/70°C.
- As the abrupt temperature rising will cause air condensed, so this product shall be sealed in a plastic bag after staying in the cold environment for a long time. Try best to empty the air in the bag and then bring it to the indoor. When the temperature in the bag gradually rises to the room temperature, it can be safely taken out from the bag. These procedures can prevent this product from condensation caused by abrupt temperature rising.
- Clean with dry cloth, no contact with alcohol or other chemicals.
Function Features
- With vertical-shooting function
- Two lithium batteries can be put into the grip, which make it have double power.
- With AF(auto focus)/MF(manual focus)/AEL(AE lock) functions
- C1 custom function
- With two wheels which are convenient for operation.
- 2.4GHz wireless channel which is adopted FSK signal mode can more efficiently guarantee the speed, distance and stability.
- Remotely control the camera shutter from 100 meters away. In the open space, the remotest distance of the remote control can reach 100 meters.
- Support screen lock function.
- Support lock display mode.
- Use low-power LCD screen.
- The timer can set delay time, exposure time, time interval and number of shots.
Nomenclature


- Function switch
- AF(auto focus)/MF(manual focus)/AEL(AE lock) buttons
- Camera battery compartment cover slot
- Attach/detach knob
- Battery compartment switch
- C1 (custom 1) button
- Shutter button
- Front pulling wheel
- Attachment screw
- Power contact
- Signal contact
- Guide bar
- Back wheel
- Strap hole
- Battery compartment
- Signal indicating light
- Shutter release button
- LCD screen
- Start/stop key
- Light key/lock key
- 21UP arrow key
- Down arrow key
- Left arrow key
- Right arrow key
- Set key
- Shutter release terminal ( Φ 2.5 stereo)
Assembly Instructions
The Assembly and Disassembly of the Cover
- Make the power button at the location "off', as shown in Figure a1.
![]()
- Disassemble the battery cover, and then take out the battery from the camera, as shown in Figure a2.
![]()
- Tightly assemble the battery cover in the slot, as shown in Figure a3.
![]()
- Press the lock on the battery compartment cover to directly take out the battery cover, as shown in Figure a3.


The Assembly and Disassembly of the Product
- This product only applies to NP-FW50 battery (one or two).
- Before using it, be sure to use the designated battery charger to charge the battery.
- Make the POWER button at the location "OFF".
- Rotate the switch by following the direction of arrow to take out the battery compartment, as shown in Figure a4.
![]()
- Align the battery connector by following the direction of arrow and press it until hear ticktack, as shown in Figure a5.
![]()
- The battery can be put at either side.


- Pull the battery backward according to the direction of arrow and take out the battery;
- Push the battery forward according to the direction of arrow and take out the battery, as shown in Figure a6.
- Place the battery well, and then align with the battery compartment entrance and push it in, then clockwise rotate the battery compartment switch 90 degrees first and then anticlockwise rotate it 90 degrees to take out the battery, as shown in Figure a7.
![]()

The Assembly and Disassembly of the Grip
- Make the guide bar of grip align the battery slot.
- Make the attachment screw of the grip align with the mounting hole at the bottom of camera, and clockwise rotate and tighten the attach knob to make it locked; anticlockwise rotating can disassemble the grip, as shown in Figure a8.

- When using it, check the assembled screws and make sure it can't move.

Basic Functions
Vertical-Shooting Function
- When using grip to vertically shoot photos, make the function switch at location "ON".
- The function switch is used to switch on/off grip.
- No matter where the function switch is, the operation button of the camera is always in working state.
- Use the POWER button to change the state of the power; the function button of the grip can't turn off the power.
- The functions of the AF (auto focus)/MF (manual focus)/AEL (AE lock) buttons synchronize with the camera settings; use the switching shafts of AF/MF and AEL on the camera to change the functions of AF/MF and AEL.
- When two batteries (NP-FW50) are inserted in this product, the following indicative marks will appear on the LCD monitor of camera. (The display position of the battery capacity varies by the camera mode)
- LCD monitor is shown in Figure a9.
![]()
- Between two batteries, if the capacity of one battery is used up, this product will automatically change to another battery. The remaining battery capacity will be displayed in percentage (%).

The Function of Remote Controller
- Clock function: After inserting two batteries, set default time mode; the time is adopted 24-hour format, as shown in Figure a10.
![]()
- Time display mode: Lightly press SET key, the bit time will blink, at this time, press the right/left arrow key, then it blinks in sequence. In the corresponding blinking state, pressing up/down arrow key can adjust the time parameter; the settings will be done after the SET key is lightly pressed.
- Change the mode to time mode in Figure
![]() , wireless remote control mode in Figure
, wireless remote control mode in Figure ![]() and timing photo mode in Figure
and timing photo mode in Figure ![]() )by pressing the up/down arrow key, as shown in Figure a11.
)by pressing the up/down arrow key, as shown in Figure a11.


 , wireless remote control mode in Figure
  and timing photo mode in Figure
  )by pressing the up/down arrow key, as shown in Figure a11.
Channel Settings
- In the wireless remote control mode, lightly press SET key, then channel "00" blinks; at this time, press the left/right arrow key, then the single digit and tens digit will separately blink. The left/right arrow key can adjust channel parameters. The settings will be done after the SET key is lightly pressed. Please note that this mode can adjust the channel, but the time can't be set. The channel can be set between "00-99"; "00" is the universal channel.


The Shutter Remote Controlling Function
(as Shown in Figure a12)
- Within 10 seconds after the battery is inserted into grip, press the shutter release button on the remote controller to realize channel docking.
- Long pressing shutter key for 3 seconds can change the shutter remote controlling mode into shutter B mode, as shown in Figure a13.
![]()
- Partly press the shutter to focus, then the green light will shine; fully press the shutter to shoot, then the red light will shine.

Timing Function
- Wireless timing remote controlling mode: The default display is the time in the right figure; hour, minute, second and number separate the number of shots, timer icon "DELAY", "INTVL" and battery icon. Set the timing parameters with SET key, up/down arrow keys and right/left arrow keys; press start/stop key to send parameter to battery grip to control camera timing shots, as shown in Figure a14.
![]()
- When "N" is blinking, the shooting number of "N" can be set between 1-998; if the number is not limited, the shooting number of "N" can be set as; when it is set as "999", it displays "—" at this time, as shown in Figure a15.

- The settings of delay time, exposure time and interval time are shown in Figure a16.
![]()
- Wireless Shutter B Mode
- The default clock displays "page icon", "channel parameter", "battery icon" and icon "B"; after long press the focus shutter release button for about 3 seconds, it automatically changes into shutter B mode and starts timing work at the same time; at this time, the clock displays timing method and start to time from 3 seconds; when partly repress or fully press the focus shutter release button, it stops timing and ends exposure, as shown in Figure a17.
![]()
- Lightly press SET key, then "Delay" and time start to blink at the same time. Can choose hour, minute and second in sequence by pressing right/left arrow key. Adjust shooting delay parameters by pressing up/down arrow key. The settings will be done by lightly pressing SET key.
- Separately choose "LONG", "INTVL" and "N" by pressing right/left arrow key in sequence, and then they correspondingly blink. Pressing right/left arrow key can choose hour, minute and second in sequence. Separately adjust the parameters of exposure time, interval time and shooting numbers by pressing up/down arrow key. The settings will be done by lightly pressing SET key.
- The default time for "LONG" and "INTVL" are separately 1 second and 3 seconds. In order to make sure the exposure is correct, the interval time shall be set more than 2 seconds.
- After the settings are done, press start/stop key to start the timer which starts to count down; when "DELAY" is set as 2 seconds before opening shutter for focus output, the green indicator light shines at the same time; when the exposure time "LONG" is started, the shutter is open, the red indicator light shines at the same time and the camera shutter is released.
- In order to make sure to stop camera exposure correctly, please end shutter B within 100 meters, the effective distance of remote controller. If it exceeds this distance, ending shutter B is possible to cause receive failure.
- Prompt: when receive failure occurs, please long press focus shutter release button within effective distance to reenter into shutter B mode, and then partly or fully repress the focus shutter release button, then the shutter B mode can be stopped.
- Pressing light/lock button will temporarily activate LCD backlight which will continuously light for 10 seconds; long pressing light/lock button can lock all the keys except for light/lock key, and there is a "lock" icon displaying on screen at the same time, long pressing this key can exit from being locked.


Specification Parameter
| Grip Parameters | working voltage | 7.2V-8.4V |
| working current | less than 3A | |
| working temperature | -20° — 70° | |
| applicable battery | NP-FW50 | |
| Packing List | grip | 1 Pcs |
| remote controller | 1 Pcs | |
| instruction manual | 1 Pcs | |
| warranty card | 1 Pcs | |
| Parameters of Remote Controller | working voltage | 3V |
| working current | less than 50mA | |
| working temperature | -20° — 70° | |
| applicable battery | two AAA batteries |
Warning
![burn hazard]()
![shock hazard]()
In order to reduce the risk of causing fire hazard or electrical shock, please don't make this product exposed to rain and moisture.- When dealing with the lithium battery, use the adhesive tape to seal the contact points to avoid short circuit, and adhere to the local regulations about the battery disposal
- Keep the batteries or parts away from children in case they swallow them. Once something is swallowed, please see a doctor immediately
- Please remove the battery and stop using the product immediately if the following circumstance occurred:
- The product is cracked due to falling or collision.
- The product is emitting malodor or heating or is smoking.


Documents / ResourcesDownload manual
Here you can download full pdf version of manual, it may contain additional safety instructions, warranty information, FCC rules, etc.
Advertisement


Need help?
Do you have a question about the A1 and is the answer not in the manual?
Questions and answers