Advertisement
- 1 DESCRIPTION OF THE COMPONENTS
- 2 SCOPE OF SUPPLY
- 3 ADJUSTING THE EYE SPACING (PUPILLARY DISTANCE)
- 4 FOCUSING
- 5 ALIGNING THE EYECUPS, VIEWING WITH AND WITHOUT GLASSES
- 6 CLEANING AND REPLACING THE EYECUPS
- 7 ATTACHING THE CARRYING STRAP AND PROTECTIVE CAP
- 8 USE OF EYEPIECE AND LENS CAP
- 9 ATTACHMENT OF TRIPOD ADAPTERS1
- 10 CARE AND MAINTENANCE
- 11 TECHNICAL DATA
- 12 CUSTOMER SERVICE, REPLACEMENT PARTS AND WARRANTY
- 13 Documents / Resources
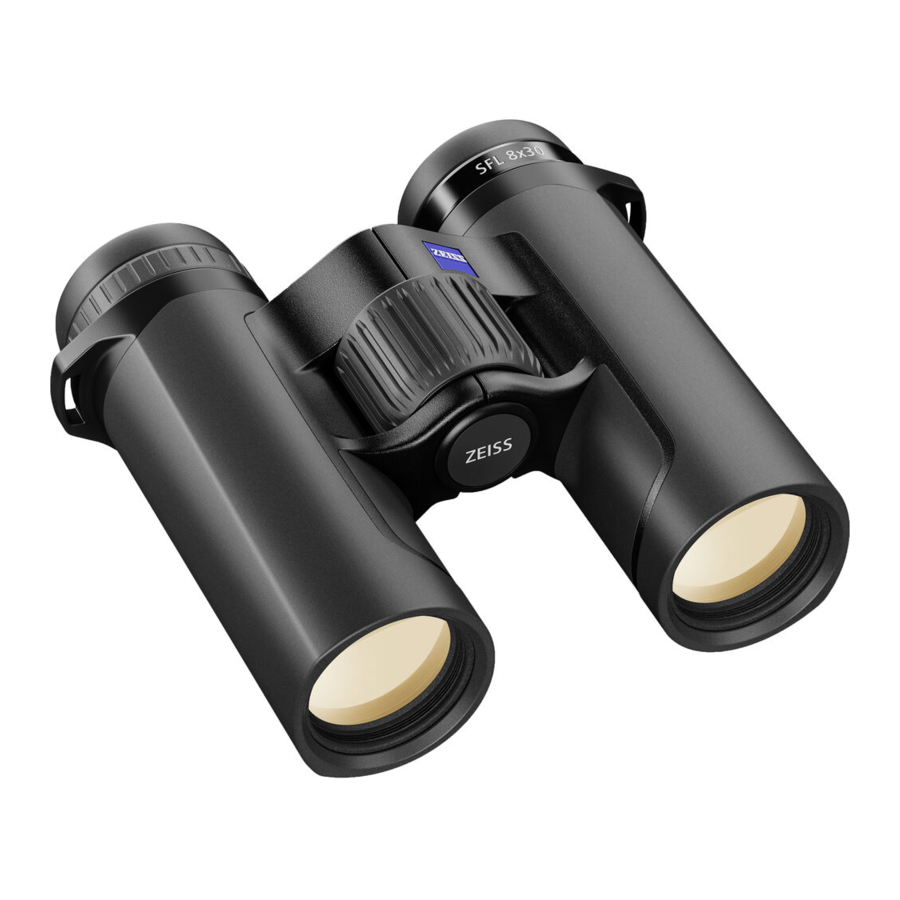
DESCRIPTION OF THE COMPONENTS

- Eyepiece cap
- Eyecups
- Diopter compensation
- Carrying strap eyelets
- Focusing wheel
- Interface for tripod adapter 1/4"
- Protective lens cap
SCOPE OF SUPPLY
| Product | Order number | Scope of supply |
| 8 x 30 | 52 30 23 | Binoculars Eyepiece cap Protective lens cap Carrying strap Carrying case Lens cleaning cloth Quick Guide Safety instructions |
| 10 x 30 | 52 30 24 | |
| 8 x 40 | 52 40 23 | |
| 10 x 40 | 52 40 24 |
ADJUSTING THE EYE SPACING (PUPILLARY DISTANCE)
Bend the two barrels toward each other around the central axis, until the distance of the two eyepieces corresponds to the distance between your eyes. This will provide the optimum image for your eyes. The optimum eye spacing is achieved when one circular image is seen when viewing through the binoculars with both eyes.

FOCUSING
The binoculars have a focusing wheel and a diopter adjustment wheel. To adjust, close your right eye and focus the image in the left barrel using the center focusing wheel.

Then close your left eye and, if necessary, adjust the focus in the right barrel using the diopter adjustment wheel (Fig.4). The diopter adjustment wheel features a scale with the signs "+" and "–", and has an index point as a reference point. Note your personal setting, then you can quickly set your own diopter setting on any binoculars.

For additional focusing at different distances, use only the focusing wheel.

Note: Always use the same object to focus both images!
ALIGNING THE EYECUPS, VIEWING WITH AND WITHOUT GLASSES
If you do not wear glasses when viewing, use the binoculars with the eyecups extended. To do this, turn the eyecups (Fig.6) counter-clockwise and upwards to the top click stop position (Fig.6 - Illustration A).

The eyecups can be locked in four positions – at the bottom and top and in two intermediate positions. These adjustment options allow the distance of the eye from the exit pupil to be varied according to the specific requirements of each user.
When viewing with glasses, turn the eyecups down (clockwise) until it locks in the lowest click stop position (Fig.6 - Illustration B).
Note: If the eyecups are turned further counter-clockwise when in the extended position, it can loosen. This is by design. For more information, see "Cleaning and replacing the eyecups".
CLEANING AND REPLACING THE EYECUPS
To replace the eyecups or for cleaning, they can be completely screwed off of the binoculars. Turn the eyecups out as shown in Fig.6 to the top click-stop position and turn one more thread in the same direction until the eyecups are completely screwed out.
After cleaning or replacing the eyecups, turn them completely clockwise on the eyepiece (also refer to the section "Aligning the eyecups, Viewing with and without glasses"). Using a slight jerk clockwise, the thread of the eyecups click into the lowest setting. Finally, you can again set your desired distance between the eye and eyepiece using the click stops.
ATTACHING THE CARRYING STRAP AND PROTECTIVE CAP
The carrying strap, eyepiece cap and protective lens cap are included in the packaging. As shown in Fig.7, the eyepiece cap and carrying strap are attached to the binoculars by means of the carrying strap eyelet.

The strap length can be set to the desired length by shortening or lengthening the strap (Fig.8). On the other side of the eyepiece cap follow the same sequence. The eyepiece cap can also be put on only one side, if preferred.

The lens caps are marked "L" for left and "R" for right and are attached to the left and right tubes respectively (Fig.9).
USE OF EYEPIECE AND LENS CAP
The eyepiece cap can be attached to the eyecups (Fig.9). You can maintain your desired exit pupil distance with this. Remove the cover before using the binoculars (Fig.10).

The lens caps can remain permanently on the binoculars after they have been attached and only need to be opened before use (Fig.10).
ATTACHMENT OF TRIPOD ADAPTERS1
Binoculars from the ZEISS SFL series can be mounted on any commercial camera tripod using the ZEISS tripod adapter 1/4" or the ZEISS Binofix universal tripod adapter.
The order numbers for ZEISS tripods and tripod adapters and other accessories can be found in the "Accessories for ZEISS SFL" chapter.

CARE AND MAINTENANCE
The binoculars feature the ZEISS LotuTec® coating. The effective protective coating for the lens surfaces noticeably reduces contamination of the lenses through a special smooth surface and the strong beading effect connected with it. All types of contamination adhere less and can be quickly and easily removed, smear-free. The LotuTec® coating is also durable and abrasion resistant.
Please do not wipe coarse particles from the lenses (e. g. sand), rather blow them away or use a fine brush to remove them. Over time, fingerprints can corrode the lens surface. Breathing on the lens and polishing with a clean optical cleaning cloth is the easiest method of cleaning the lens surface. Dry storage and keeping the outer lens surfaces well ventilated, especially in the tropics, helps to prevent a possible mold film forming on the optics. Your ZEISS SFL binoculars require no further special care.
Contamination on the rubber coating and the housing can usually be removed using warm water, a cotton cloth and light rubbing.
ACCESSORIES FOR ZEISS SFL1
www.zeiss.com/nature/binoculars/accessories
1 Accessories are not included in the scope of supply.
TECHNICAL DATA
| 8 x 30 | 10 x 30 | ||
| Magnification | 8 | 10 | |
| Objective lens diameter | mm | 30 | 30 |
| Exit pupil diameter | mm | 3.75 | 3 |
| Twilight factor | 15.5 | 17.3 | |
| Field of view | m/1000 m (ft/1000 yds) | 142 (426) | 120 (360) |
| Subjective angle of view | ° | 63 | 65 |
| Close focusing distance | m (ft) | 1.5 (4.9) | 1.5 (4.9) |
| Diopter adjustment range | dpt | ± 4 | ± 4 |
| Exit pupil distance | mm | 18 | 18 |
| Pupillary distance | mm | 54–74 | 54–74 |
| Prism system | Schmidt-Pechan | Schmidt-Pechan | |
| Coating | T* | T* | |
| Nitrogen filling | √ | √ | |
| Watertightness | mbar | 400 | 400 |
| Functional temperature range | °C (°F) | -20 / +55 (-4 / +131) | -20 / +55 (-4 / +131) |
| Length | mm (in) | 120 (4.7) | 120 (4.7) |
| Width with a pupillary distance of 65 mm | mm (in) | 107 (4.2) | 107 (4.2) |
| Weight | g (oz) | 460 (16.2) | 460 (16.2) |
| 8 x 40 | 10 x 40 | ||
| Magnification | 8 | 10 | |
| Objective lens diameter | mm | 40 | 40 |
| Exit pupil diameter | mm | 5 | 4 |
| Twilight factor | 17.9 | 20 | |
| Field of view | m/1000 m (ft/1000 yds) | 140 (420) | 115 (345) |
| Subjective angle of view | ° | 60 | 62 |
| Close focusing distance | m (ft) | 1.5 (4.9) | 1.5 (4.9) |
| Diopter adjustment range | dpt | ± 4 | ± 4 |
| Exit pupil distance | mm | 18 | 18 |
| Pupillary distance | mm | 52–74 | 52–74 |
| Prism system | Schmidt-Pechan | Schmidt-Pechan | |
| Coating | T* | T* | |
| Nitrogen filling | √ | √ | |
| Watertightness | mbar | 400 | 400 |
| Functional temperature range | °C (°F) | -20 / +55 (-4 / +131) | -20 / +55 (-4 / +131) |
| Length | mm (in) | 144 (5.7) | 144 (5.7) |
| Width with a pupillary distance of 65 mm | mm (in) | 114 (4.5) | 114 (4.5) |
| Weight | g (oz) | 640 (22.6) | 640 (22.6) |
Subject to changes in design and scope of supply due to technical improvements.
CUSTOMER SERVICE, REPLACEMENT PARTS AND WARRANTY
For service or replacement part questions or obtaining the warranty terms, please see our website: www.zeiss.com/nature/service

For further questions, please feel free to contact:
ZEISS Customer Service
Carl Zeiss Sports Optics GmbH
Gloelstr. 3–5, 35576 Wetzlar, Germany
Phone +49 800 934 77 33
E-Mail consumerproducts@zeiss.com
ZEISS Customer Service USA
Carl Zeiss SBE, LLC
Consumer Products
1050 Worldwide Blvd.
Hebron, KY 41048-8632, USA
Phone +1-800-441-3005
E-mail consumerservice.cop.us@zeiss.com
Documents / Resources
References
![www.zeiss.com]() ZEISS Binocular Accessories | Improved performance
ZEISS Binocular Accessories | Improved performance![www.zeiss.com]() ZEISS Support & Service | Tailored Support for Your Needs
ZEISS Support & Service | Tailored Support for Your Needs
Download manual
Here you can download full pdf version of manual, it may contain additional safety instructions, warranty information, FCC rules, etc.
Download ZEISS SFL 8 x 30 | 10 x 30 | 8 x 40 | 10 x 40 - Binoculars Manual
Advertisement


Need help?
Do you have a question about the SFL 8 x 30 and is the answer not in the manual?
Questions and answers