REGA Planar 78 - Turntable Manual
- Instructions (1 page) ,
- Instructions (1 page) ,
- Quick start manual (2 pages)
Advertisement
Introduction
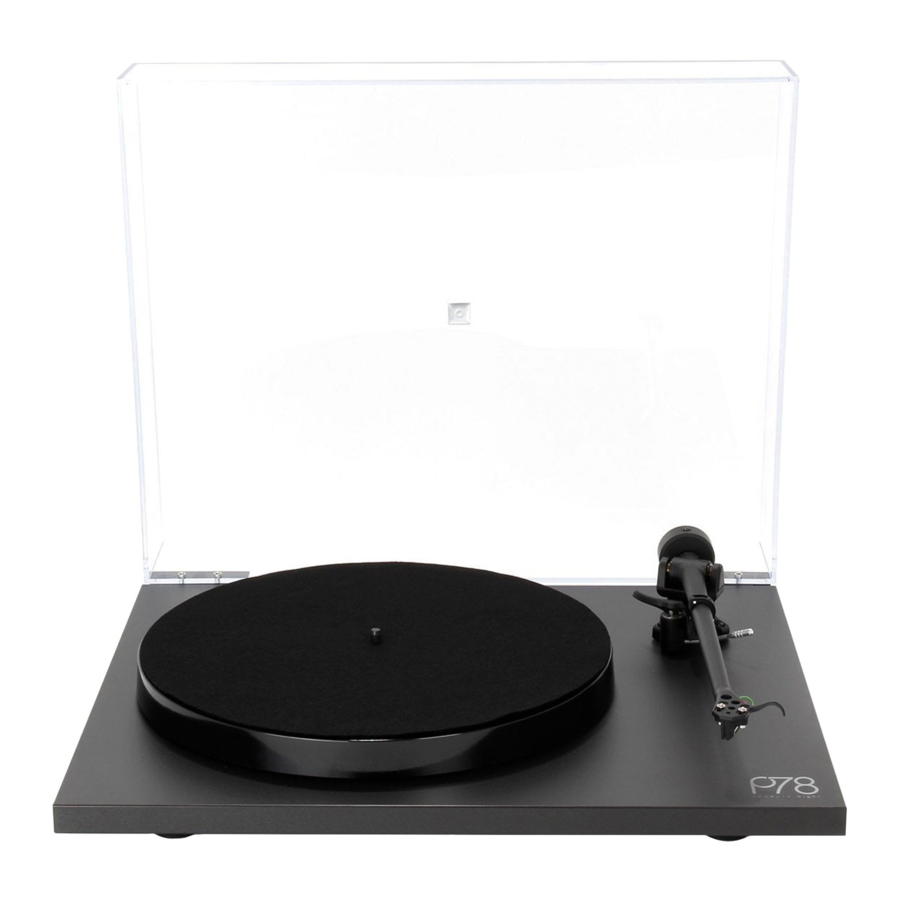
The Planar 78 has been designed and engineered to achieve outstanding performance way beyond the expectations of a product at this price point. Excellent build quality, reliability and ease of use combine to make a product which, if used correctly, will offer you a lifetime of musical enjoyment. Omitting unnecessary gimmicks allows us to concentrate the manufacturing costs on the high quality parts necessary to reproduce records accurately. The single speed Planar 78 is fitted with a hand assembled RB220 tonearm and a precision main bearing. The minimalist design of the Rega Planar 78 and the use of extremely high quality components ensure that your turntable should last for many years. The tips on the reverse of these instructions will help increase the life of your turntable and ensure optimum performance.
Turntable contents

Cartridge mounting hardware
Ensure the cartridge mounting hardware is fitted correctly using the alignment protractor (supplied) (5). If using the Rega RB78 mono cartridge the nut should be mounted to the top of the tonearm headshell. As shown in the diagram below.
Do not overtighten.

Setting up your RB220 tonearm
To set up the RB220 tonearm, screw on the balance weight (4) along its shaft until the stylus is floating 1 mm clear of a record on the platter. Tracking force can now be applied, half a turn of the weight (180 degrees) = 1 gram of force. Turn the weight to the suggested force of your cartridge manufacturer's guidelines. Use the plastic plugs on the weight as a guide. Bias adjustment is automatic on the RB220 tonearm. No adjustment is necessary.
Connection to the amplifier
The tonearm external phono leads must be connected to your amplifier. Connect as follows: Red right channel / Black left channel. If your amplifier does not have an integrated phono stage you will require an external stage to amplify the signal (sold separately).
- On/off switch (located underneath the plinth)
- Platter
- Lightweight plinth
- Balance weight
- Alignment protractor
Cartridge connections Rega RB78
(tracks at 1.75g)
(sold separately)
The Rega RB78 cartridge is wired internally in series and should be connected in one of the following ways. If your amplifier has a mono switch take either RED and GREEN or White and Blue and connect as follows:

If your amplifier does NOT have a mono switch connect both arm wires together and connect as follows:

Hints, tips and accessories
Mount the turntable on a rigid, level surface. Avoid mounting on hollow or heavy cabinets or anything mounted on a flexible wooden floor. The Rega turntable support is the ideal solution.
Keeping the lid closed while playing records will prevent dust falling on to the record surface and should make cleaning unnecessary. Depending on the room environment and ambient temperature, playing with the lid open may offer sonic improvements. You can experiment to optimise the performance best suited to your room.
Do not use any record cleaner that works while the record is playing or any cleaners that use water or solvents. If you keep your records stored in their sleeves, avoid touching the playing surfaces and keep all water and fluids away, cleaning should not be necessary. Do not worry about visible dust on the record surface, this is brushed aside by the stylus during play. Dust collected on the stylus can be easily blown away. In general, record cleaning is overdone and one should not believe all the claims made by record cleaner manufacturers.
It is recommended to leave the turntable running during a record playing session. Switch on before the session and only switch off after you have finished.
Do not lift the centre hub out from the main bearing. The bearing is factory assembled with a film of special thick lubricant. If the centre hub is removed this film may be disturbed and the accuracy of the turntable could be affected.
The arm earth (or ground) is automatically connected through the arm cable screening. No other earth method should be necessary.
Save the original packing in case you ever need to transport the turntable.
Do not use any polish on the turntable or lid. To clean, wipe gently with a soft cotton duster damp only if required).
Rega turntables are designed to optimise performance for music reproduction and therefore no compromises have been made to give quick start times. The normal time taken for full 78 speed to be achieved is between 10 and 15 seconds.

Any attempt to repair or modify the turntable or tonearm by persons other than Rega approved personnel may invalidate the guarantee. Should you experience any problem with your turntable please contact your Rega dealer.
Upgrades and accessories for the Planar 78 turntable
- Drive belt upgrade
- Turntable wall bracket
- RB78 cartridge
- Fono MM disc stage
- Fono Mini A2D MK 2 USB disc stage
| PS2 (UK) | |
| Input Output | 230 V AC 50 Hz 40 mA 24 V AC 100 mA AC |
| PS2 (EU - Euro 2 pin) | |
| Input Output | 230 V AC 50 Hz 40 mA 24 V AC 100 mA AC |
| PS2 (Australian) | |
| Input Output | 230 V AC 50 Hz 40 mA 24 V AC 100 mA AC |
| PS2 (UL - American) | |
| Input Output | 115 V AC 60 Hz 90 mA 24 V AC 100 mA AC |
| PS2 (Korean) | |
| Input Output | 220 V AC 60 Hz 40 mA 24 V AC 100 mA AC |
| PS2 (Japan) | |
| Input Output | 100 V AC 50/60 Hz 100 mA 24 V AC 100 mA AC |
Only use the supplied Rega PS2 mains adaptor with this product.
Documents / Resources
References
Download manual
Here you can download full pdf version of manual, it may contain additional safety instructions, warranty information, FCC rules, etc.
Advertisement


Need help?
Do you have a question about the Planar 78 and is the answer not in the manual?
Questions and answers