Advertisement
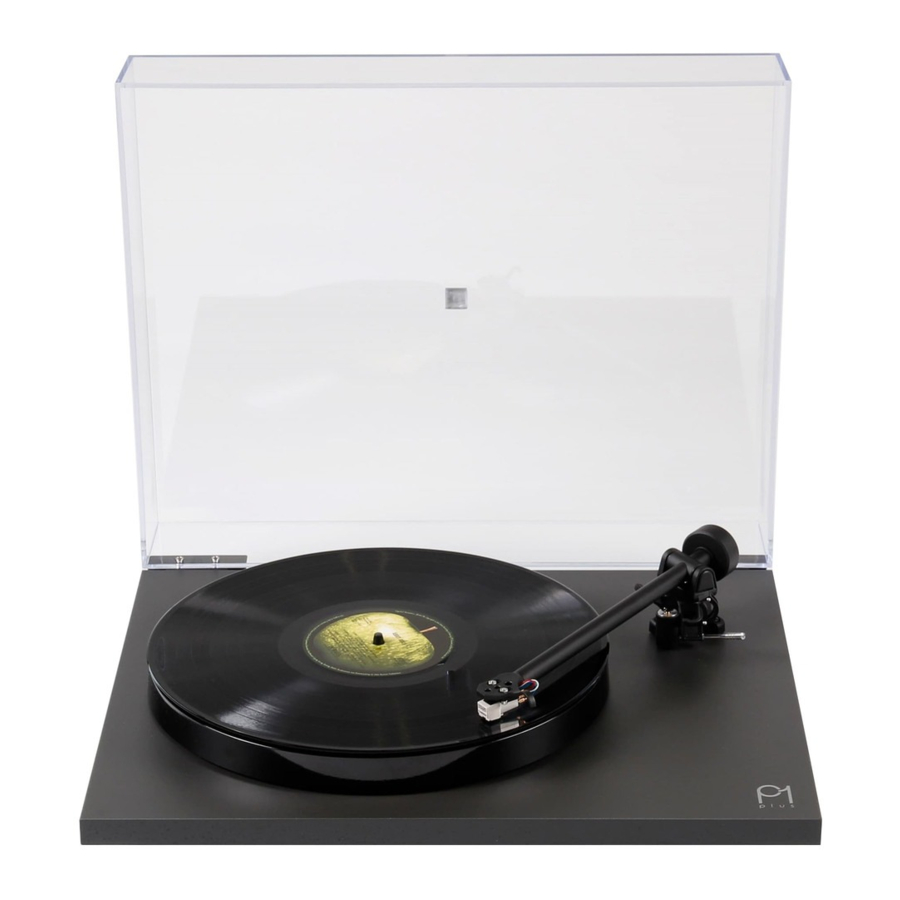
Setting up your Planar 1 Plus
- Carefully unpack the turntable, always keeping it upright.
- Check the belt is fitted around the drive pulley (A) and sub-platter (B).
![]()
- Remove the packing card (C) from beneath the sub-platter (B) and fit the platter (1) and mat.

- Push the balance weight (4) fully onto the rear of the tonearm (3) until it reaches the stop point as shown (D).
![]()
- Connect the phono output to an appropriate line level input.
- Connect the power supply to the rear of the turntable.
- Carefully remove the stylus guard from the cartridge (2).
- Turn on the Planar 1 Plus via the on/off switch located on the underside of the plinth (5).
- Change the speed by moving the drive belt from the 33 1/3 and 45 steps of the pulley (A).
![]()
- The RB110 tonearm (3) is preset for bias adjustment, no other set-up is required.


Please turn down the volume on the amplifier before switching the unit on or off.
Built-in phono stage
The built-in phono stage is a high specification pre-amplifier. It is designed to amplify the signal from a moving magnet cartridge to a suitable level for all line level inputs of an appropriate system or audio amplifier. This allows simple connection to a wide variety of products using either the standard twin phono to phono lead (supplied) or phono to 3.5 mm plug (not supplied).
 Note: A 3.5 mm to phono lead must only be plugged into an appropriate input. DO NOT CONNECT TO A HEADPHONE OUTPUT SOCKET (as found on a mobile device or similar), as this could damage both the device and player.
Output connections
Connect the output sockets of the built-in phono stage to a suitable 'line level' input on your amplifier using the appropriate phono leads.
Many amplifiers have a built-in phono stage. Never connect the P1 Plus to an integrated phono stage. These are usually marked 'Phono' or 'Disk' input.

Note: Some amplifiers and all in one systems offer adjustable gain settings. If this option is available, we recommend that the connection used for the turntable is set to the lowest gain setting to avoid any unnecessary background noise.
Note: When switching the P1 Plus on or off, a noise may be heard through the speakers. This is the phono stage powering up momentarily after the turntable. This is perfectly normal.
Positioning
As with any turntable, take care when positioning. Always place it on a firm level surface. Never place the turntable on the same surface as desktop or bookshelf loudspeakers as the energy created by the loudspeakers can distort the music and affect performance. To optimise performance, the turntable should be mounted on a hi-fi rack or the dedicated Rega wallbracket.
Power connection
Plug in the Rega PS1 350 mA power supply in to the wall socket. Set-up is now complete. Simply switch on, sit back and enjoy!

Only use the supplied mains adaptors with this product.
PS1 (UK)
Input 230 V AC 50 Hz 0.07 A
Output 24 V AC 350 mA AC
PS1 (EU - Euro 2 pin)
Input 230 V AC 50 Hz
Output 24 V AC 350 mA AC
PS1 (Australian)
Input 240 V AC 50 Hz 0.07 A
Output 24 V AC 350 mA AC
PS1 (UL - American)
Input 115 V AC 60 Hz
Output 24 V AC 350 mA AC
Service
With the unit disconnected from the mains, only clean with a micro fibre cloth, (lightly damp if necessary). Do not remove any coverings; there are no user serviceable parts inside. If the unit performs erratically or emits smoke or odour, disconnect from the power supply and take it to a qualified service technician.
Documents / ResourcesDownload manual
Here you can download full pdf version of manual, it may contain additional safety instructions, warranty information, FCC rules, etc.
Advertisement


Need help?
Do you have a question about the Planar 1 Plus and is the answer not in the manual?
Questions and answers