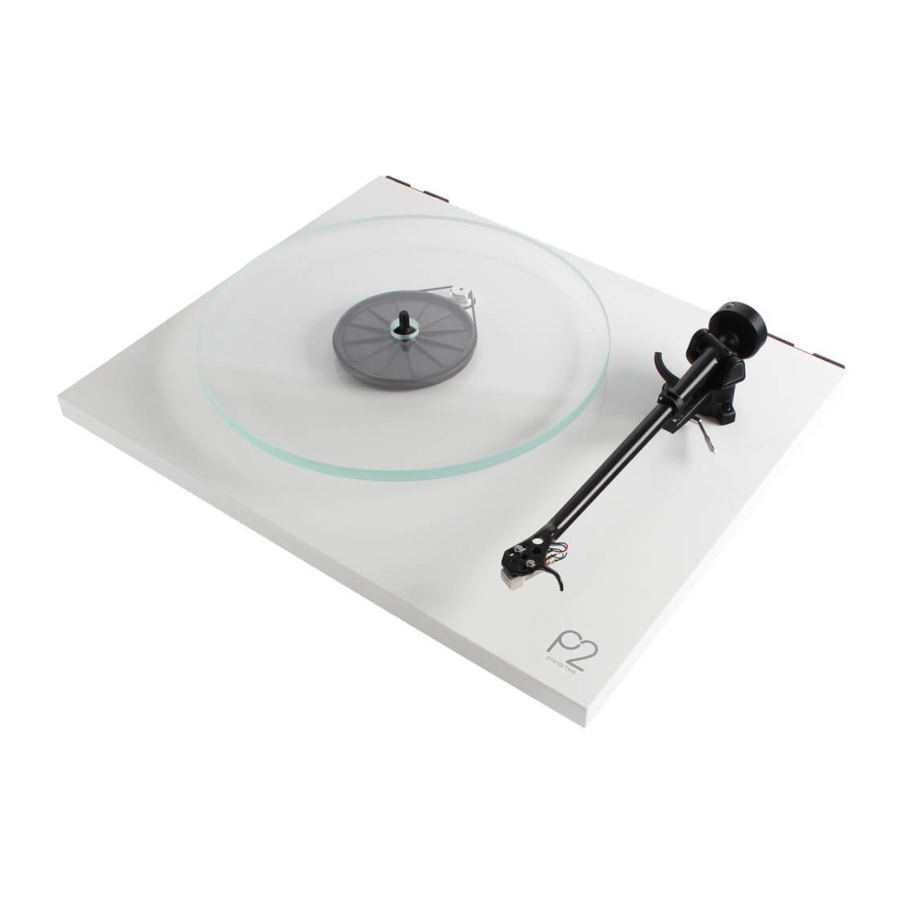
REGA Planar 2 - Turntable Manual
- User instructions (8 pages) ,
- User manual (24 pages)
Advertisement

Introduction
Please follow this quick set-up guide to ensure optimum performance and perfect operation. Failure to do so may invalidate your warranty. For more information on this product, please visit www.rega.co.uk.
Unpacking your turntable
- Always keep the turntable flat.
- Follow the packing guide printed inside the front of the box.
- Save the packaging in case you need to transport your turntable in the future.
- Place your turntable on a rigid level surface.
- Ensure the drive belt is in place and remove the transport hub card from beneath the sub platter.
- Carefully place the platter on the hub and fit the turntable mat.
Turntable contents

- Platter
- Drive belt / pulley (underneath platter)
- Tonearm
- Balance weight
- Plinth
- Power input (underside of the turntable)
- Phono output (rear of the tonearm)
- On / off switch (underneath plinth)
| PS2 (UK) | |
| Input Output | 230 V AC 50 Hz 40 mA 24 V AC 100 mA AC |
| PS2 (EU - Euro 2 pin) | |
| Input Output | 230 V AC 50 Hz 40 mA 24 V AC 100 mA AC |
| PS2 (Australian) | |
| Input Output | 230 V AC 50 Hz 40 mA 24 V AC 100 mA AC |
| PS2 (UL - American) | |
| Input Output | 115 V AC 60 Hz 90 mA 24 V AC 100 mA AC |
| PS2 (Korean) | |
| Input Output | 220 V AC 60 Hz 40 mA 24 V AC 100 mA AC |
| PS2 (Japan) | |
| Input Output | 100 V AC 50/60 Hz 100 mA 24 V AC 100 mA AC |
Only use the supplied Rega PS2 mains adaptor with this product.
Connection to the amplifier
The tonearm external phono leads must be connected to a suitable phono stage.
Connect as follows:
Red = right channel.
Black = left channel.
If your amplifier does not have an integrated phono stage, you will require an external stage.*
* Rega phono stages are sold separately. For full details, visit www.rega.co.uk.
* Upgrade with the Rega performance pack specifically designed for the Planar 2. For full details, visit www.rega.co.uk.
Setting up the RB220 tonearm
To set-up the RB220 tonearm, screw on the balance weight (a) along its shaft (b) until the stylus is floating 1 mm clear of a record on the platter. Tracking force can now be applied, half a turn of the weight (180 degrees) = 1 gram of force. Turn the weight to the suggested force of your cartridge manufacturer's guidelines. The suggested force for the supplied Carbon cartridge is 2 grams (360 degrees). Use the plastic plugs on the weight as a guide. Bias adjustment is automatic on the RB220 tonearm.

Manual speed change
You can change playing speed by simply removing the glass platter and moving the drive belt between either the 331/3 rpm or 45 rpm wheels of the drive pulley, as shown.

Cartridge alignment protractor
The Planar 2 comes with the Rega Carbon cartridge aligned ready for play. If you need to replace or upgrade the cartridge, please use the cartridge alignment protractor provided along with the cartridge manufacturer's guidelines.

Documents / Resources
References
Download manual
Here you can download full pdf version of manual, it may contain additional safety instructions, warranty information, FCC rules, etc.
Advertisement


Need help?
Do you have a question about the Planar 2 and is the answer not in the manual?
Questions and answers