Advertisement
Quick Links
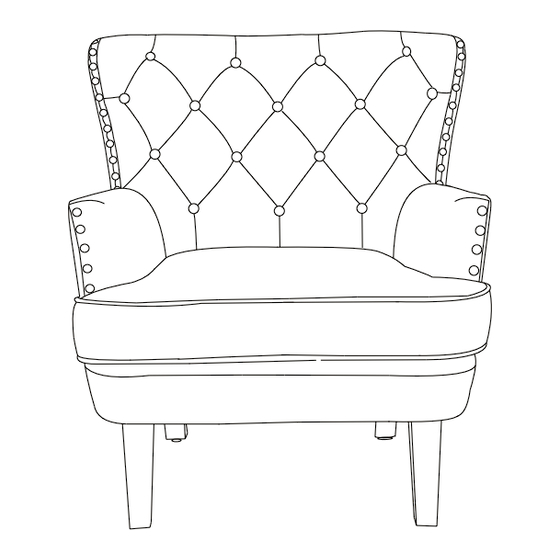
ASSEMBLY INSTRUCTION
ACCENT CHAIR
Please carefully unpack and identify each component before beginning assembly.
Before you begin, please refer to parts list to make sure that you have all parts. Please
take care when assembling the unit and always place the parts on a clean, soft surface.
If you require assistance with assembly or parts, please call 888-357-7263.
Get social with us and discover more about our products, tips and exclusive discounts!
Advertisement

Related Manuals for GLITZHOME GH80229


Summary of Contents for GLITZHOME GH80229
- Page 1 ASSEMBLY INSTRUCTION ACCENT CHAIR Please carefully unpack and identify each component before beginning assembly. Before you begin, please refer to parts list to make sure that you have all parts. Please take care when assembling the unit and always place the parts on a clean, soft surface. If you require assistance with assembly or parts, please call 888-357-7263.
-
Page 3: Pre-Assembly Preparation
PRE-ASSEMBLY PREPARATION • CAUTION: Assembly will require at least 2 adults. DO NOT use power tools. Please inspect all items BEFORE assembly. If for any reason you need to return this item, please kindly return it in it's original packaging. •... - Page 4 STEP-BY-STEP ASSEMBLY PLEASE CAREFULLY UNPACK AND IDENTIFY EACH COMPONENT BEFORE BEGINNING ASSEMBLY. BEFORE YOU BEGIN, PLEASE REFER TO PARTS LIST TO MAKE SURE THAT YOU HAVE ALL PARTS. STEP 1 Put the back (A) insert the seat (B). Tight the screw (hardware used as shown in below diagram), but not too tight, 80% STEP 2 is ok.
- Page 5 Put the front legs (C) in the hole, tight the screws(hardware used as shown in STEP 3 below diagram), but not too tight, 80% is ok. Put the back legs (D) in the hole, tight the screws (hardware used as shown in STEP 4 below diagram), but not too tight, 80% is ok.
- Page 6 Please 100% tighten all bolts and screws completely until the entire unit has been STEP 5 assembled and set up. After initial assembly, the product may acclimate to its new environment. Please ensure all screws are still securely tightened. Assembly Instruction...
Need help?
Do you have a question about the GH80229 and is the answer not in the manual?
Questions and answers