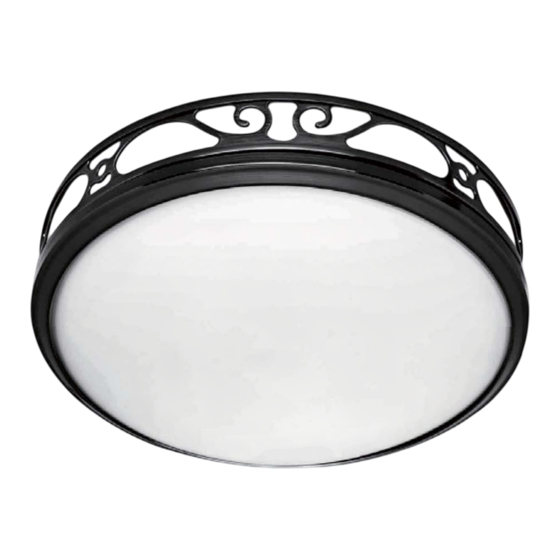
Summary of Contents for GOOD HOUSEKEEPING Roman II 85002
- Page 1 Roman II Bath Ventilator with Light Owner’s Manual Models 42111-01 85002/85007/85008 R20240410...
-
Page 2: Preventative Maintenance
W A R N I N G TO REDUCE THE RISK OF FIRE, ELECTRIC SHOCK, OR INJURY TO PERSONS, OBSERVE THE FOLLOWING: Use this unit only in a manner intended by the manufacturer. Society for Heating, Refrigeration and Air-Conditioning If you have questions, contact the manufacturer. Engineers (ASHRAE), and the local code authorities. - Page 3 Check all the parts. If damaged, call 1-888-880-3267 for replacements. Included ools Needed. (Not supplied.) Estimated assembly time: 30 to 60 minutes. Before Installation NOTE: Remove all packing materials before installation. Turn off the power source. 42111-01 R20240410...
- Page 4 Choose Installation Option For New Construction - attaching to joist go to step A1, page 4 For New Construction - suspended between joists go to step B1, page 6 For Existing Construction - accessible from above go to step C1, page 8 For Existing Construction - accessible only from below go to step D1, page 11 Note this item is rated for installation in insulated spaces.
- Page 5 Ground Black Green 2 Pin Bare Copper White Black Main Switch 1 (AC In) Fan Motor White White 3 Pin Black Light Light *Option Black Switch 2 (AC In) *Option Fan & Main Light Together Connect wires as shown. Connect 4" duct and vent to the outside. Tape joints. Turn on the power source.
- Page 6 New Construction – suspended between joists Slide the mounting rails into the side brackets Position the correct depth mark at the bottom edge of the joist based on the thickness of your sheetrock. and tighten with the machine screws. 1/8” bit Mark position of screws by using holes as a template.
- Page 7 Ground Black Green 2 Pin Bare Copper White Black Main Switch 1 (AC In) Fan Motor White White 3 Pin Black Light Light *Option Black Switch 2 (AC In) *Option Fan & Main Light Together Connect wires as shown. Connect 4" duct and vent to the outside. Tape joints. Turn on the power source.
- Page 8 Existing Construction – accessible from above EXISTING FAN NO EXISTING FAN Remove an existing fan and check to make sure the Use the motor housing as a template to mark position. opening is large enough to accommodate the new motor housing (9.75"x 9.75"). Cut out an opening for the housing.
- Page 9 1/8" bit Drill a hole in the center of each outline. Mount with wood screws. Connect 4" duct and vent to the outside. Tape joints. Connect to the supply wires. For supply connection, If ducting does not fit securely, an adapter may need use wires suitable for at least 194º...
- Page 10 O F F Test the motor. If the motor does not run, Turn on the power source. check the plug connection. Go to step on page 13 to attach grill. 42111-01 R20240410...
- Page 11 Existing Construction – accessible only from below EXISTING FAN Remove an existing fan and check to make sure the Move the housing into position above the ceiling. opening is large enough to accommodate the new motor housing (9.75"x 9.75"). Connect to the supply wires. For supply connection, use wires suitable for at least 194º...
- Page 12 Screw six (6) wood screws into joist or framing. Attach existing ducting to duct connector. Tape joints. If ducting does not fit securely, an adapter may need to be purchased. O F F Test the motor. If the motor does not run, Turn on the power source.
- Page 13 Attaching the Grill Remove the thumbscrews. Connect wiring harness. DO NOT ALLOW THE FIXTURE TO HANG FROM THE WIRING HARNESS. Align posts A, B, C and D (stamped into motor Attach thumbscrews. housing) with posts A, B, C and D (stamped into WARNING: To reduce the risk of electrical light fixture).
-
Page 14: Troubleshooting
Check the flapper to ensure it moves freely. If you need any assistance with setup, operation, or parts for your new Good Housekeeping bath ventilator, please call us. Our technical support staff is ready to help! We are open 24 hours a day, 7 days a week. -
Page 15: Warranty
Good Housekeeping bath ventilator motor fails at any time within two years after the date of sale to you due to a defect in material or workmanship, labor and materials to repair the defect will be provided free of charge at our nearest service center or our Service Department in Kennesaw, Georgia.


Need help?
Do you have a question about the Roman II 85002 and is the answer not in the manual?
Questions and answers