Table of Contents
Advertisement
Quick Links
20096-BN, 20096-MB
USE AND CARE GUIDE
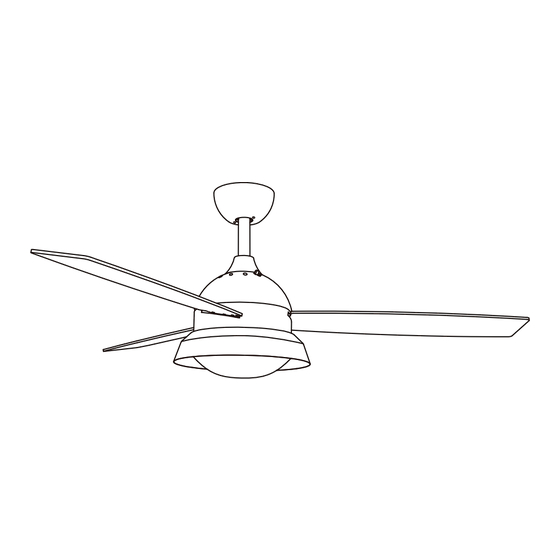
BARNLIGHT 52 IN. LED CEILING FAN
THANK YOU
We appreciate the trust and confidence you have placed in Good Housekeeping through the purchase of this ceiling fan. We strive to
continually create quality products designed to enhance your home. Visit us online to see our full line of products available for your
home improvement needs. Thank you for choosing Good Housekeeping!
Advertisement
Table of Contents

Related Manuals for GOOD HOUSEKEEPING BARNLIGHT 20096-BN


Summary of Contents for GOOD HOUSEKEEPING BARNLIGHT 20096-BN
- Page 1 THANK YOU We appreciate the trust and confidence you have placed in Good Housekeeping through the purchase of this ceiling fan. We strive to continually create quality products designed to enhance your home. Visit us online to see our full line of products available for your...
-
Page 2: Table Of Contents
Table of Contents Table of Contents ..........................Hardware Included ............Safety Information ..............4 Package Contents ................. Warranty Installation ............................Specification Operation ............... Pre-installation ..............Care and Cleaning ....................... 3 Tools & Accessories Required Troubleshooting ............. Technical Support ............ -
Page 3: Warranty
Warranty LIMITED WARRANTY WHAT IS COVERED OceanAire Home Goods Company makes the following limited warranty to the original user or consumer purchaser of this Good Housekeeping ceiling fan. The manufacturer warrants the fan motor to be free from defects in workmanship and material present at time of shipment from the factory for the lifetime of the fan motor for the original purchaser. -
Page 4: Package Contents
Pre-installation (continued) PACKAGE CONTENTS NOTE: Unpack your fan and check the contents. You should have the following items listed below. Part Description Quantity Mounting bracket Ceiling canopy Hanger cover Fan motor with switch housing Set of blades Light kit Lamp shade Remote control 6"... -
Page 5: Installation
Installation Determining mounting method Installing the fan body Remove the split pin and pivot pin (1) from the downrod WARNING: To reduce the risk of fire, electric assembly (I) and set them aside for later restoration. shock, or personal injury, mount to outlet box marked acceptable for fan support of 15.9 kg (35 lbs) or less Place the downrod assembly (I) through the ceiling and use mounting screws provided with the outlet box. - Page 6 Installation (continued) Installing the mounting bracket Installing the receiver WARNING: To reduce the risk of fire or electric NOTE: You may need a longer downrod to maintain shock, remember to disconnect power. The proper blade clearance when installing on a steep, electrical wiring must meet all local and national sloped ceiling.
- Page 7 Installation (continued) Wiring the receiver to the household IMPORTANT: If after this step, you decide to check wiring and the fan that the electrical connections have been successful, it is critical to attach the light kit using the quick connector WARNING: To avoid possible electrical shock, prior to testing.
- Page 8 Installation (continued) Finishing the installation Attaching the fan blades NOTE: Your fan blades are reversible. Select the WARNING: When using the standard ball/downrod blade side finish which best accentuates your decor. mounting, the tab in the ring at the bottom of the Failure to follow below procedure could result in fan mounting bracket must rest in the groove of the wobble.
- Page 9 Installation (continued) Installing the light kit Balancing the blades WARNING: To reduce the risk of electric shock, All blades are grouped by weight. Because natural wood varies disconnect the electrical supply circuit to the fan in density, the fan may wobble even though the blades match in before installing light kit.
-
Page 10: Operation
Operation Operating Using the remote control NOTE: Follow the instruction manual of the remote *NOTE: Wait for the fan to stop before changing the control to change the transmitter code of this fan's setting of the reverse switch. remote control and receiver if you have interference with other fans or appliances. -
Page 11: Care And Cleaning
Ensure wire connector in switch housing is connected. Technical Support If you need any assistance with setup, operation, or parts for your new GOOD HOUSEKEEPING Ceiling Fan, please call us. Our technical support staff is ready to help! We are open 24 hours, 7 days a week. - Page 12 GOOD HOUSEKEEPING IS A TRADEMARK OF HEARST COMMUNICATIONS, INC. © 2022 HEARST COMMUNICATIONS, INC. ALL RIGHTS RESERVED. RETAIN THIS MANUAL FOR FUTURE USE.
Need help?
Do you have a question about the BARNLIGHT 20096-BN and is the answer not in the manual?
Questions and answers